10Uploading and Editing Images
Uploading and Editing Images
When you click on an image, the Edit Picture pane appears on the right and allows you to edit images.
From the Label Designer tab, click Image and then Upload Image:

Once your image is uploaded, a message appears letting you know that your upload was successful.
You can then select your image from the Picture drop-down:
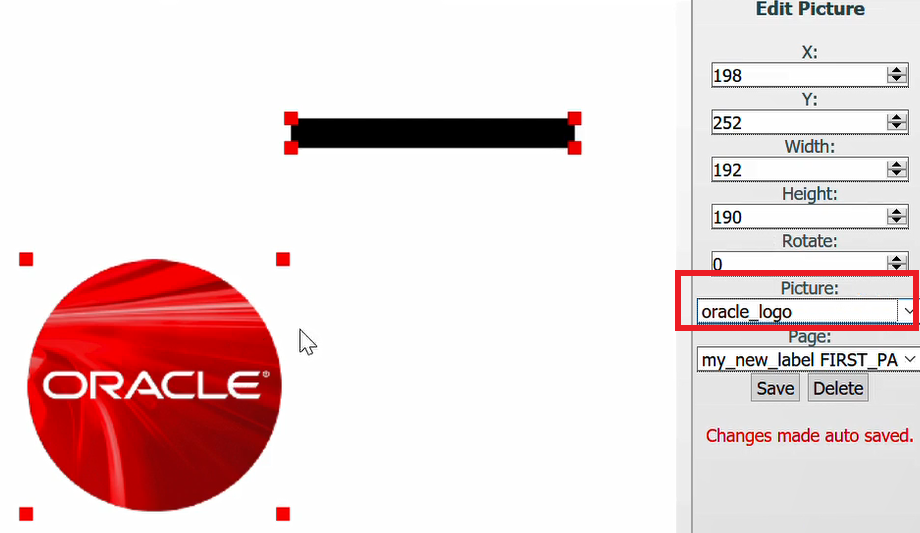
Make any edits to the image position (X and Y drop-downs), image width and height (Width and Height drop-downs), and page that you like.
Click Save.
Page
Set what page this image will appear on.
Disabling Buttons While Loading:
The buttons at the top making a new page, document, text, barcode, box, or line, etc. Are grayed out and disabled while it is loading.
Working with File Formats
When you are naming a file for an image only use the following characters:
- a-z
- A-Z
- 0-9
Anything else should not be used in a file name. You also should not start the name of a file with a number.
Avoid exporting images with Adobe products unless you are well versed in Graphic Design. These images will not load in our software. Please install GIMP via the following url: https://ninite.com/.
If the image is failing to upload first make sure it is named correctly. If it is still failing, there is a good chance the image is in adobe proprietary format only meant to work in adobe software.
To resolve issues with images failing to upload, complete the following steps:
- Open GIMP and select File->Open.
- Select your image to open it.
- Select File->Export also known as File->Overwrite Your Image File Name.
- Set the quality to 100% and click Export. This should fix the file issue.