Configurations for Reconciliation Workbench Dashboard
In the OIC instance, the Application role needs to be set to "ServiceAdministrator" via
OIC instance's Admin person. This is a onetime per permission set per OIC environment.
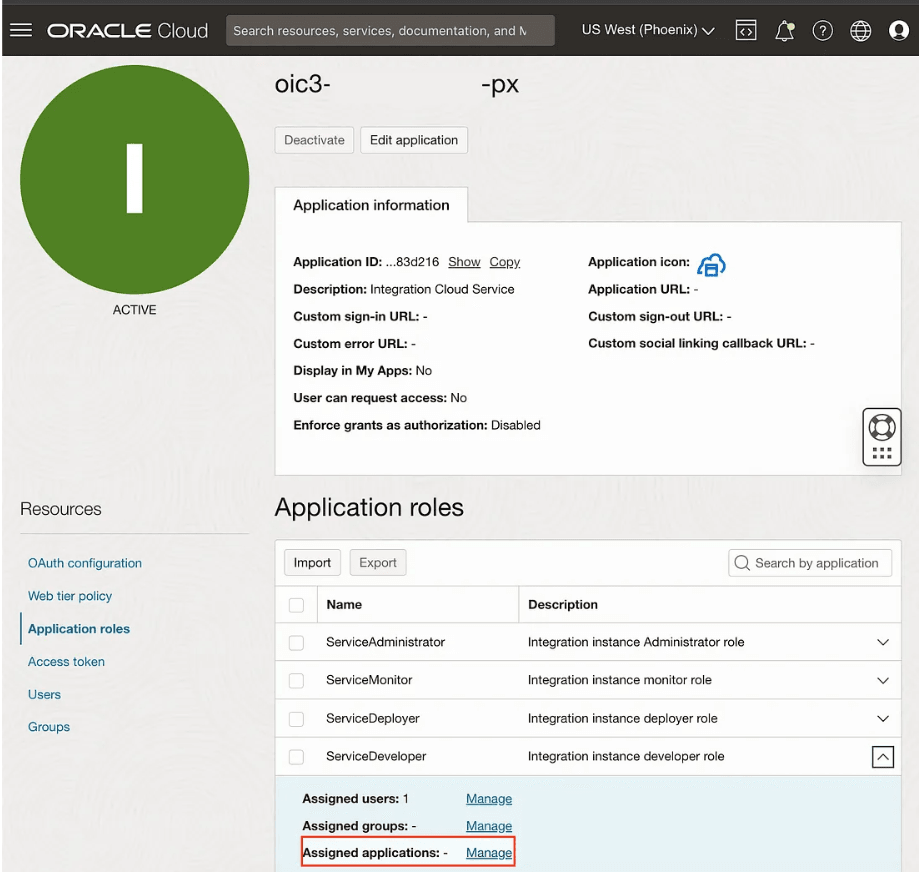
In order for the SCM Reconciliation Workbench to fetch OIC errors, all projects must be shared with the User/User group (i.e.,/ Can Monitor should be set to Everyone) in the Projects menu.
To enable user permission in OIC, do the following:
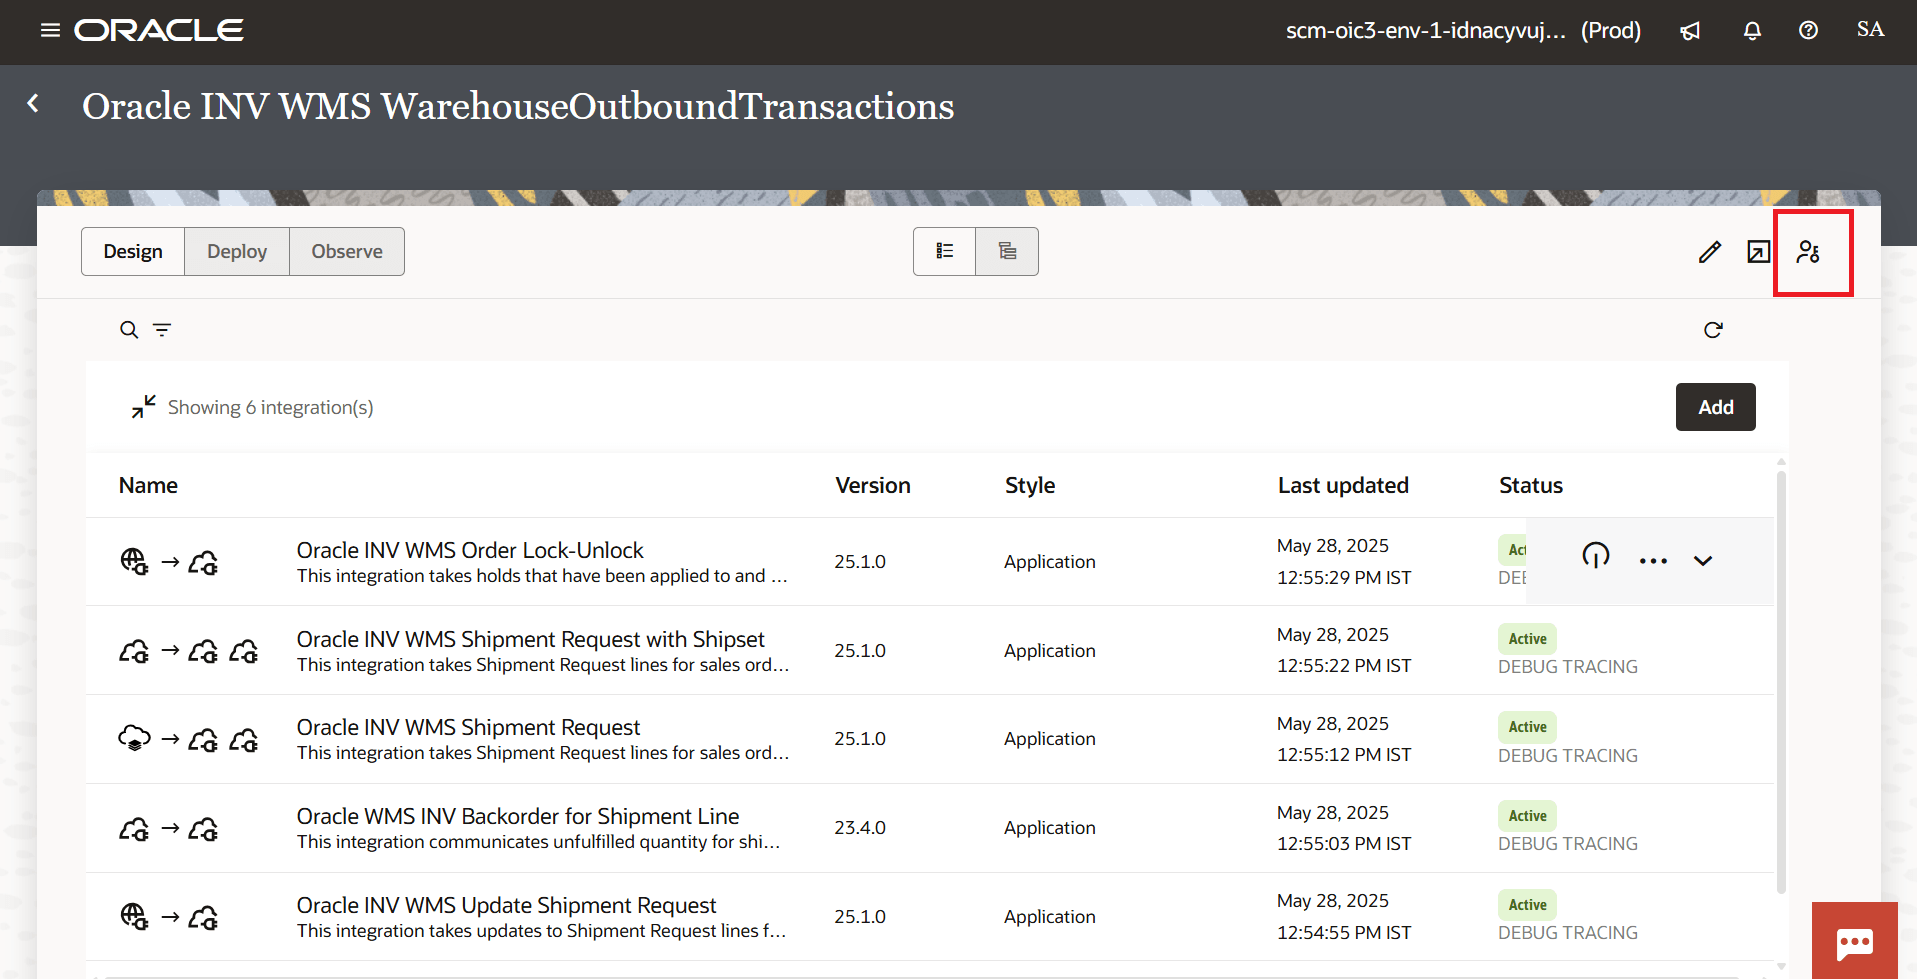
- From the OIC main menu, go to the Projects UI.
- Click the Project.
- Click the Share button in the right top corner, highlighted below:
- In "Can Monitor" filed, select “Everyone” as shown below:
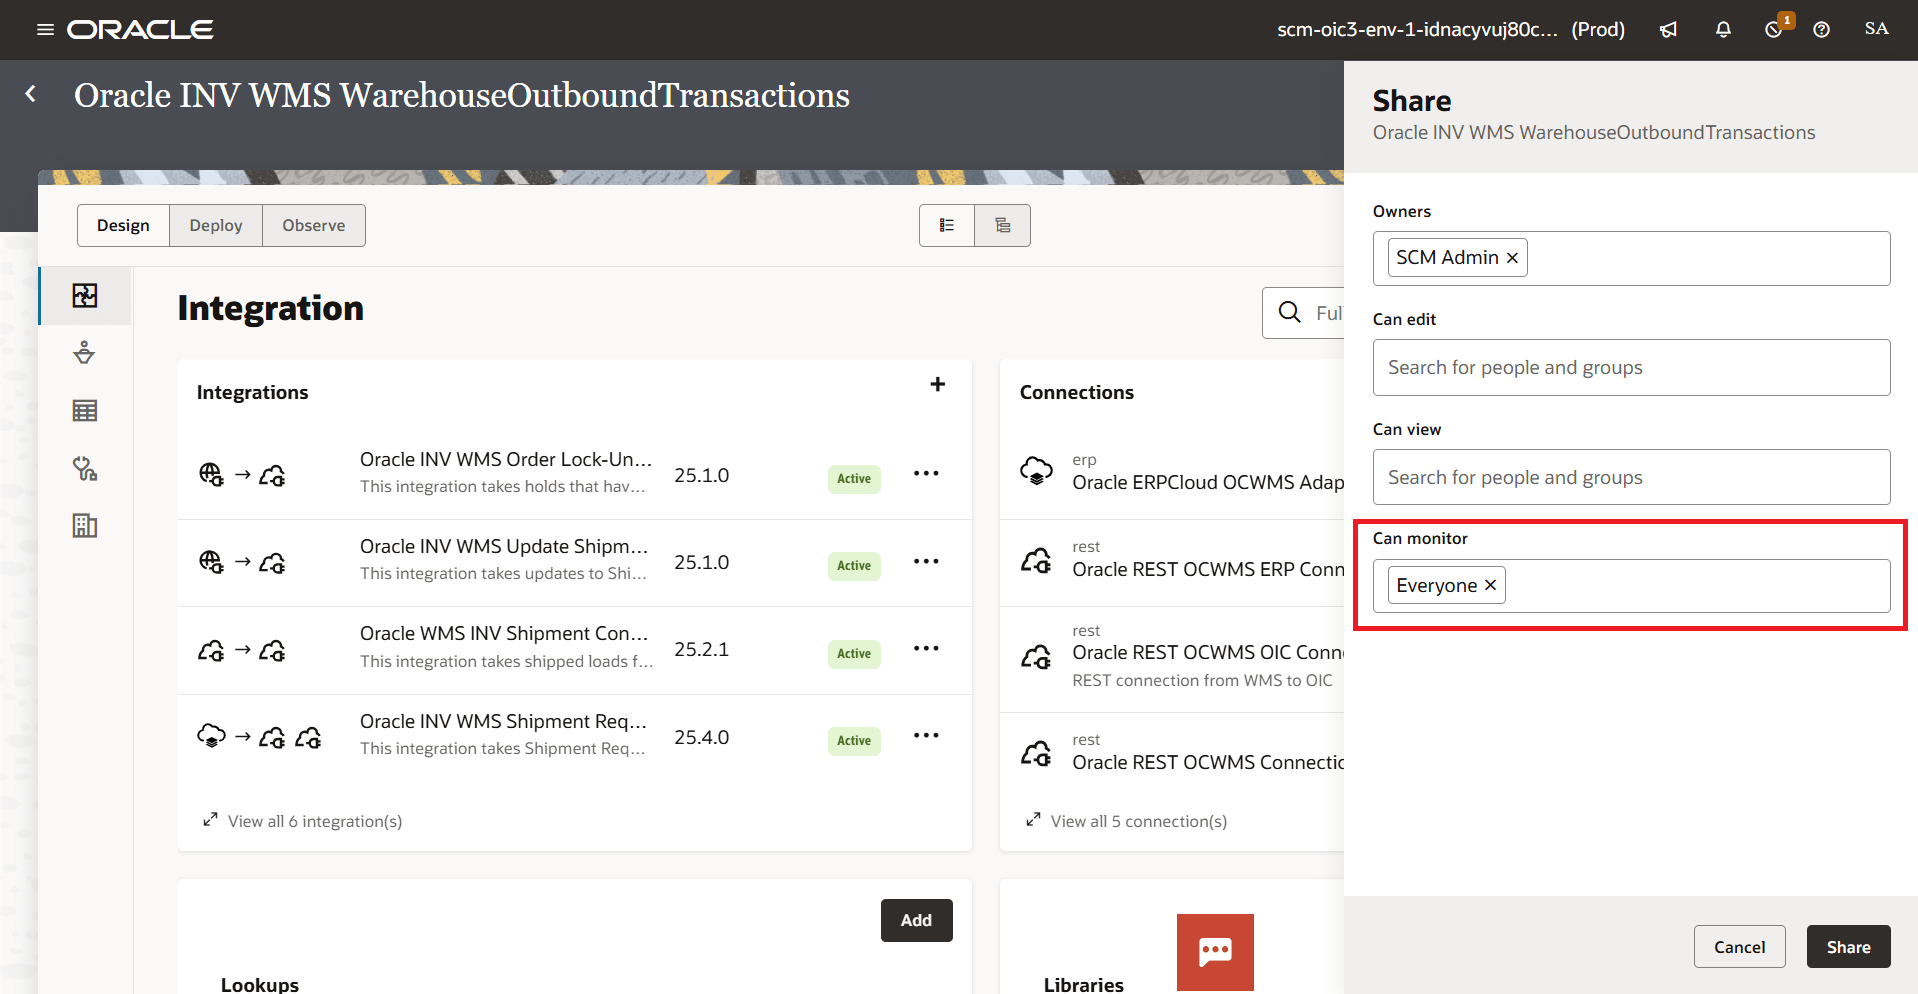 Note: This permission is either Reset or Revoked if project is changed/reloaded. In such case, repeat the steps to re-add the permission.
The intermediatetable - recon_error_count will fetch OIC errors for standard prebuilt integrations (Project Identifier + Integration Identifier) ONLY. You can perform your customization but the customized integration MUST follow the same standard name and integration recipe.
When working on the Reconciliation Workbench, the end points need to be with corresponding integration names. Existing endpoint records will not be updated with an integration name, automatically. Users are required to manually update these if they wish to get the errors per output interfaces on the Reconciliation Workbench.
OIC Configuration for Inventory Discrepancy
To fetch ERP Summaries, you need to enable Oracle INV WMS Fetch Item Quantity Summary (v25.03.00) that invokes a GET API call (inventoryOutboundItemQuantitiesSummaries) to ERP API, initiating an outbound inventory summary. The information captured is mapped to WMS API (STAGE_ERP_INV_SUMMARY) and is then interfaced to WMS.
Refer to the Integration Configuration section for more information.
WMS Configurations for Inventory Discrepancy UI
For the system to fetch the Inventory Discrepancy between WMS and ERP and display in Inventory Discrepancy UI, you need to set following configuration:
- Go to the Schedule Job UI, select the Generate Balance Snapshot Schedule from the Job Type drop-down list.
- Select the Schedule type and configure the required fields.
- In the Job Parameter field, enable or enter Yes in the Generate ERP Inventory Summary flag and Generate Inventory Discrepancies flag.
- Click Save.
- Select the Job Type and click Enable/Disable button to run the scheduler.