20 Managing Console Certificates
You can use the Oracle Key Vault management console to manage console certificates.
- About Managing Console Certificates
Oracle Key Vault enables you to install a certificate signed by a Certificate Authority (CA) for more secure connections. - Step 1: Download the Certificate Request
When you request the console certificate, you can suppress warning messages. - Step 2: Have the Certificate Signed
After you download the Oracle Key Vaultcertificate.csrfile, you can have it signed. - Step 3: Upload the Signed Certificate to Oracle Key Vault
In addition to uploading the signed certificate, you can optionally choose to deactivate and re-activate the certificate. - Console Certificates in Special Use Case Scenarios
Depending on the situation, you must perform additional steps when you use console certificates.
20.1 About Managing Console Certificates
Oracle Key Vault enables you to install a certificate signed by a Certificate Authority (CA) for more secure connections.
You can upload a certificate that was signed by a third-party CA to Oracle Key Vault to prove its identity, encrypt the communication channel, and protect the data that is exchanged throughout the Oracle Key Vault system.
To install a console certificate, you must generate a certificate request, get it signed by a CA, and then upload the signed certificate back to Oracle Key Vault.
Parent topic: Managing Console Certificates
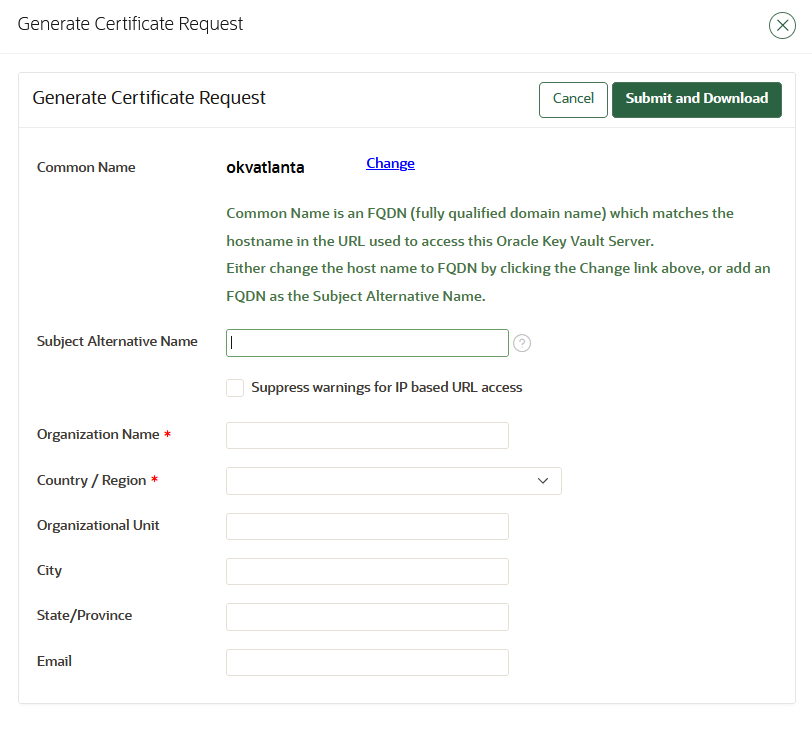
20.2 Step 1: Download the Certificate Request
When you request the console certificate, you can suppress warning messages.
Parent topic: Managing Console Certificates
20.3 Step 2: Have the Certificate Signed
After you download the Oracle Key Vault certificate.csr file, you can have it signed.
- Use any out-of-band method to have the
certificate.csrfile signed by a CA of your choice.
Parent topic: Managing Console Certificates
20.4 Step 3: Upload the Signed Certificate to Oracle Key Vault
In addition to uploading the signed certificate, you can optionally choose to deactivate and re-activate the certificate.
Note:
After having deactivated the certificate, you will be able to reactivate it only until the point that a new certificate request is generated. You must upload a new signed certificate (generated from the new certificate request) rather than reactivating the old certificate in this scenario.Parent topic: Managing Console Certificates
20.5 Console Certificates in Special Use Case Scenarios
Depending on the situation, you must perform additional steps when you use console certificates.
-
Primary-standby environments: If you want to use a console certificate in a primary-standby configuration, then you must install it on the primary and standby servers first, and then pair them.
-
Restored data from a backup: If you install a console certificate, perform a backup, and then restore another Oracle Key Vault appliance from that backup, you must re-install the console certificate on the new server before you can use it. The restore process does not copy the console certificate.
Parent topic: Managing Console Certificates
