3.6.2.1 Saving Selected Features on a Map Into a Dataset

You can save selected features on a map layer into a new spatial analysis dataset.

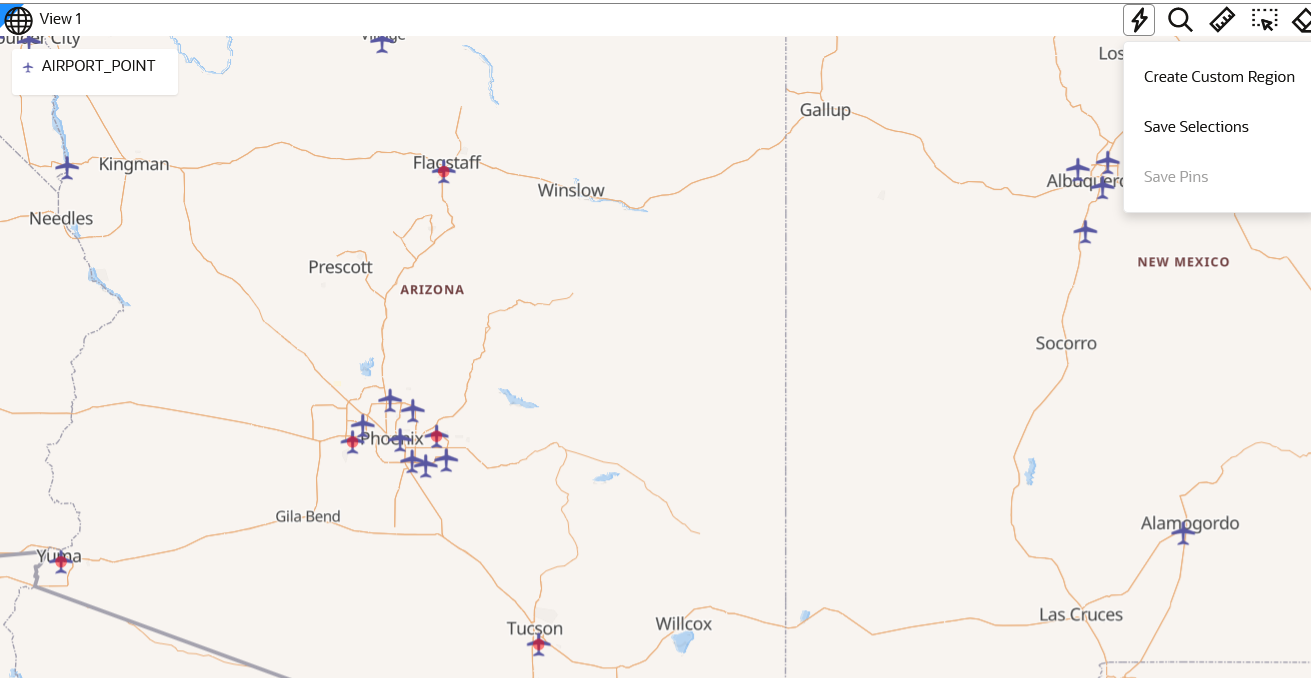
The following steps enable you to save selected features on a map layer into a dataset.

The instructions assume that you have a project opened on your Active Project page.
  1. Select the required features to be saved to the dataset.
    If you are using a Windows system, you can select multiple features using the keyboard shortcut Ctrl+Click.
  2. Click the Actions icon on the map tool bar.
  3. Select Save Selections from the drop-down menu.

    The Save selections dialog opens.

  4. Enter the Analysis name.
  5. Select the required columns from the Save Selections From drop-down list.
  6. Click Run.

    The new (analysis) dataset containing the saved selections is created and gets listed under Analyses on the left pane in the Active Project page. It also appears on the table in the Datasets page.

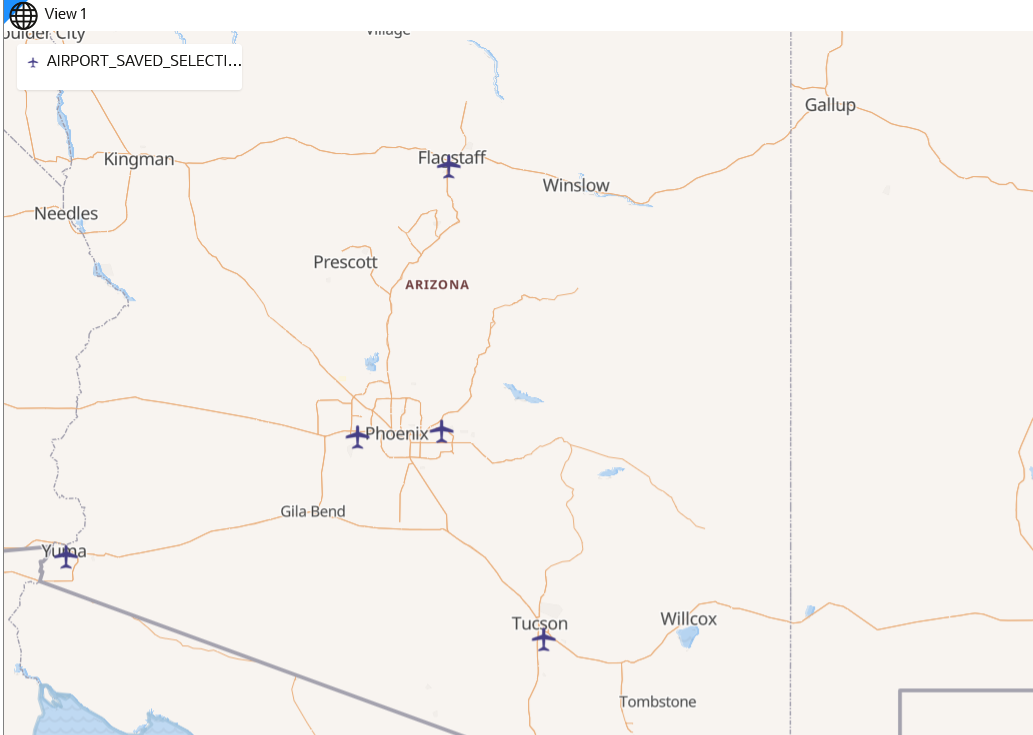
  7. Verify the selection, by dragging and dropping the analysis dataset on the map view.
    You can now view only selected features on the map layer:

    Figure 3-16 Visualizing Saved Selections

    Description of Figure 3-16 follows
    Description of "Figure 3-16 Visualizing Saved Selections"