Access and Enable the Data Share Tool
To share or consume data using the Data Share tool, navigate to the Data Studio, launch the Data Share tool, and enable sharing.
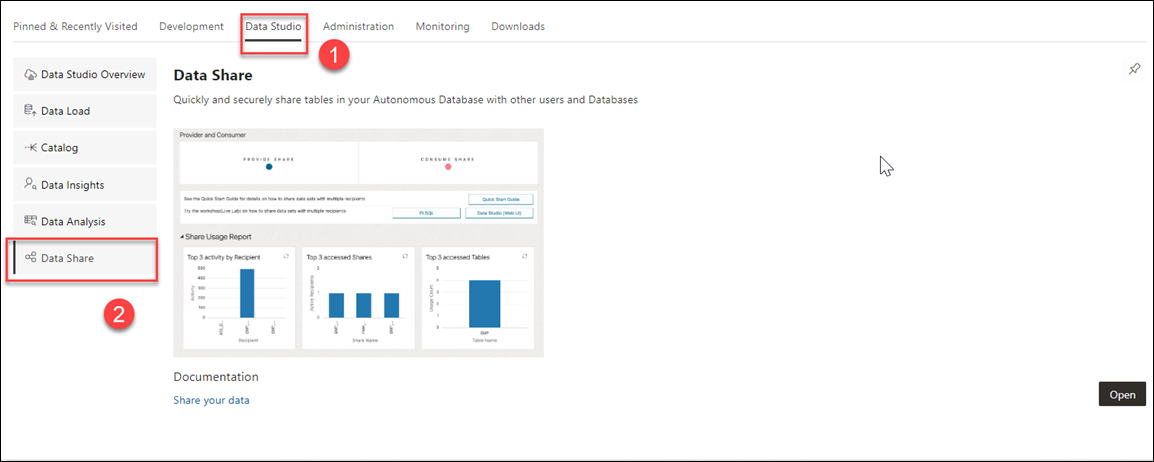
- Navigate to the Launchpad on your Database Actions instance.
- Click the Data Studio tab and select the Data Share pane.
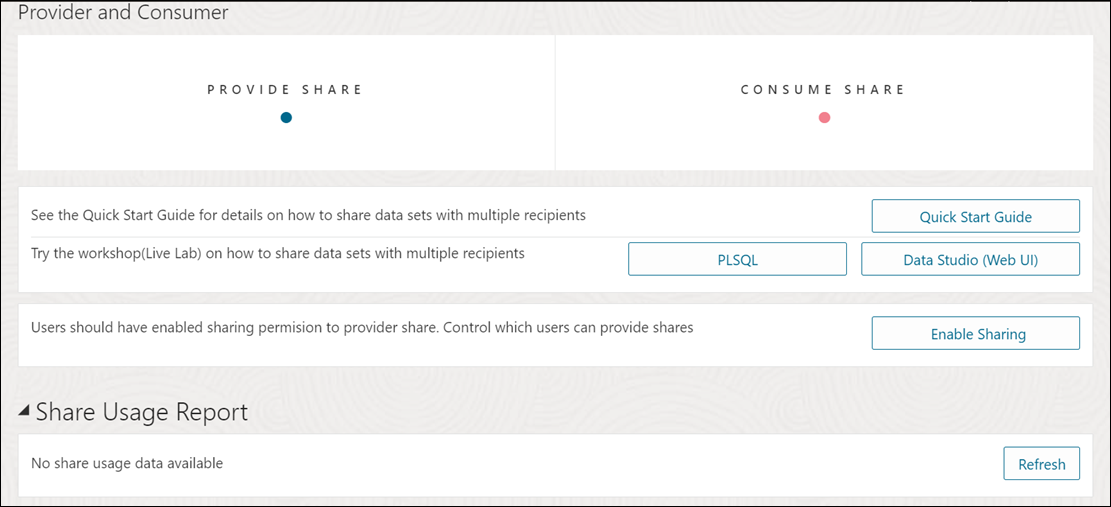
- Clicking the Data Share pane opens a Provider and Consumer page where you can view Provide Share and Consume Share widgets.
Click Provide Share.
- On the Provide Share page, click Enable Sharing.
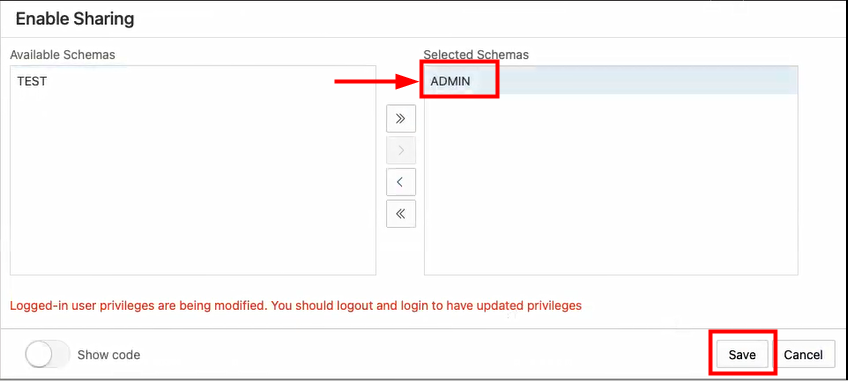
Clicking the Enable Share icon takes you to the Enable Sharing screen where you must select the user schema you want to enable and move it from the Available Schemas column to the Selected Schemas column.
- Click Save.
- Log out and log in again to update privileges.
- You now view the following Provider and Consumer page.
You have now enabled the share. Click Provide Share. On the Provide Share page, click Provider Identification to create a Provider ID. This provides information to the recipient on how to identify you.
See Data Studio Settings on configuring details of the provider.
You can now start sharing your data.
Parent topic: The Data Share Tool


