Pre-create RCU Schemas for Essbase
Essbase platform requires the use of Repository Creation Utility (RCU) schemas for metadata storage.
Use this utility to add or drop a repository (schema).
These schemas are stored in the supported relational database of your choosing. Note that your Essbase applications and cubes are not stored in these schemas; rather, they're in your selected <Application Directory> location on the server where you install Essbase. For more information, see Plan Your Essbase Environment.
Prerequisites
-
You must apply the patches listed as Prerequisites in Configure Essbase on Linux before creating RCU schemas, whether or not you use pre-created schemas.
- If using Microsoft SQL Server (MSSQL) in configuration, you must address the following configuration prerequisite to run the process to ALTER DATABASE and apply the correct collation, and address schema considerations. See Configuring a Microsoft SQL Server Database for the Metadata Services (MDS) Schema.
- Fusion Middleware was installed. See Install Fusion Middleware.
- Supported relational database was installed. See Install a Relational Database.
- Oracle Essbase must be present on your system before you add or drop a schema. See Install Oracle Essbase.
-
Oracle recommends deploying a distinct pluggable database (PDB) for Essbase. You can read about Oracle’s multitenant architecture here: Introduction to Multitenant Architecture.
- No other applications should have access to the Essbase repository schemas generated by the Repository Creation Utility (RCU).
- No one else other than the designated administrator should have permission to access the schemas or their tables.
- No one else should have the credentials to assign or change roles to access the PDB.
- Every change to the PDB should be logged.
Nine RCU schemas are currently required for Essbase and other platform components. When you configure Essbase, you can either
-
use pre-created schemas, or
-
let the Essbase configuration utility create them for you
The following explains how to pre-create RCU schemas using Repository Creation Utility, which is part of Fusion Middleware, instead of letting the Essbase configuration utility create them for you. Pre-creating your own schemas may be useful when you're:
- employing secure HTTPS connection using a wallet
- configuring Essbase, and then you only need to provide the schema prefix
-
In Oracle Home, where Fusion Middleware is installed, open a terminal in
For Linux/oracle_common/bin, and run thercucommand to launch the Repository Creation Utility.
For Windows/scratch/user/oracle_home/oracle_common/bin/rcuC:\scratch\user\dist\oracle_common\bin\rcu.exe -
On the Welcome page, click Next.
-
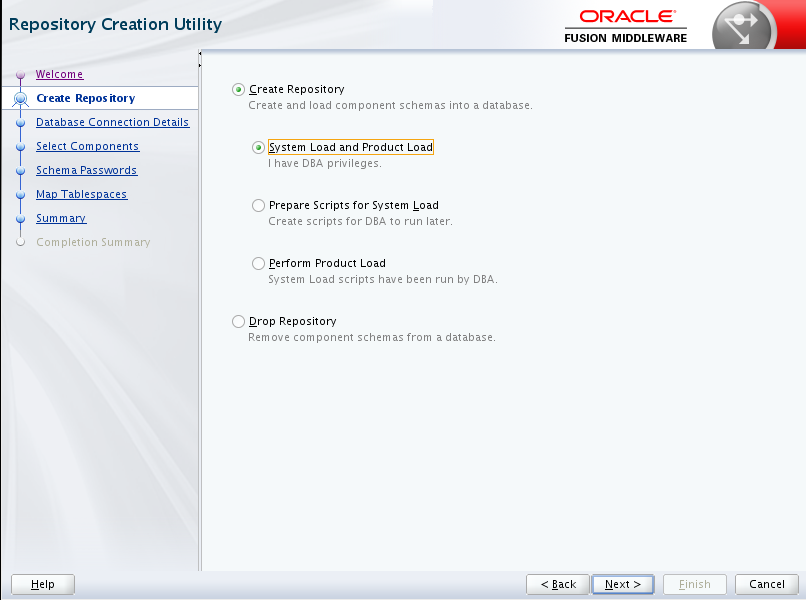
On the Create Repository page, click Create Repository, and click System Load and Product Load.

Click Next.
-
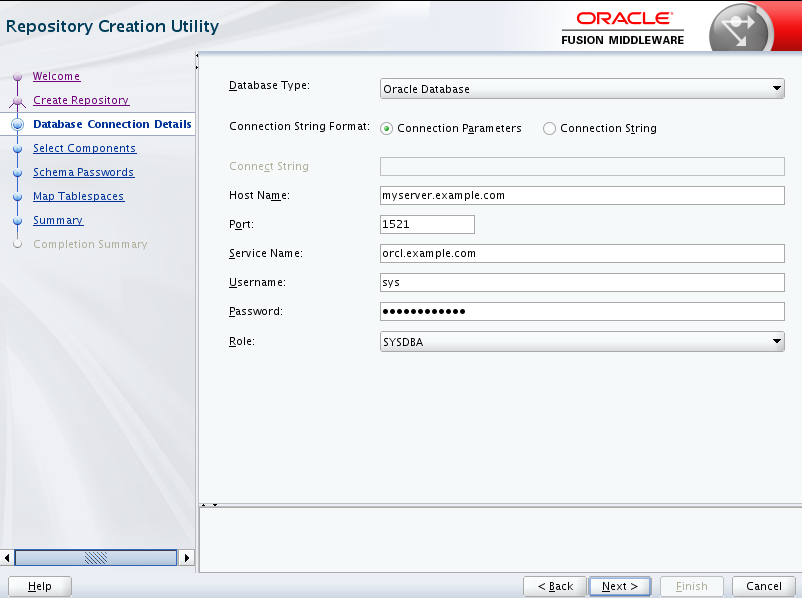
On the Database Connection Details page, leave Connection Parameters selected:

-
Enter options and values:
- Connection String Format - select whether to enter parameters values or use a connection string
- Host Name - fully qualified name of your server (for example, myserver.example.com)
- Port - for the Oracle Database (default is 1521)
- Service Name - for Oracle Database (for example, orcl.example.com)
- Username and Password - for Oracle Database administrator (default administrator user name may be sys)
- Role - leave as default of SYSDBA
-
Click Next.
-
-
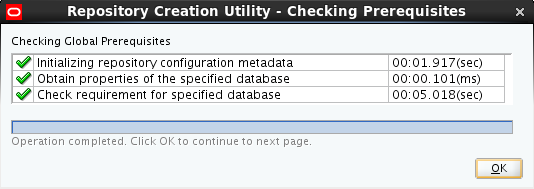
The Repository Creation Utility checks prerequisites. Click OK to continue.

-
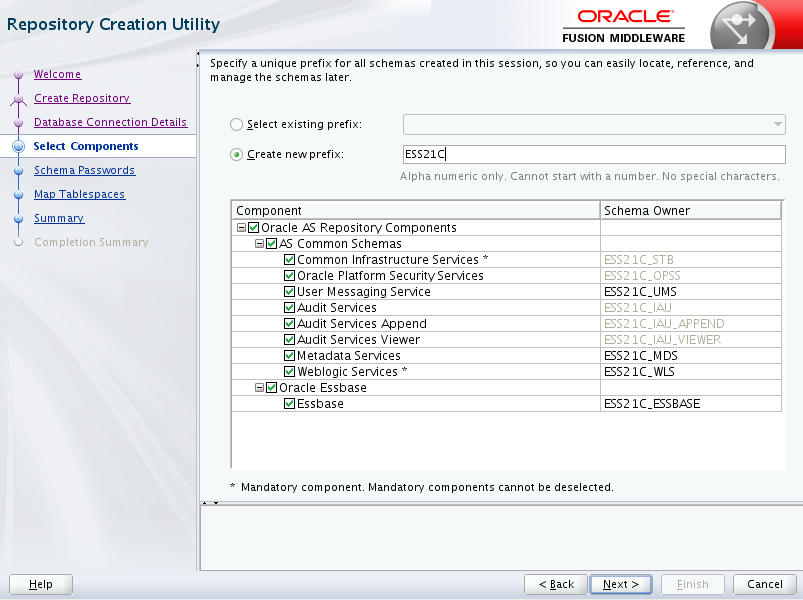
On Select Components page, do the following.

-
Create a new prefix; for example, ESS21C. The prefix must be unique in your database.
-
Select to create schemas for all components. Oracle Essbase and Essbase schema will NOT appear if Essbase hasn't been installed as suggested in the prerequisites.
-
Click Next.
-
-
On Schema Passwords page, enter passwords for the schemas (one shared password). Click Next.
-
On Map Tablespaces page, review the tablespaces and click Next.
-
Click OK to approve creation of new tablespaces in the repository database.
-
Review the Summary page. Optionally, click Save Response File to save your metadata and choices for reuse. Click Create.
-
Wait until Repository Creation Utility completes loading of schemas into the repository.
-
Review the Completion Summary. If status was Success for all components, click Close, otherwise, address any issues.
-
You have completed pre-creating schemas for Essbase and platform components. Now you're ready to configure Essbase.
If you need to delete a repository (schema), or to clean up your Essbase schemas after an uninstall of Essbase, use this same utility. See Delete RCU Schemas for Essbase.