4.2.7.3 Authorized IP Address Menu
4.2.7.3.1 Add Authorized UI IP Address Screen
The User Administration / Authorized IP / Add Authorized UI IP screen lets the user add a new IP address to the list of authorized IP addresses. Note that a pop-up syntax box appears when the cursor is positioned over the input field. See Figure 4-41 for the Add Authorized UIIP screen.
Figure 4-41 Add Authorized UI IP Screen
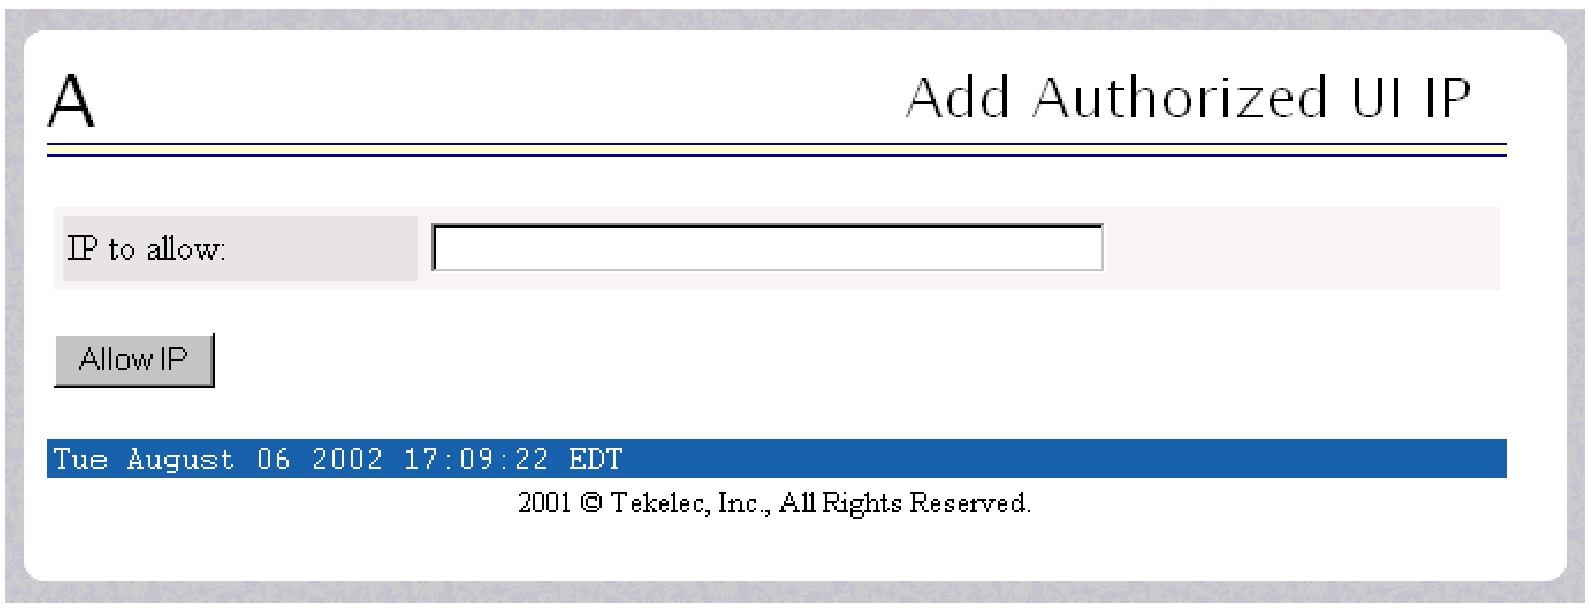
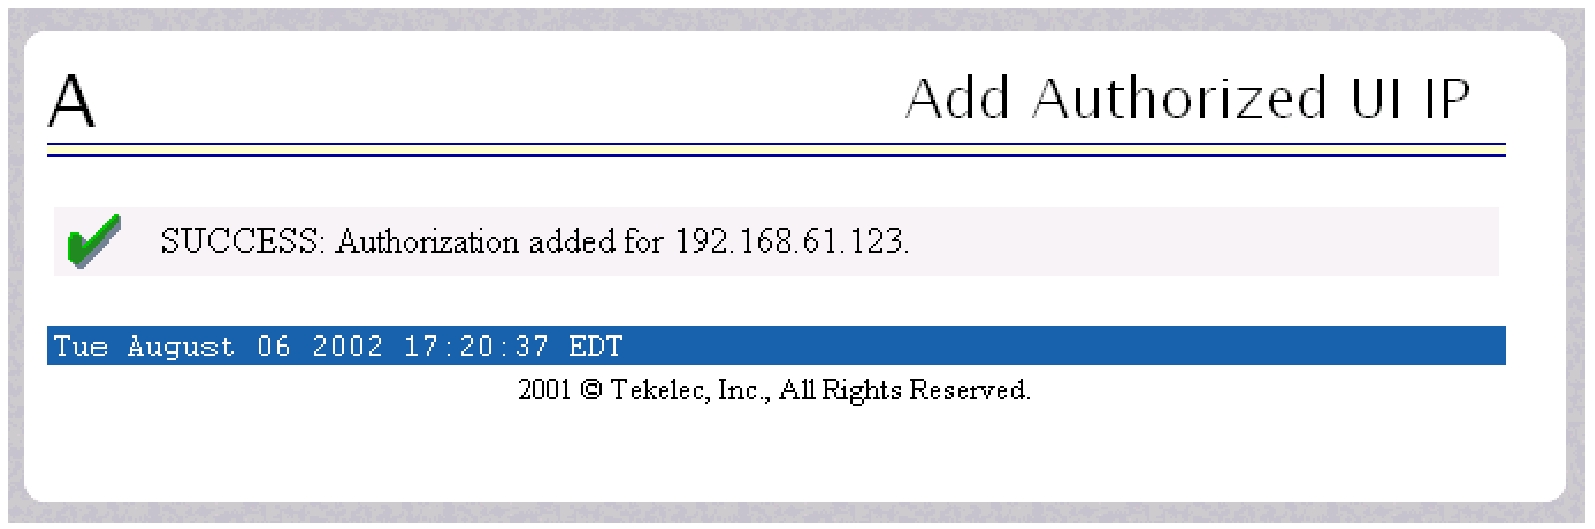
Enter the IP address to be authorized and press the Allow IP button. When an authorized IP address is accepted, the message indicating a successful acceptance of the address appears.
Figure 4-42 Successfully Adding an Authorized UI IP Address
An error notification screen appears when:
-
A duplicate IP address is entered (the address already exists)
-
An attempt to add more than the maximum allowable number of addresses (i.e., more than 1,000)
-
Any internal failure is detected
4.2.7.3.2 Remove Authorized UI IP Address Screen
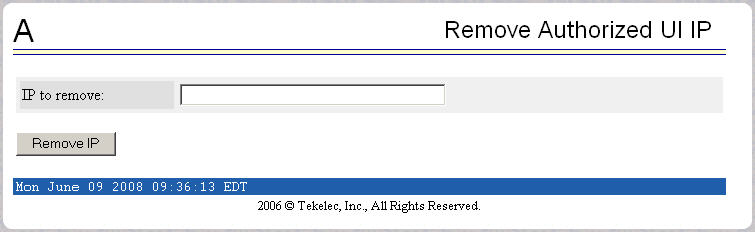
The User Administration / Authorized IP / Remove Authorized UI IP screen lets the user remove an IP address from the list of authorized IP addresses. Enter the individual IP address or Classless Interdomain Routing Format (CIDR) IP format in the IP to Remove field.
Figure 4-43 Remove Authorized UI IP Screen
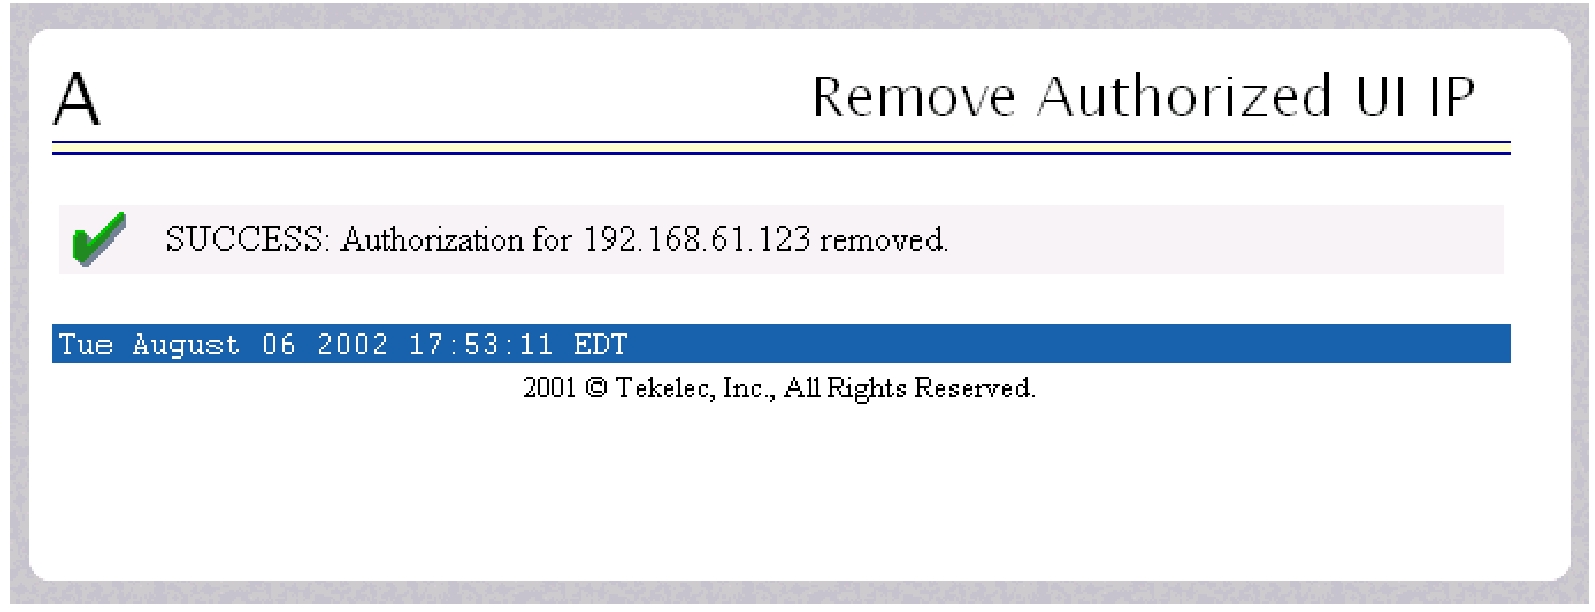
When the authorized IP address is deleted, a message confirming the removal of the specified address appears.
Figure 4-44 Successfully Removing an Authorized UI IP Address
4.2.7.3.3 List All Authorized UI IP Addresses
The User Administration / Authorized IP / List All Authorized UI IPs screen retrieves and displays all authorized IP addresses. The screen also shows whether the authorization list is Enabled or Disabled. See Figure 4-45 for an example of the List All Authorized UI IP address screen.
Figure 4-45 List All Authorized UI IP Addresses Screen
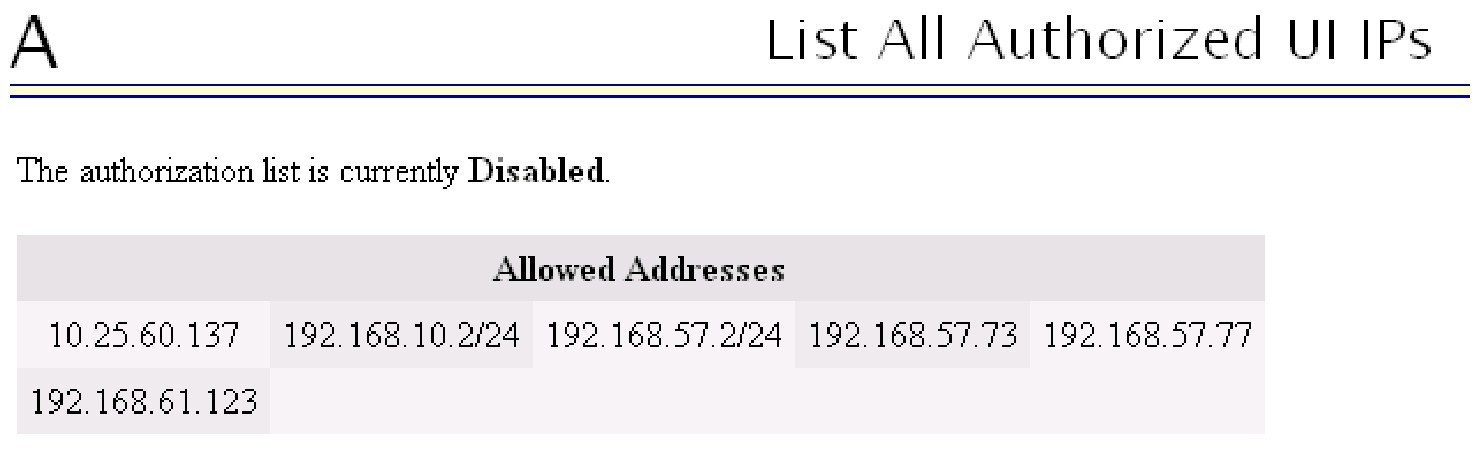
For information about enabling and disabling the authorization list, see Change UI IP Authorization Status.
4.2.7.3.4 Change UI IP Authorization Status
The User Administration / Authorized IP / Change UI IP Authorization Status screen permits toggling (that is, alternating) the state of authorization list between ‘enabled’ and ‘not enabled.’
When this menu option is chosen, the current authorization state is displayed in the INFO field.
Figure 4-46 Change UI IP Authorization Status Screen

If the authorization state is 'NOT Enabled’, click the Enable IP Checking button to toggle the state to 'Enabled'.
In the example above, the figure shows the authorization state is ‘NOT Enabled.’ To toggle the state to Enabled, click the Enable IP Checking button. See Figure 4-47 for an example of the authorization status having been successfully toggled to the opposite state, now ‘Enabled.’
Figure 4-47 Toggling the UI IP Authorization Status
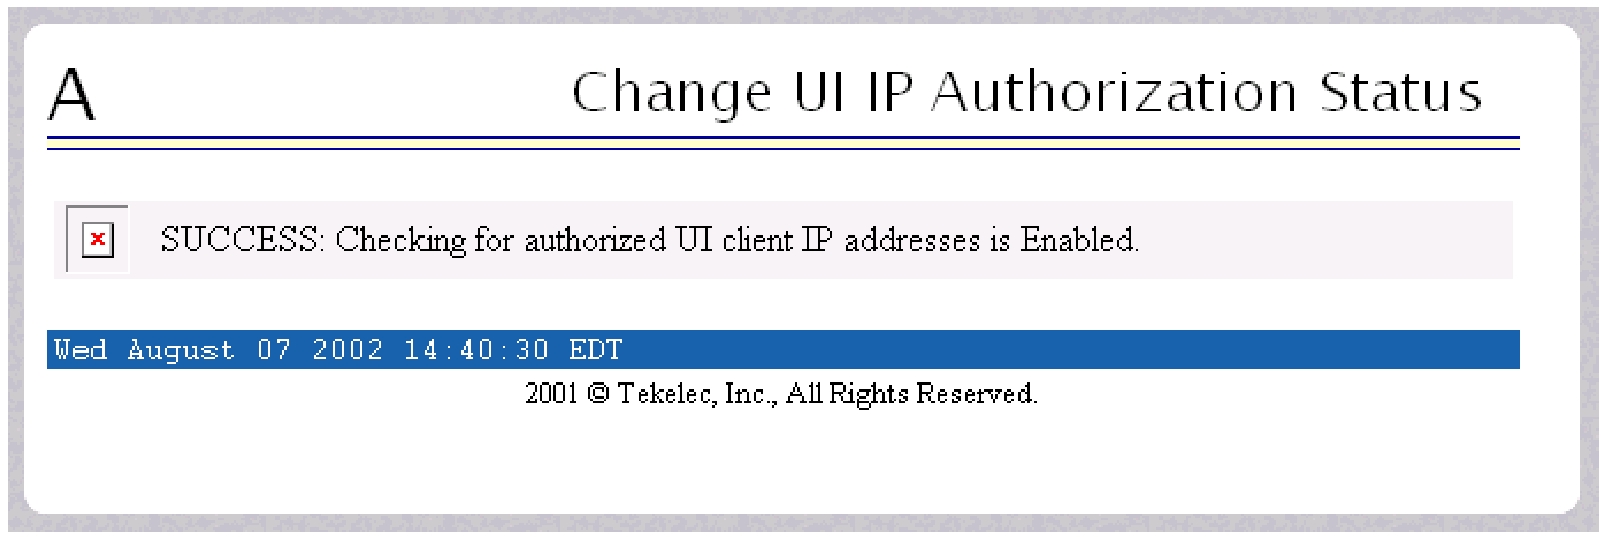
The enforcement of the checking for authorization status is immediate. The IP address of every message of every IP device using the GUI is checked as soon as the authorization status is enabled. The checking for authorized IPs does not occur only when devices log in.