4.1.1 ELAP Support for HTTPS on GUI

The ELAP Support for HTTPS on GUI feature allows users to configure how the GUI can be accessed: by standard HTTP (Hypertext Transfer Protocol), by HTTPS (Secure Hypertext Transfer Protocol), or by both. For a more secure system, Oracle recommends enabling HTTPS and disabling HTTP.

In standard HTTP protocol, the data transfer between the Web server and the GUI is not encrypted; therefore, it can be captured by any network analyzer and viewed.

Secure HTTP (HTTPS) supports encryption of data exchanged between the Web server and the browser.

Note:

When the ELAP GUI is accessed using the HTTPs, there will not be a "Content Block" error for any of the ELAP menus. The HTTPs protocol is recommended over the SuExec protocol. The SuExec protocol is no longer used as of ELAP 10.1.

ELAP allows admin user group members to configure the ELAP GUI. The admin group user can disable HTTP. The ability to configure HTTP and HTTPS and the ability to disable HTTP can be limited to a specific user class or group.

Starting the Non-secure Web-based GUI

To start the non-secure Web-based GUI, open a Web browser (example: Microsoft Edge Chromium). In the Address field, enter one of the following URLs and press Go:

  • http://<ELAP_server_IP_address>/
  • < ELAP_server_IP_address>
  • < ELAP_server_hostname>

If the HTTP interface is disabled, the Web browser displays an error message.

Starting the Secure Web-based GUI

To start the secure Web-based GUI, open a Web browser (example: Microsoft Edge Chromium). In the Address field, enter one of the following URLs and press Go:

  • https://<ELAP_server_IP_address>/

  • https://<ELAP_server_hostname>/

If the HTTPS interface is disabled, the browser displays an error message.

4.1.1.1 Enabling HTTPS

Perform the following procedure to enable HTTPS on ELAP.

  1. Log in to the Active ELAP as either the elapdev user.
  2. Enter the following to enable HTTPS:
    # /usr/TKLC/elap/bin/httpConfig.pl https

    The changed status is displayed.

    
    HTTPS Enabled
    HTTP  Disabled
    
  3. To confirm the status, enter the following:
    # /usr/TKLC/elap/bin/httpConfig.pl status
    
    Http Enable     NO
    Https Enable    YES

4.1.1.2 Installing the Security Certificate

Note:

This procedure is valid on IE only.

Perform the following procedure to install the Security Certificate. For the Select Mate tab to function properly, this procedure must be completed for three ELAP IP addresses: Server A IP, Server B IP, and VIP. The actual dialog boxes, displayed outputs, and required steps for installing the Security Certificate may vary for different versions of Web browsers, Java, and operating systems.
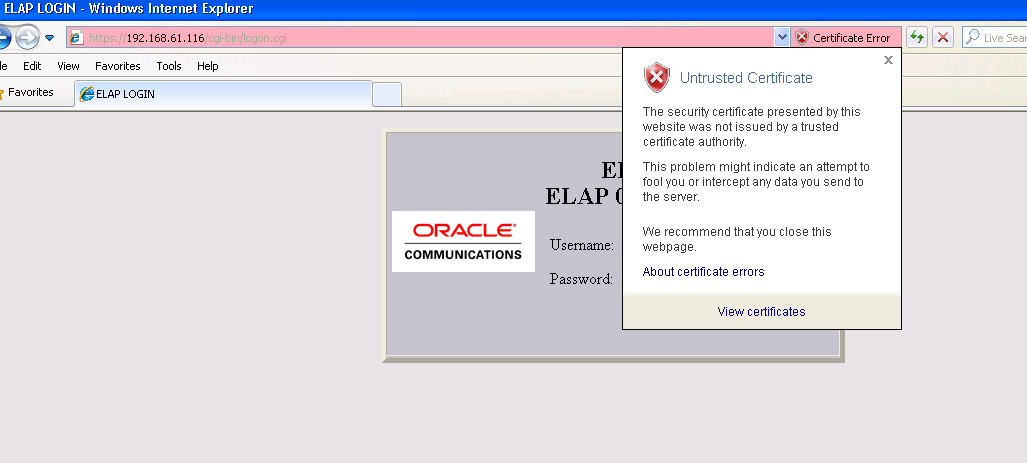
  1. Access the ELAP GUI by opening a Web browser and entering the IP address of ELAP, using HTTPS.

    Figure 4-2 ELAP Login


    ELAP Login
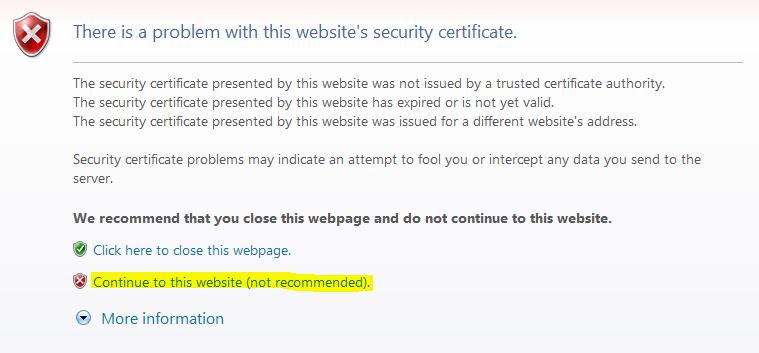
  2. Click on Continue to this website (not recommended).

    Figure 4-3 Security Certificate


    Security Certificate
    The HTTPS Login Page is displayed.

    Figure 4-4 HTTPS Login Page


    HTTPS Login Page

  3. Click on Certificate Error.

    Figure 4-5 Certificate Error


    Certificate Error
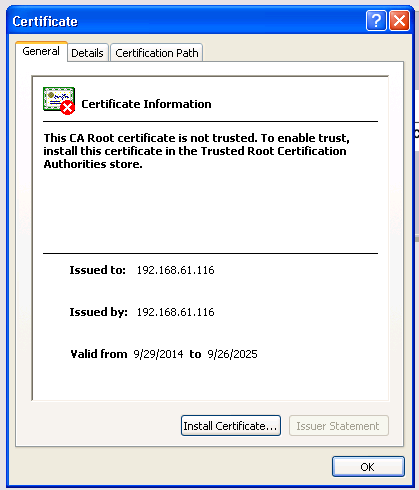
  4. In the popup window titled Certificate Invalid, click on the View certificates link to display the Certificate dialog box.

    Figure 4-6 Certificate


    Certificate
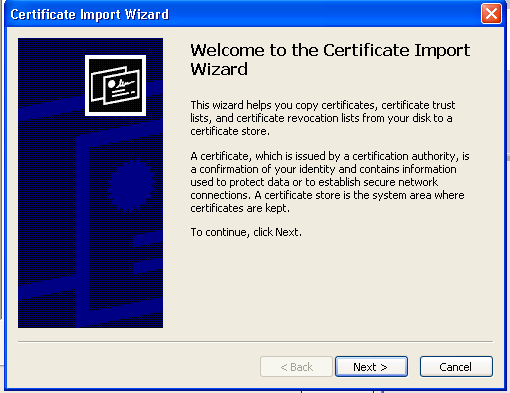
  5. Click Install Certificate to begin the Certificate Import Wizard. The Certificate Import Wizard Welcome page is displayed.

    Figure 4-7 Certificate Import Wizard


    Certificate Import Wizard
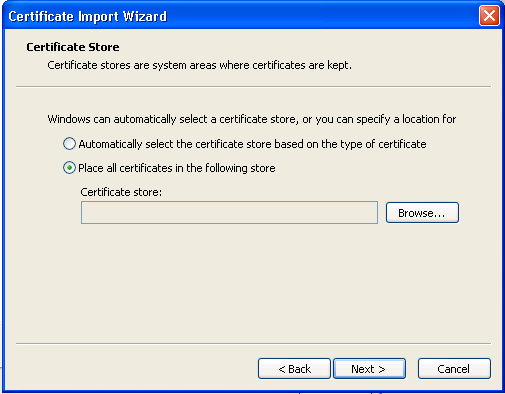
  6. Click on Next to display the Certificate Store page of the Certificate Import Wizard.

    Figure 4-8 Certificate Store


    Certificate Store
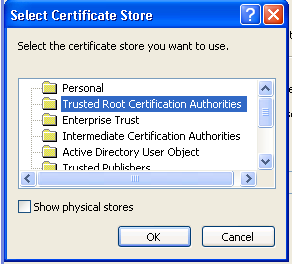
  7. Select the Place all certificates in the following store radio button, then click Browse to display the Select Certificate Store window.

    Figure 4-9 Select Certificate Store


    Select Certificate Store
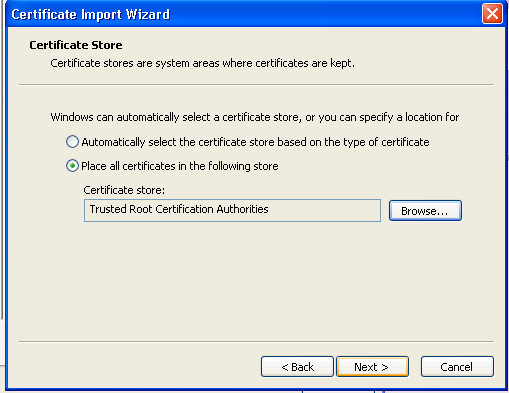
  8. Select the Trusted Root Certification Authorities option and click OK to display the Certificate dialog box.

    Figure 4-10 Certificate Store


    Certificate Store
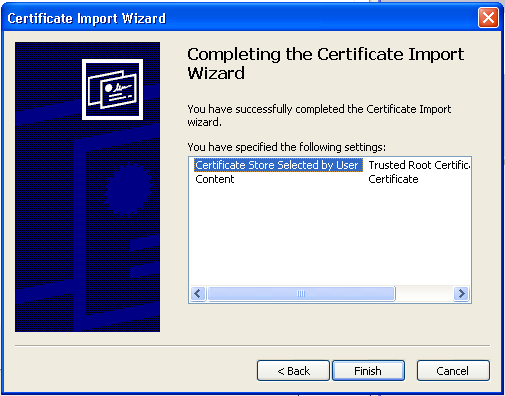
  9. Click Next. The Certificate Import Wizard Completing the Certificate Import Wizard page is displayed:

    Figure 4-11 Completing the Certificate Import Wizard


    Completing the Certificate Import Wizard
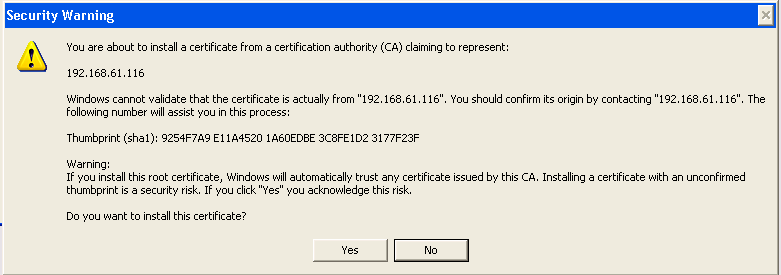
  10. Click Finish. If a Security Warning dialog box is displayed, click Yes.

    Figure 4-12 Security Warning


    Security Warning

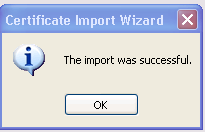
    Figure 4-13 Import Successful


    Import Successful
  11. After the message box The import was successful is displayed, click OK to close the Certificate Import Wizard.
  12. Log in to the ELAP GUI as uiadmin or any other user to verify that all GUI pages are opening successfully.

4.1.1.3 Enabling HTTPS and HTTP

Perform the following steps to enable HTTPS and HTTP.

  1. Log in to the Active ELAP as elapdev user.
  2. Enter the following:
    # /usr/TKLC/elap/bin/httpConfig.pl both

    HTTPS and HTTP are both enabled.

  3. To confirm the status, enter the following:
    # /usr/TKLC/elap/bin/httpConfig.pl status
    
    Http Enable     YES
    Https Enable    YES