1.2 Scan to Pay Flow

This topic provides the systematic instructions to make merchant payments using the Scan to Pay feature.

The steps involved are the same regardless of whether the user has launched the Scan to Pay option from the pre-login page or from under Payments after logging into the futura bank application.

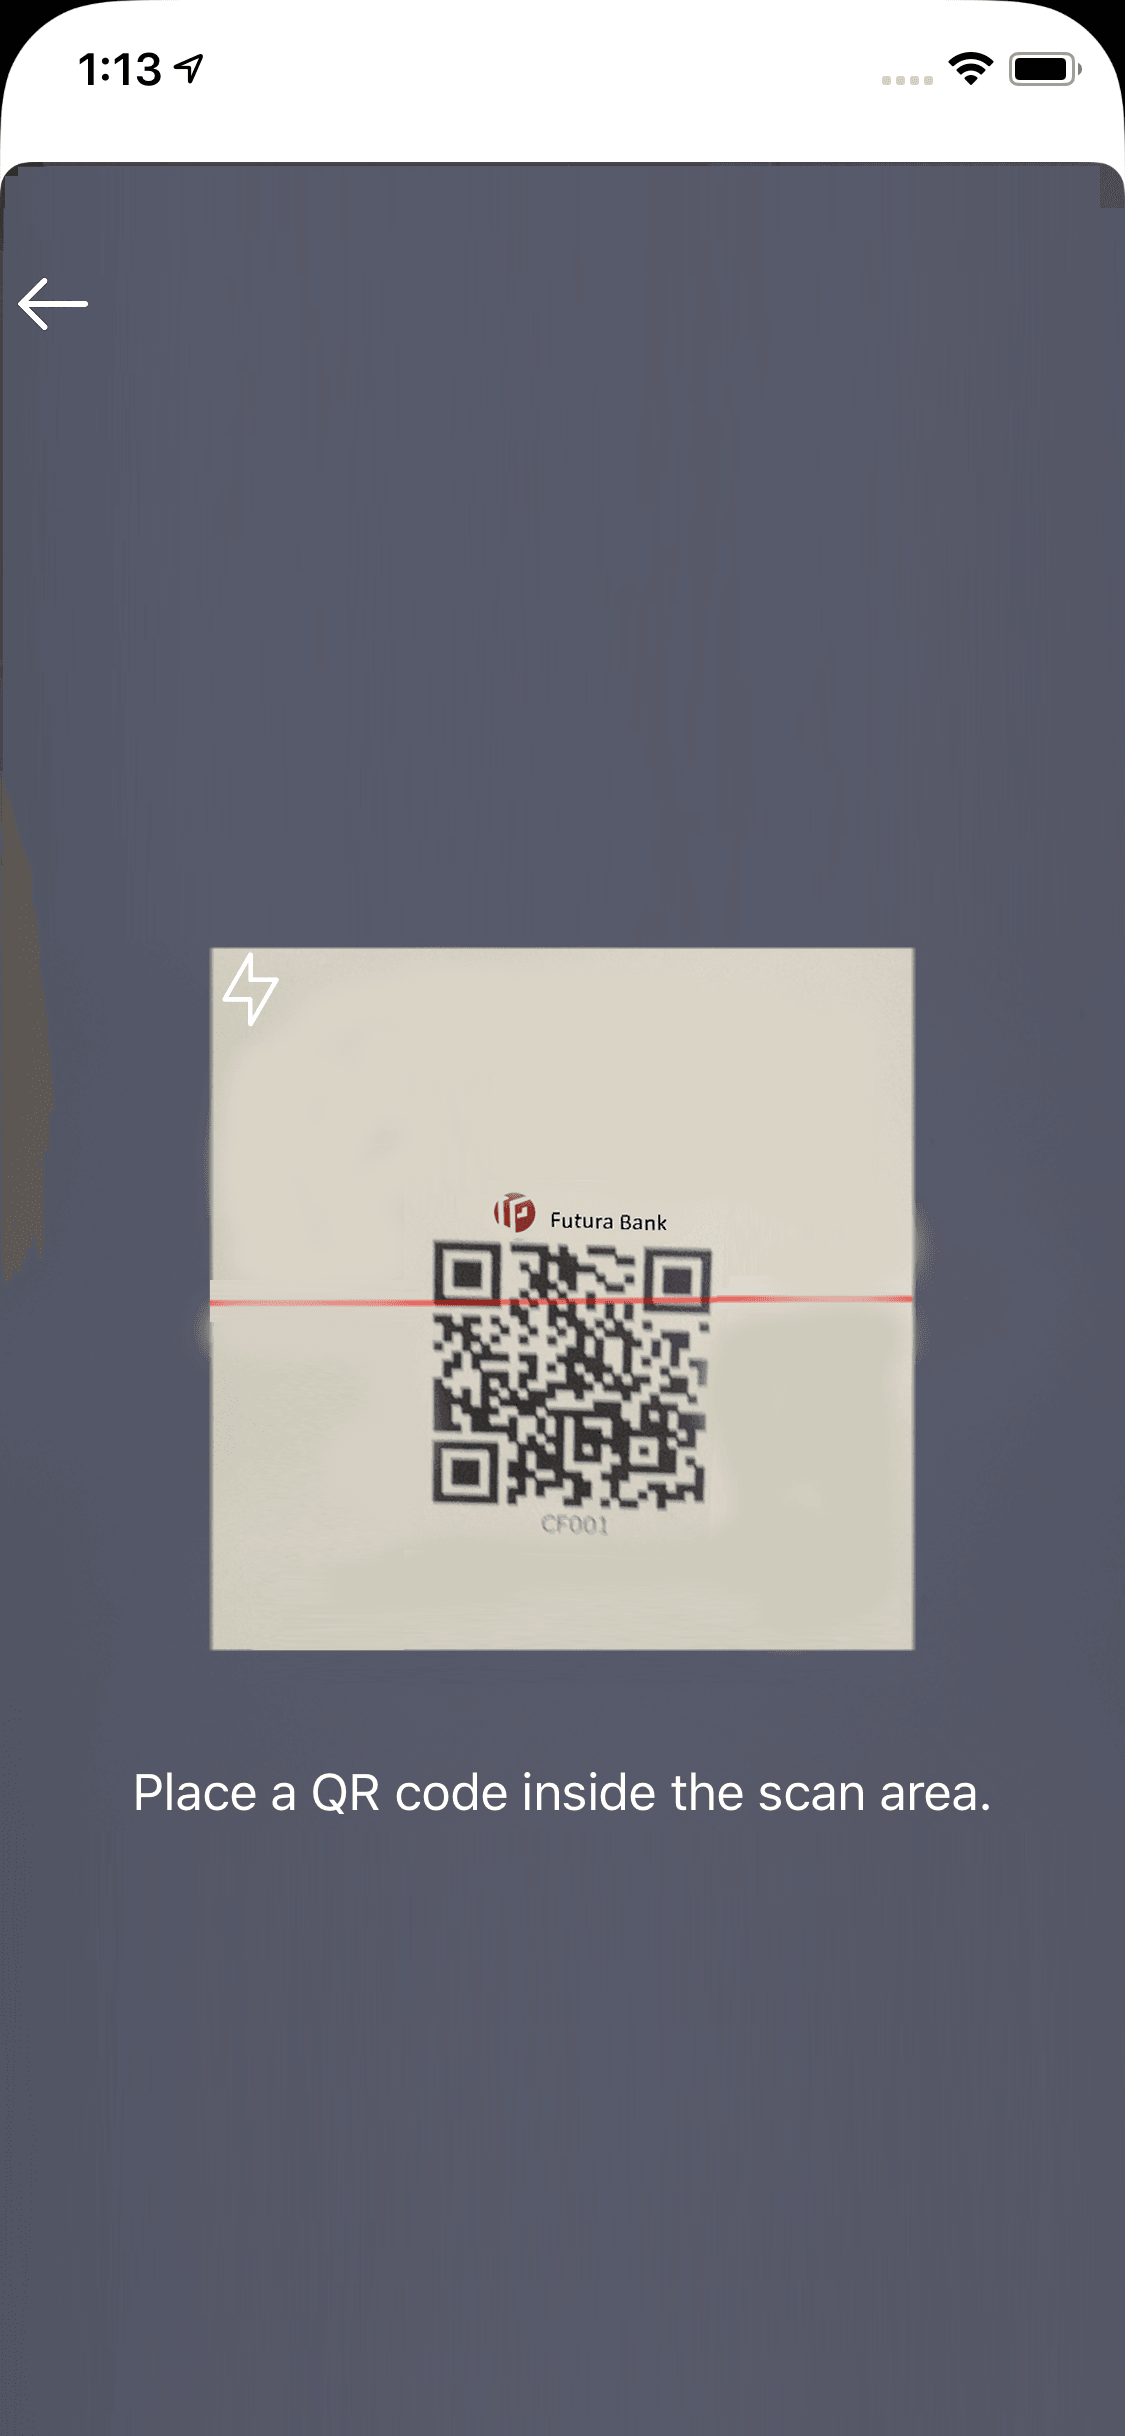
Figure 1-4 Merchant QR code


  1. Scan the QR code within the defined dimensions.

    Figure 1-5 Scanned Merchant QR code


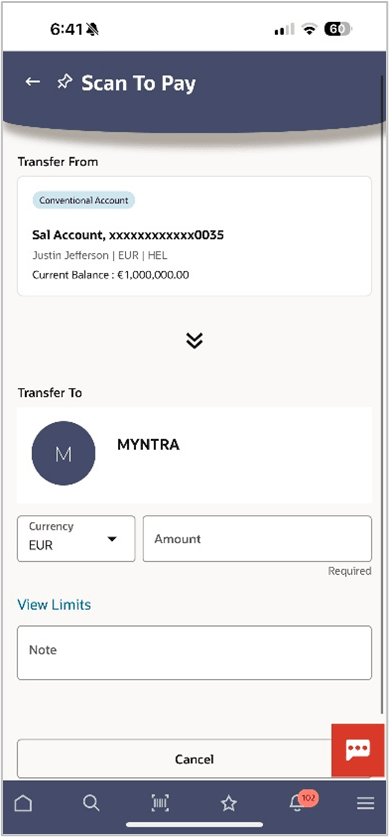
    The system displays the merchant details on successful scanning of the QR code so that the user can confirm that the payment being made is to the intended merchant.

    The Scan to Pay screen appears.

    Note:

    The fields which are marked as Required are mandatory.

    For more information on fields, refer to the field description table.

    Table 1-1 Scan to Pay - Field Description

    Field Name Description
    Transfer From Select the source account or wallet from which the funds are to be transferred.

    By default the primary account is selected.

    Transfer To The system displays the name of the merchant to whom the payment is to be made after having successfully scanned the merchant’s QR code.
    Current Balance The available balance in the selected account appears below the Transfer From field once a source account is selected.
    Currency The currency in which the transfer will take place is displayed. Since only internal transfers are supported through Scan to Pay, the merchant’s account currency is defaulted in this field.
    Amount Specify the amount to be transferred.
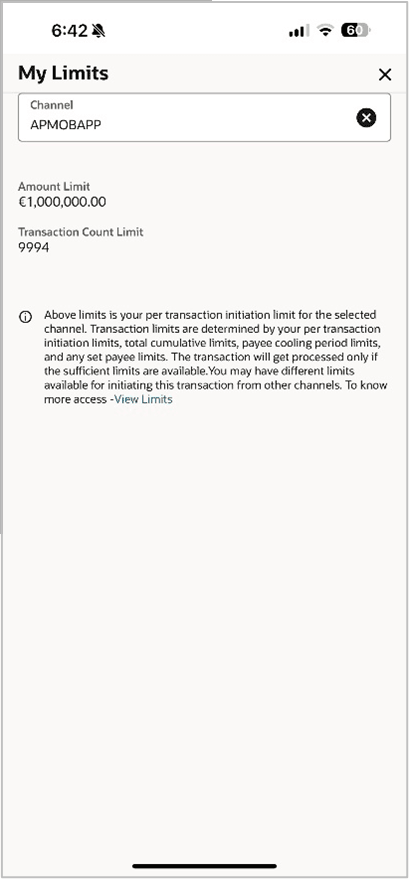
    View Limits Link to view the transaction limits applicable to the user.
    Note Specify remarks, if any, for the transaction. This is an optional field.
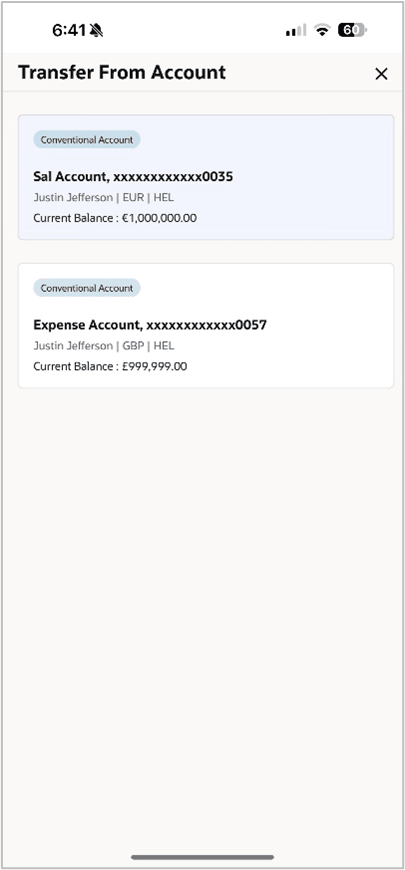
  2. From the Transfer From list, select an account or wallet sfrom which the payment needs to be made to the merchant.
  3. In the Amount field, enter the amount that needs to be transferred to the merchant.
    The user can view the limits applicable for the specific transaction, in order to check the available and utilized limits.

    Figure 1-7 Transfer From Selection


  4. In the Notes field, enter transaction remarks/comments for reference, if any.
  5. Click Confirm to initiate the payment.
    The Review screen appears.
  6. Click Confirm to confirm the payment.
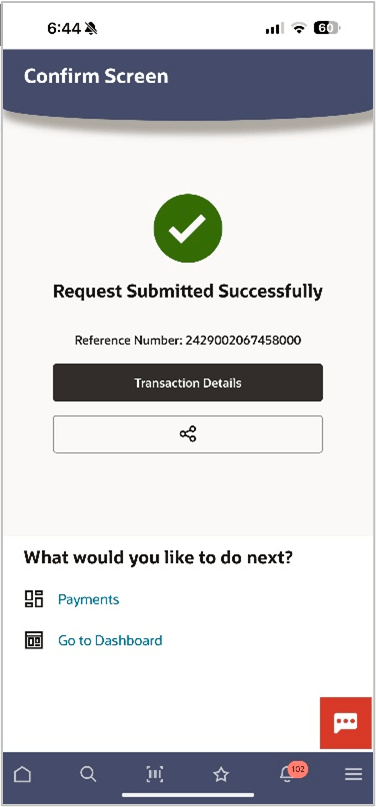
    The success message appears along with the transaction reference number.

    Figure 1-10 Success Message screen


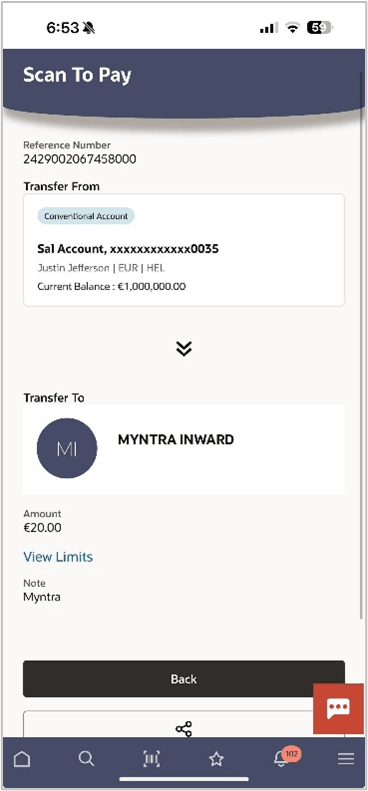
    Figure 1-11 Transaction Details screen