7.6 JMS Connection Factory Creation
This topic explains the systematic instructions to create the JMS Connection Factory in the Weblogic application server.
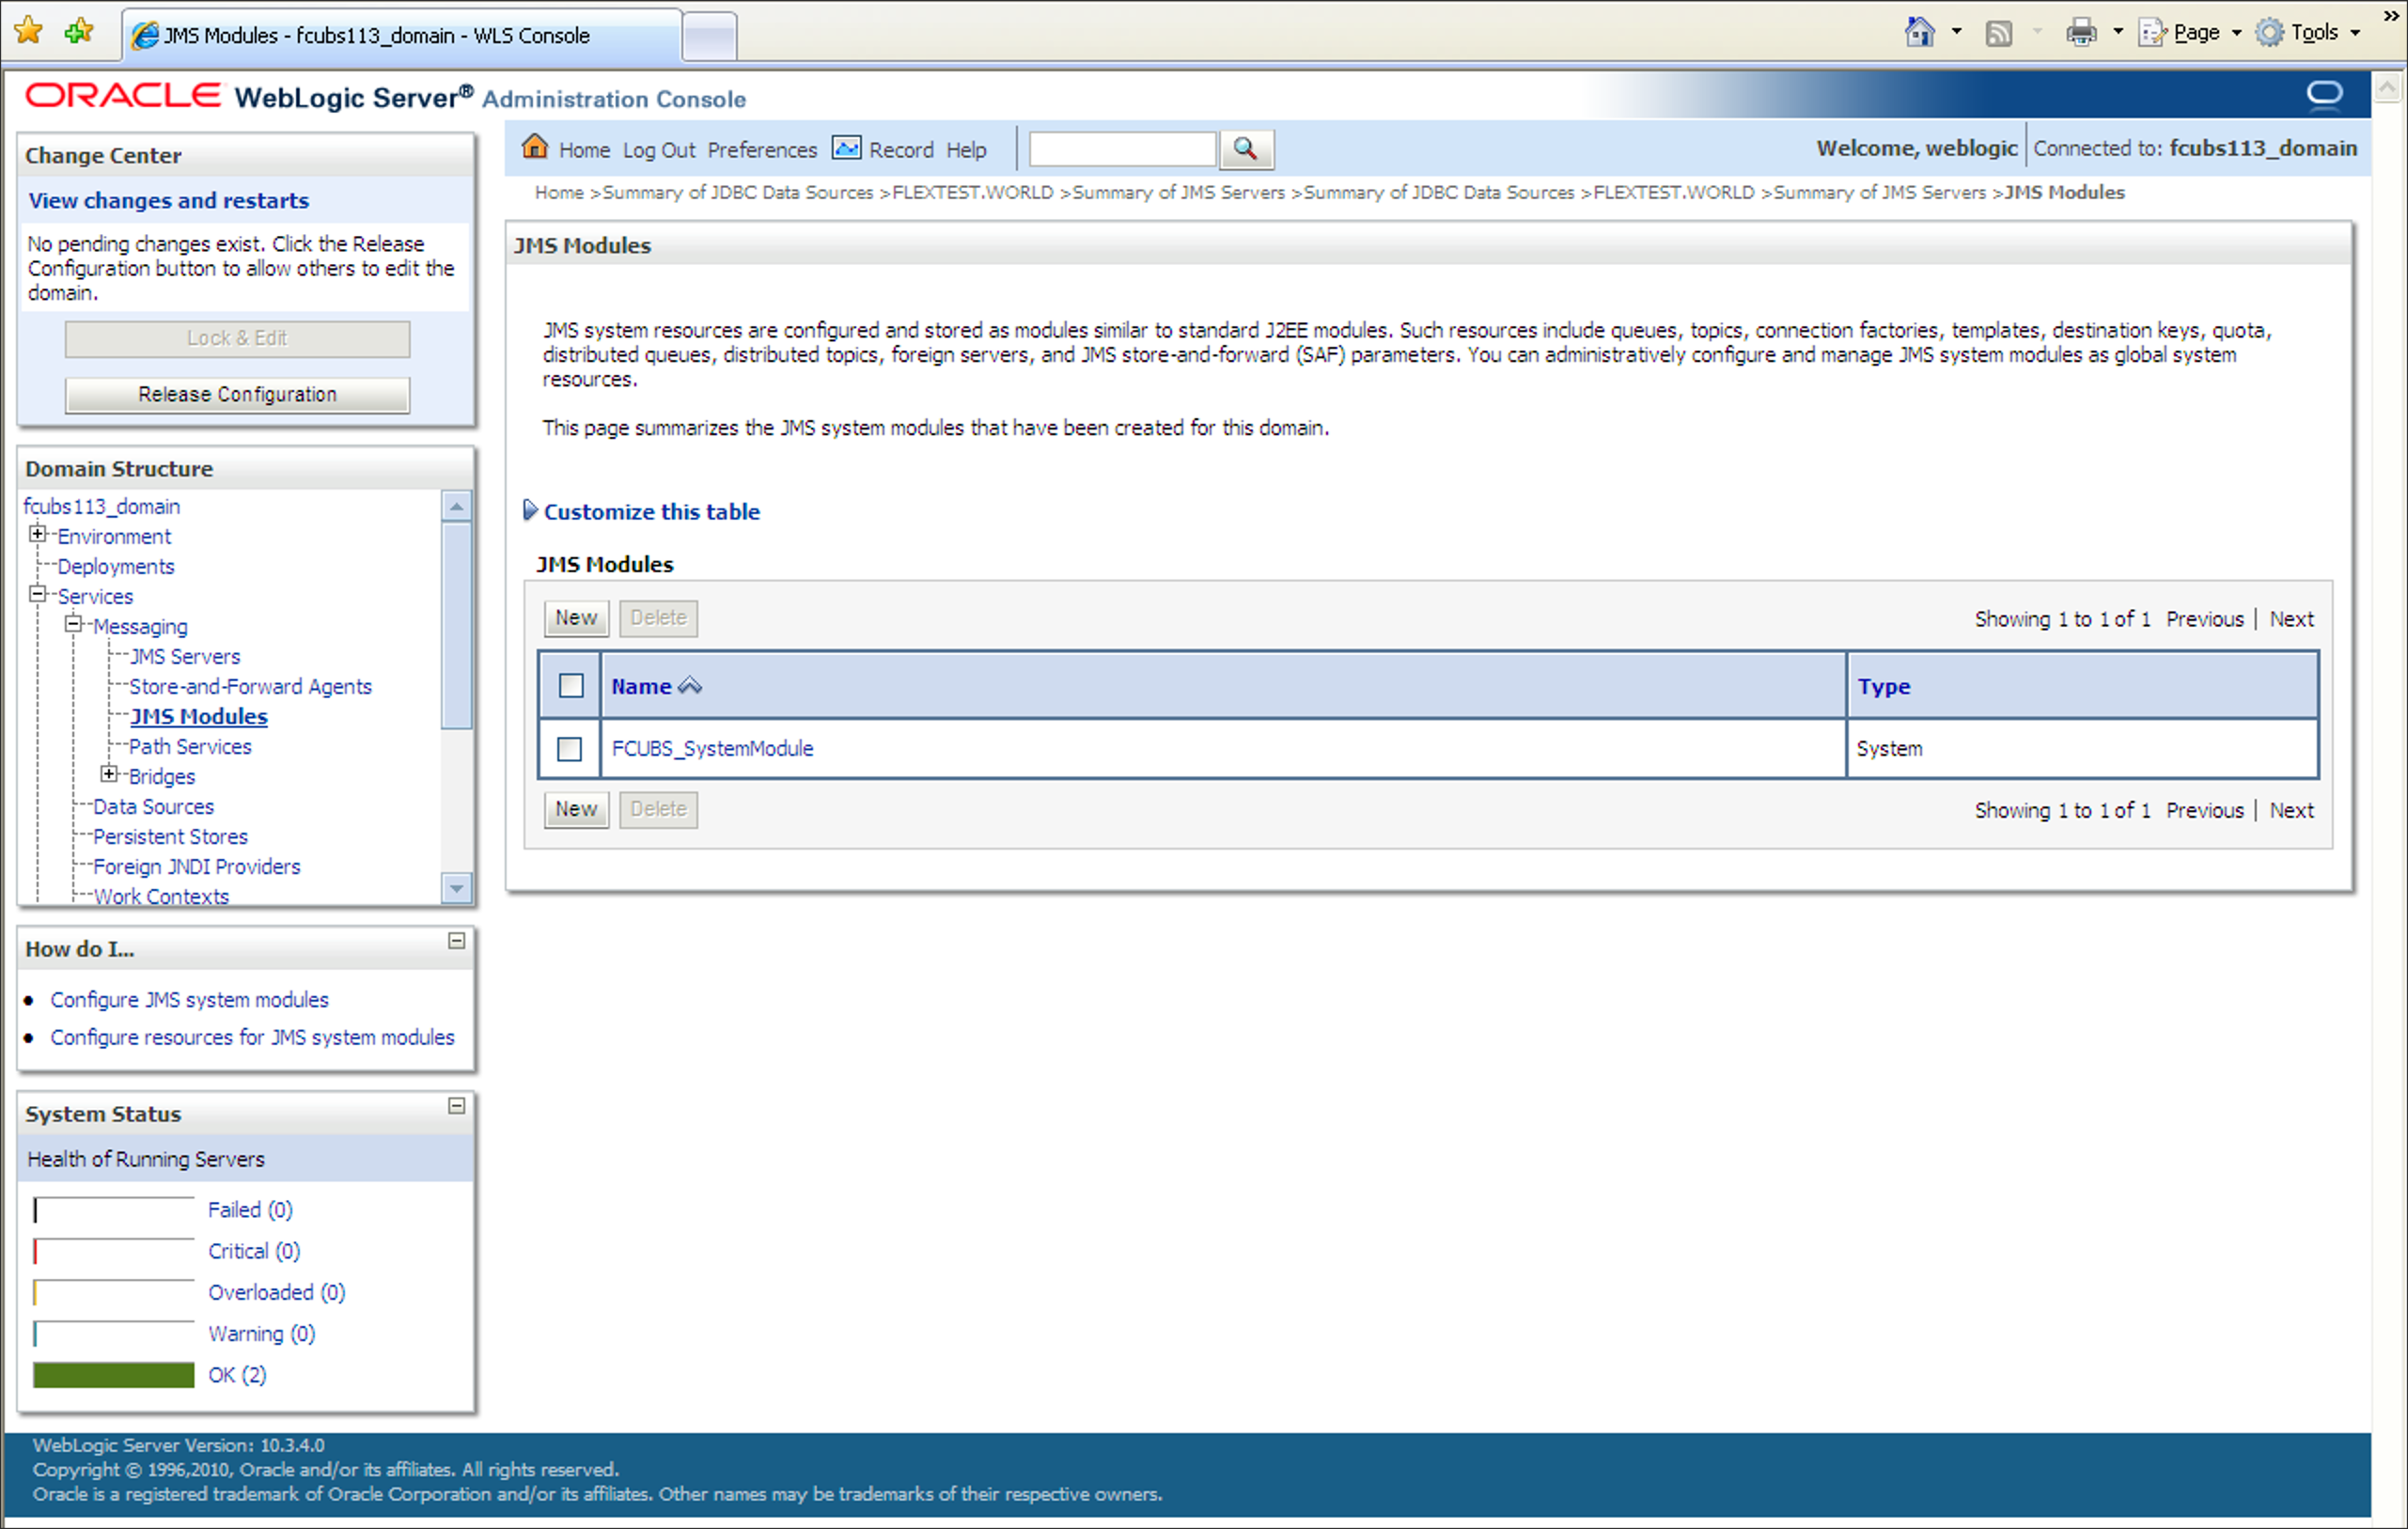
- Select the JMS Module created earlier in the JMS Modules
section.The screen displays the list of JMS modules created.
Figure 7-69 JMS Modules_Select JMS Moduled created
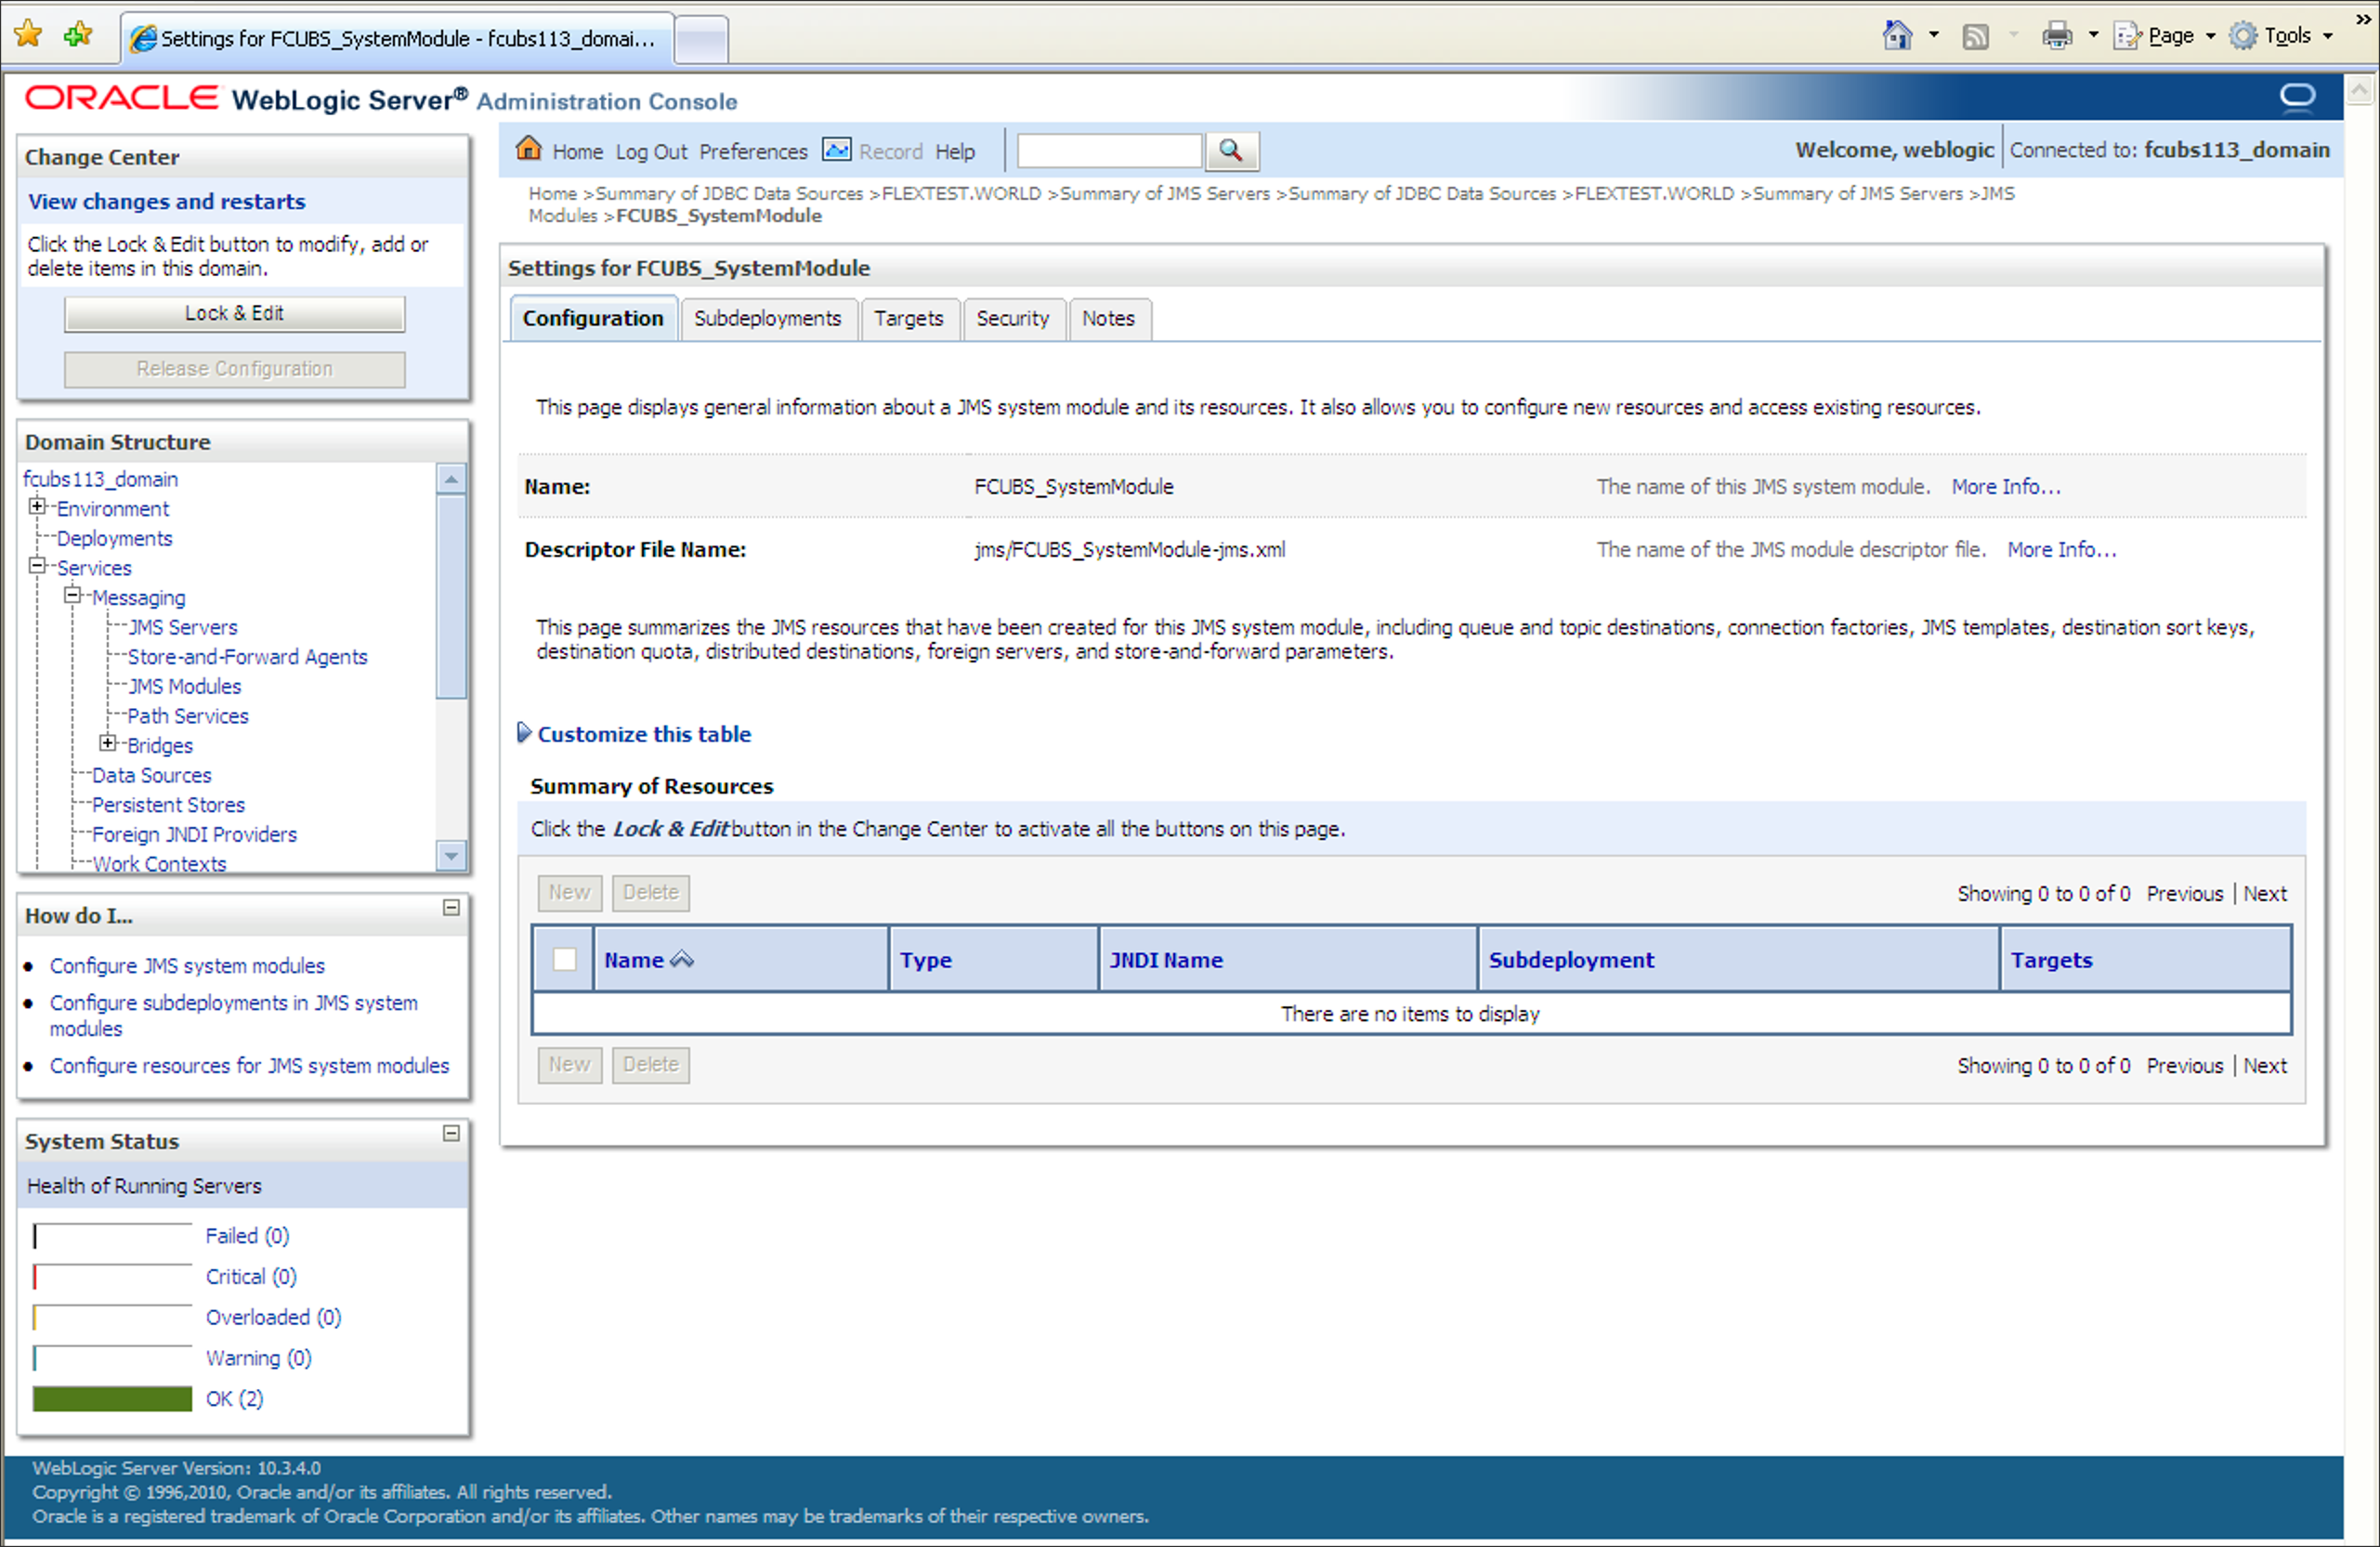
- On the Settings for the SystemModule screen, click the
Configuration tab to configure new resources or to
access the existing resources.Settings for the SystemModule_Configuration tab is displayed.
Figure 7-70 Settings for the SystemModule_Configuration
- Click the Lock & Edit button in the
Change Center. Click New in
the Summary of Resources section to create new
resources.Create a New JMS System Module Resource screen is displayed.
- Select the Connection Factory option and click
Next.Create a New JMS System Module Resource_Connection Factory Properties screen is displayed.
Figure 7-71 Create a New JMS System Module Resource - Connection Factory Properties
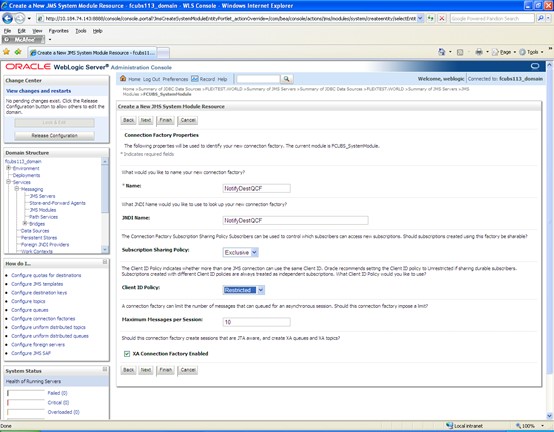
- On the Connection Factory Properties screen, specify the
fields.For more information on fields, refer to the field description table.
Table 7-9 Connection Factory Properties
Filed Description Name Specify the Name of the Connection factory asNotifyDestQCF. JNDI Name Specify the JNDI Name as NotifyDestQCF. Client ID Policy Select the Client ID policy as Restricted from the drop-down. - Select the box XA Connection Factory Enabled.
- Click Next to use the default target for new JMS system
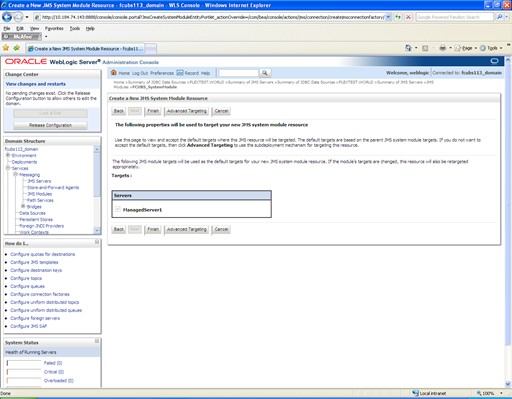
module resource.The default targets are based on the parent JMS system module targets.Create a New JMS System Module Resource_Select Targets screen is displayed.
Figure 7-72 Create a New JMS System Module Resource - Targets
- Click Advanced Targeting to use the subdeployment
mechanism for targeting this source.The screen displays the targets you want to assign to this subdeployment.
Figure 7-73 Create a New JMS System Module Resource - Advance Targeting
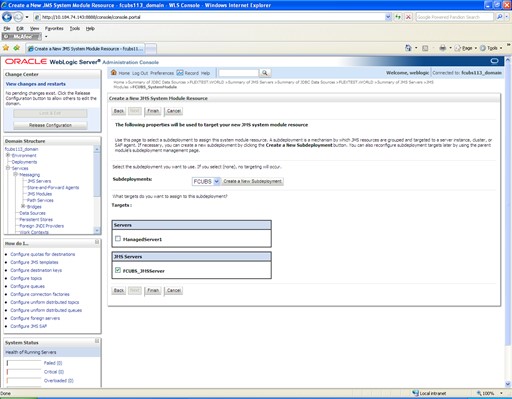
- Select the Subdeployments as FCIS from the drop-down list.
- Under the JMS Servers, check the box against Managed Server.
- Click Finish.The message Connection Factory created successfully is displayed.Settings for the SystemModule_Messages screen is displayed.
Figure 7-74 Settings for FCUBS_SystemModule - Messages
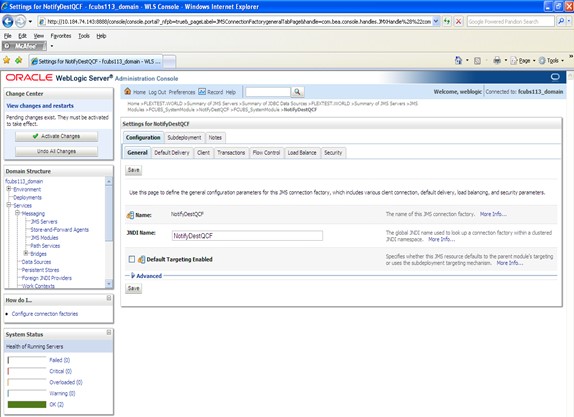
- Click the Connection Factory NotifyDestQCF to have the
XA Connection Factory enabled.Settings for NotifyDestQCF screen is displayed.
Figure 7-75 Settings for NotifyDestQCF

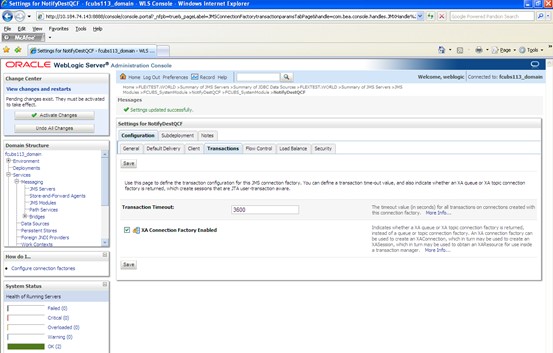
- Click the Transactions tab.Settings for NotifyDestQCF_Transactions screen is displayed.
Figure 7-76 Settings for NotifyDestQCF - Transactions
- On the Settings for NotifyDestQCF_Transactions screen, you can define the transaction timeout value.
- Check the box XA Connection Factory Enabled.
- Click Save.The message Settings updated successfully is displayed.Settings for NotifyDestQCF_Messages screen is displayed.
Figure 7-77 Settings for NotifyDestQCF - Messages
- Click the Activate Changes button in the
Change Center section of the screen to accept the
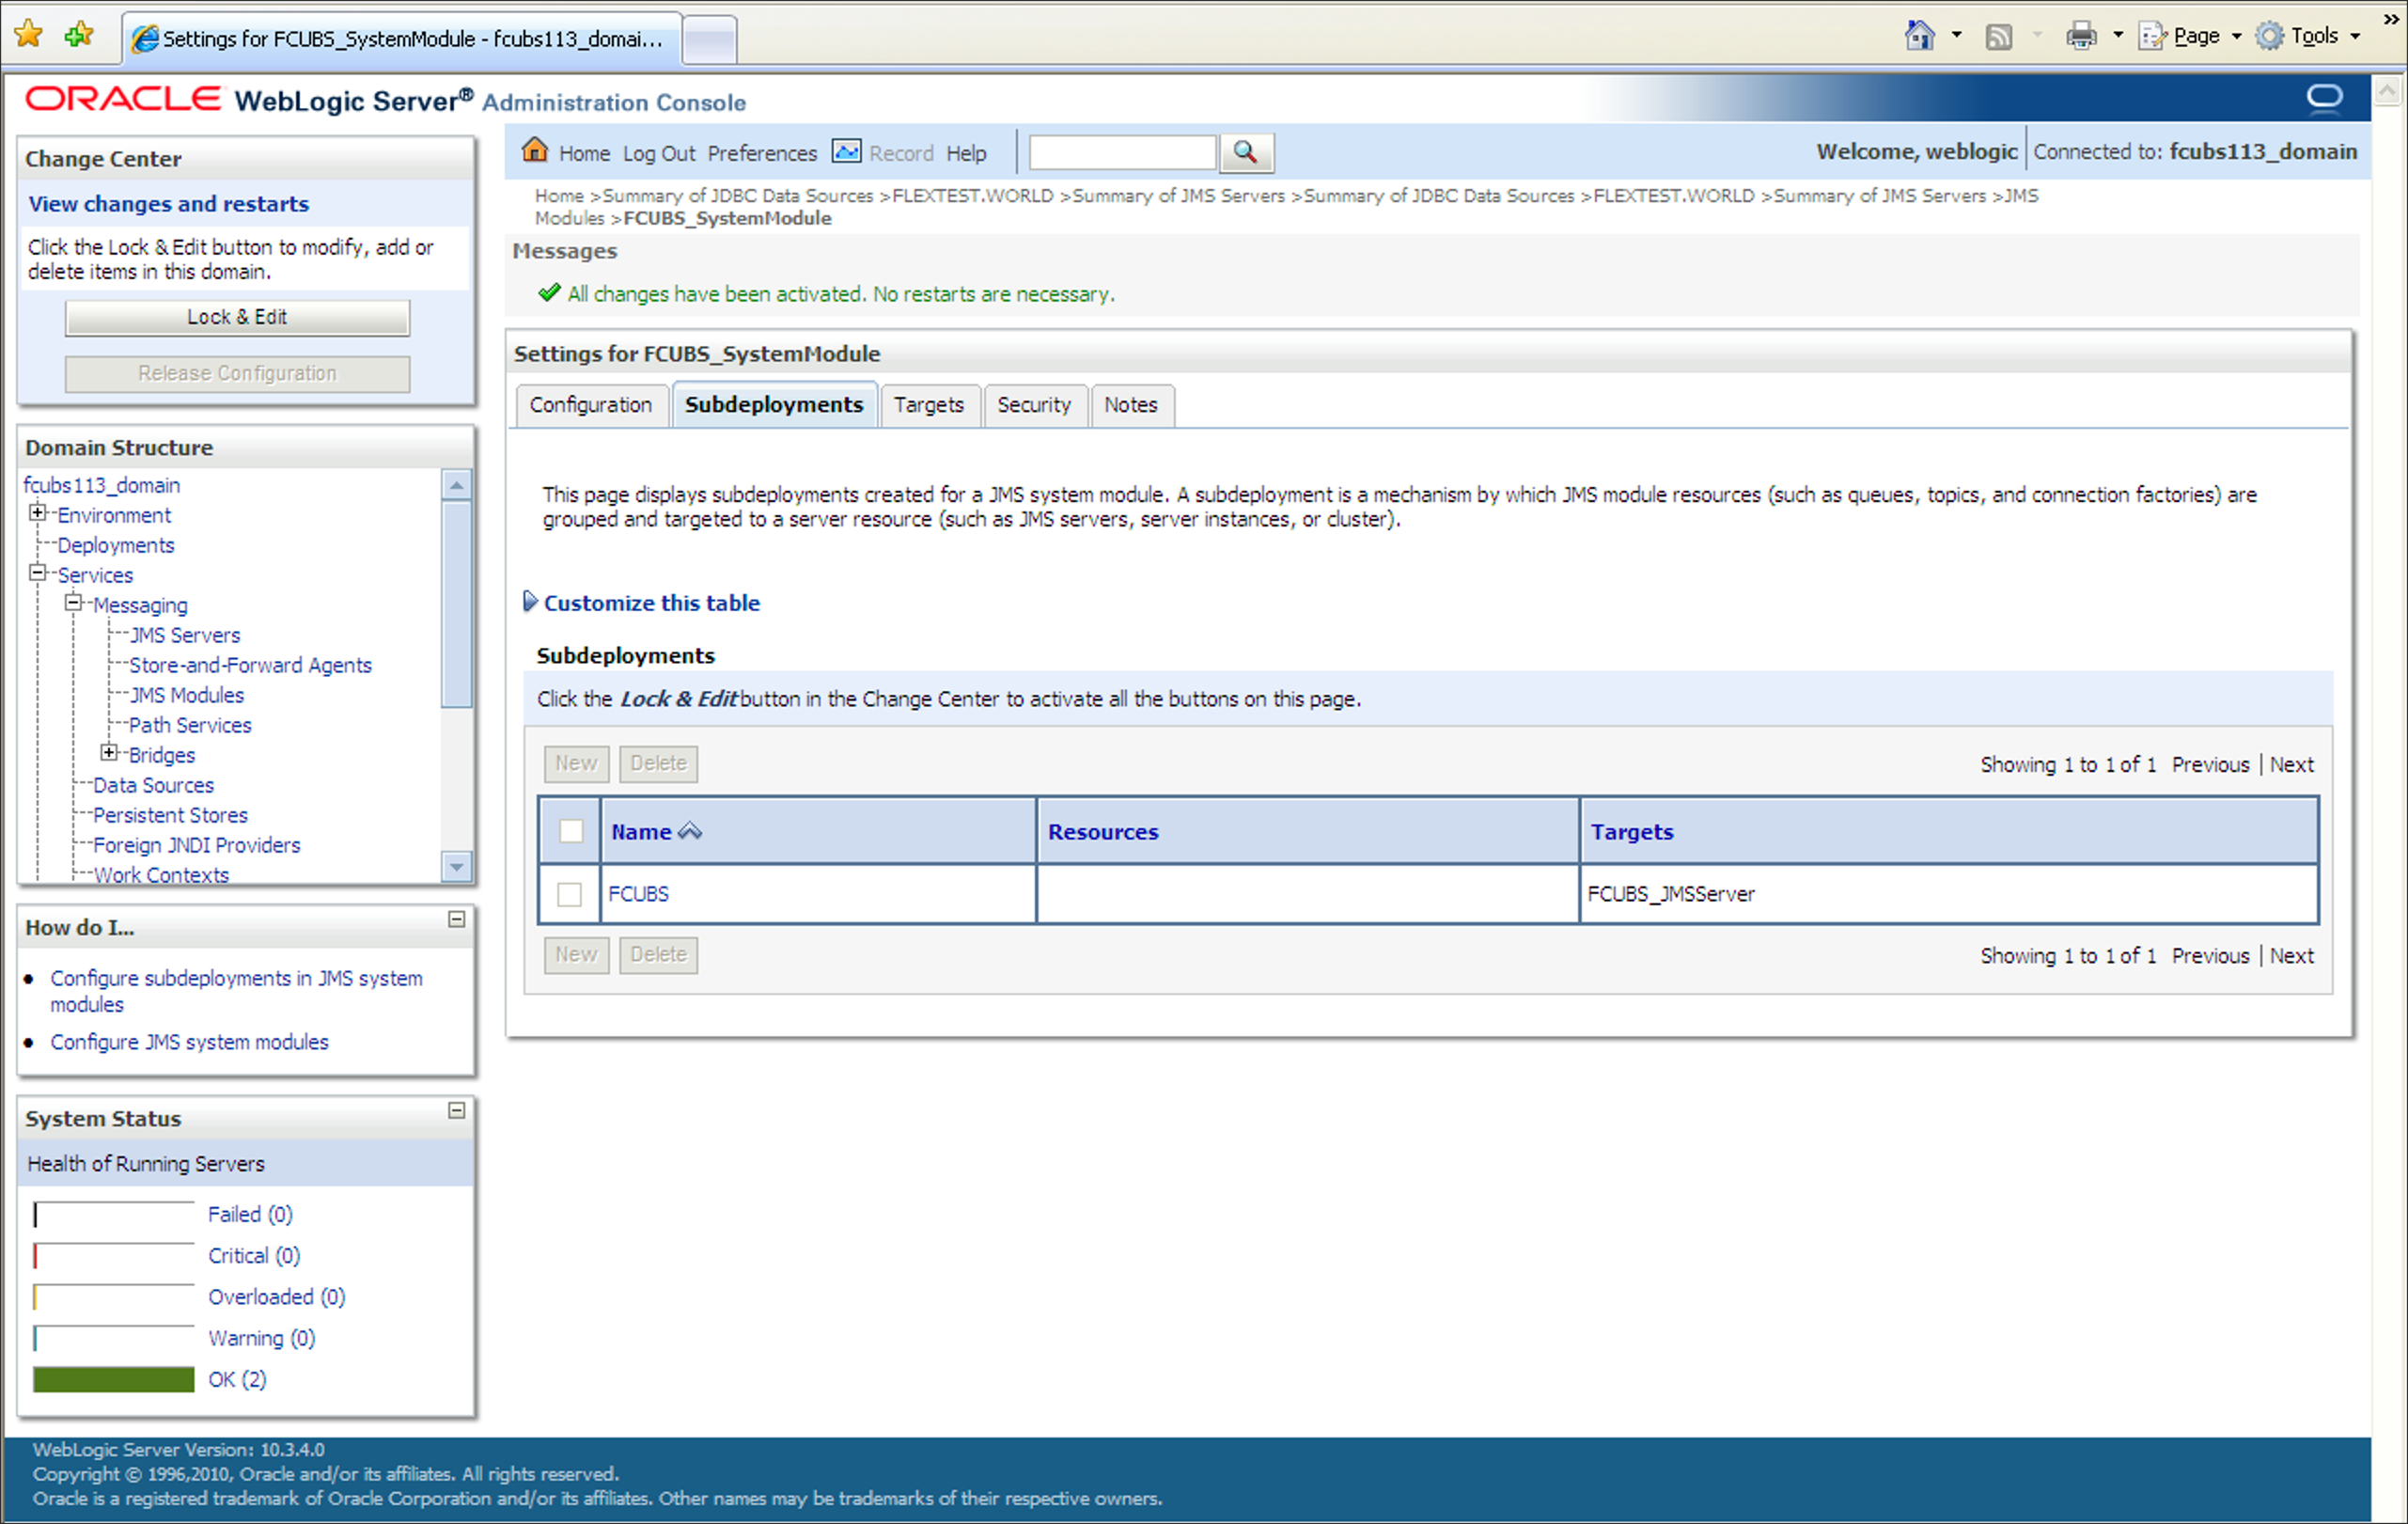
changes made.The message All the changes have been activated. No restarts are necessary. is displayed.
Figure 7-78 Subdeployments_All Changes Activated
Parent topic: Create Resources on Weblogic
