7.5 JMS Queue Creation
This topic explains the systematic instructions to create the JMS Queue in the Weblogic application server.
- Start the Administration Console of the WebLogic
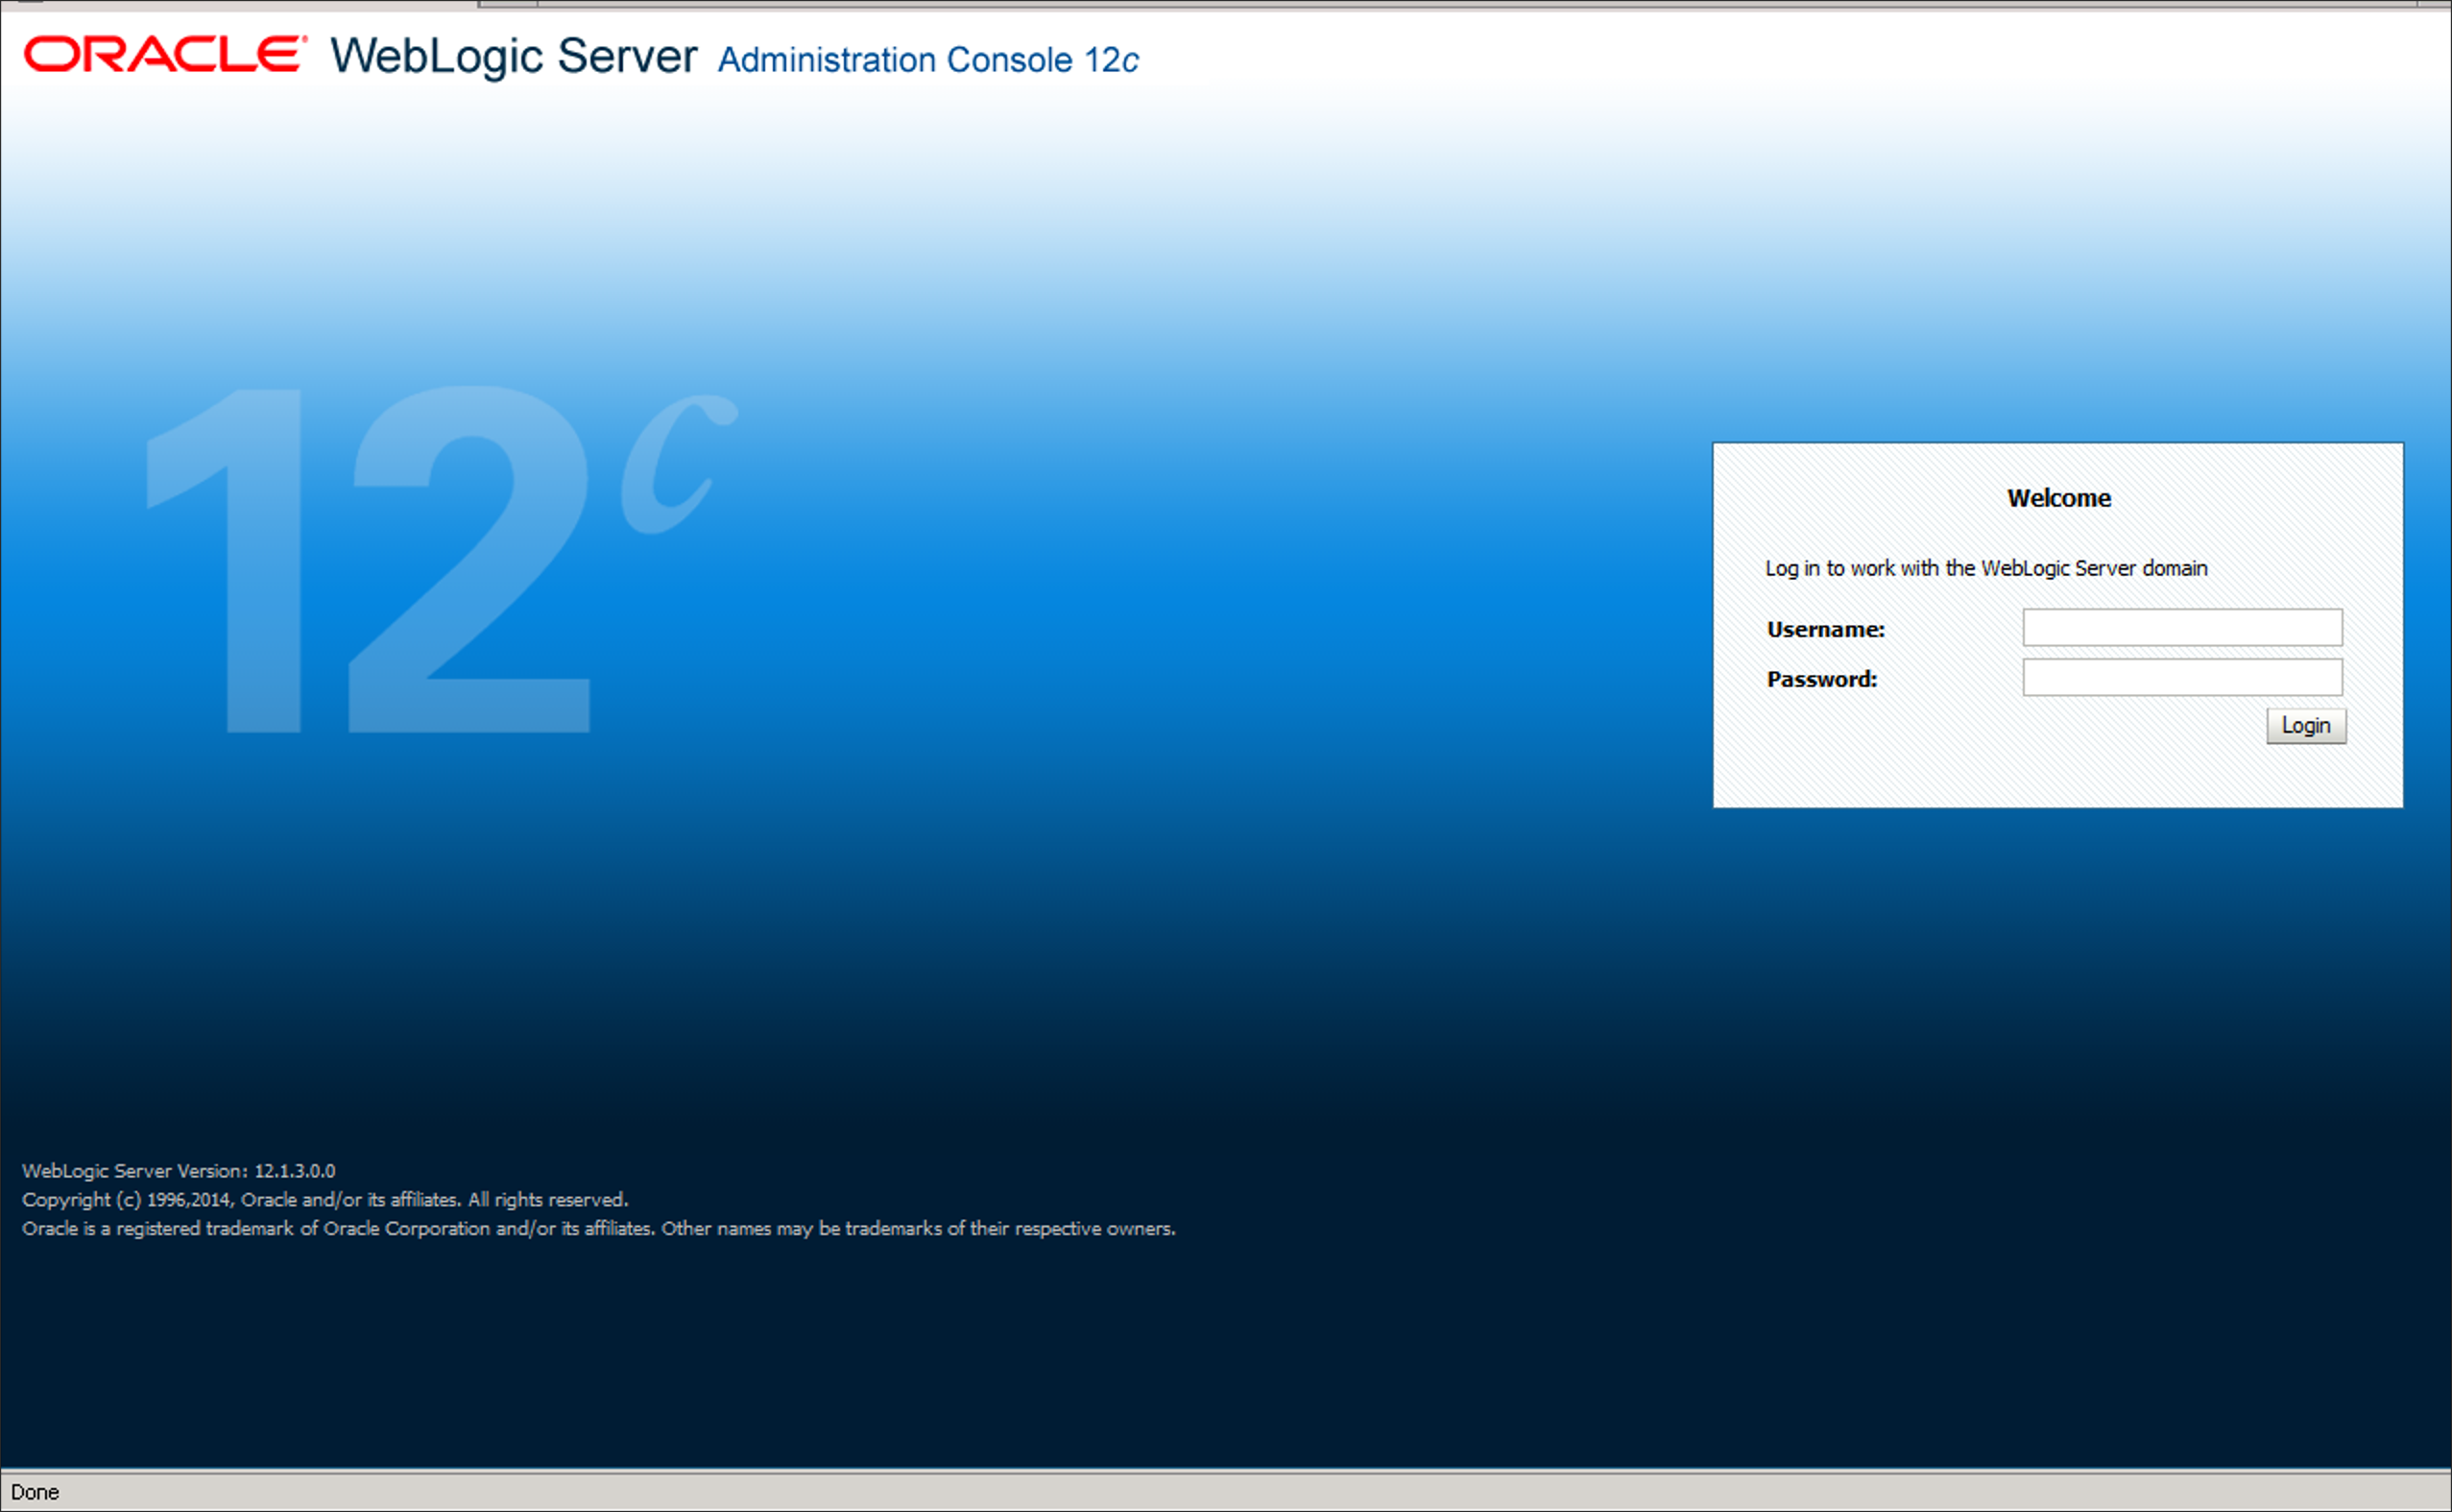
Application server. Enter the Oracle WebLogic Admin Console URL in the address
bar in an internet browser. For example:http://10.10.10.10:1001/consoleThe Oracle WebLogic Server Login screen is displayed.
Figure 7-58 Weblogic Application Server Login
- Specify the Username and Password in the WebLogic Server domain
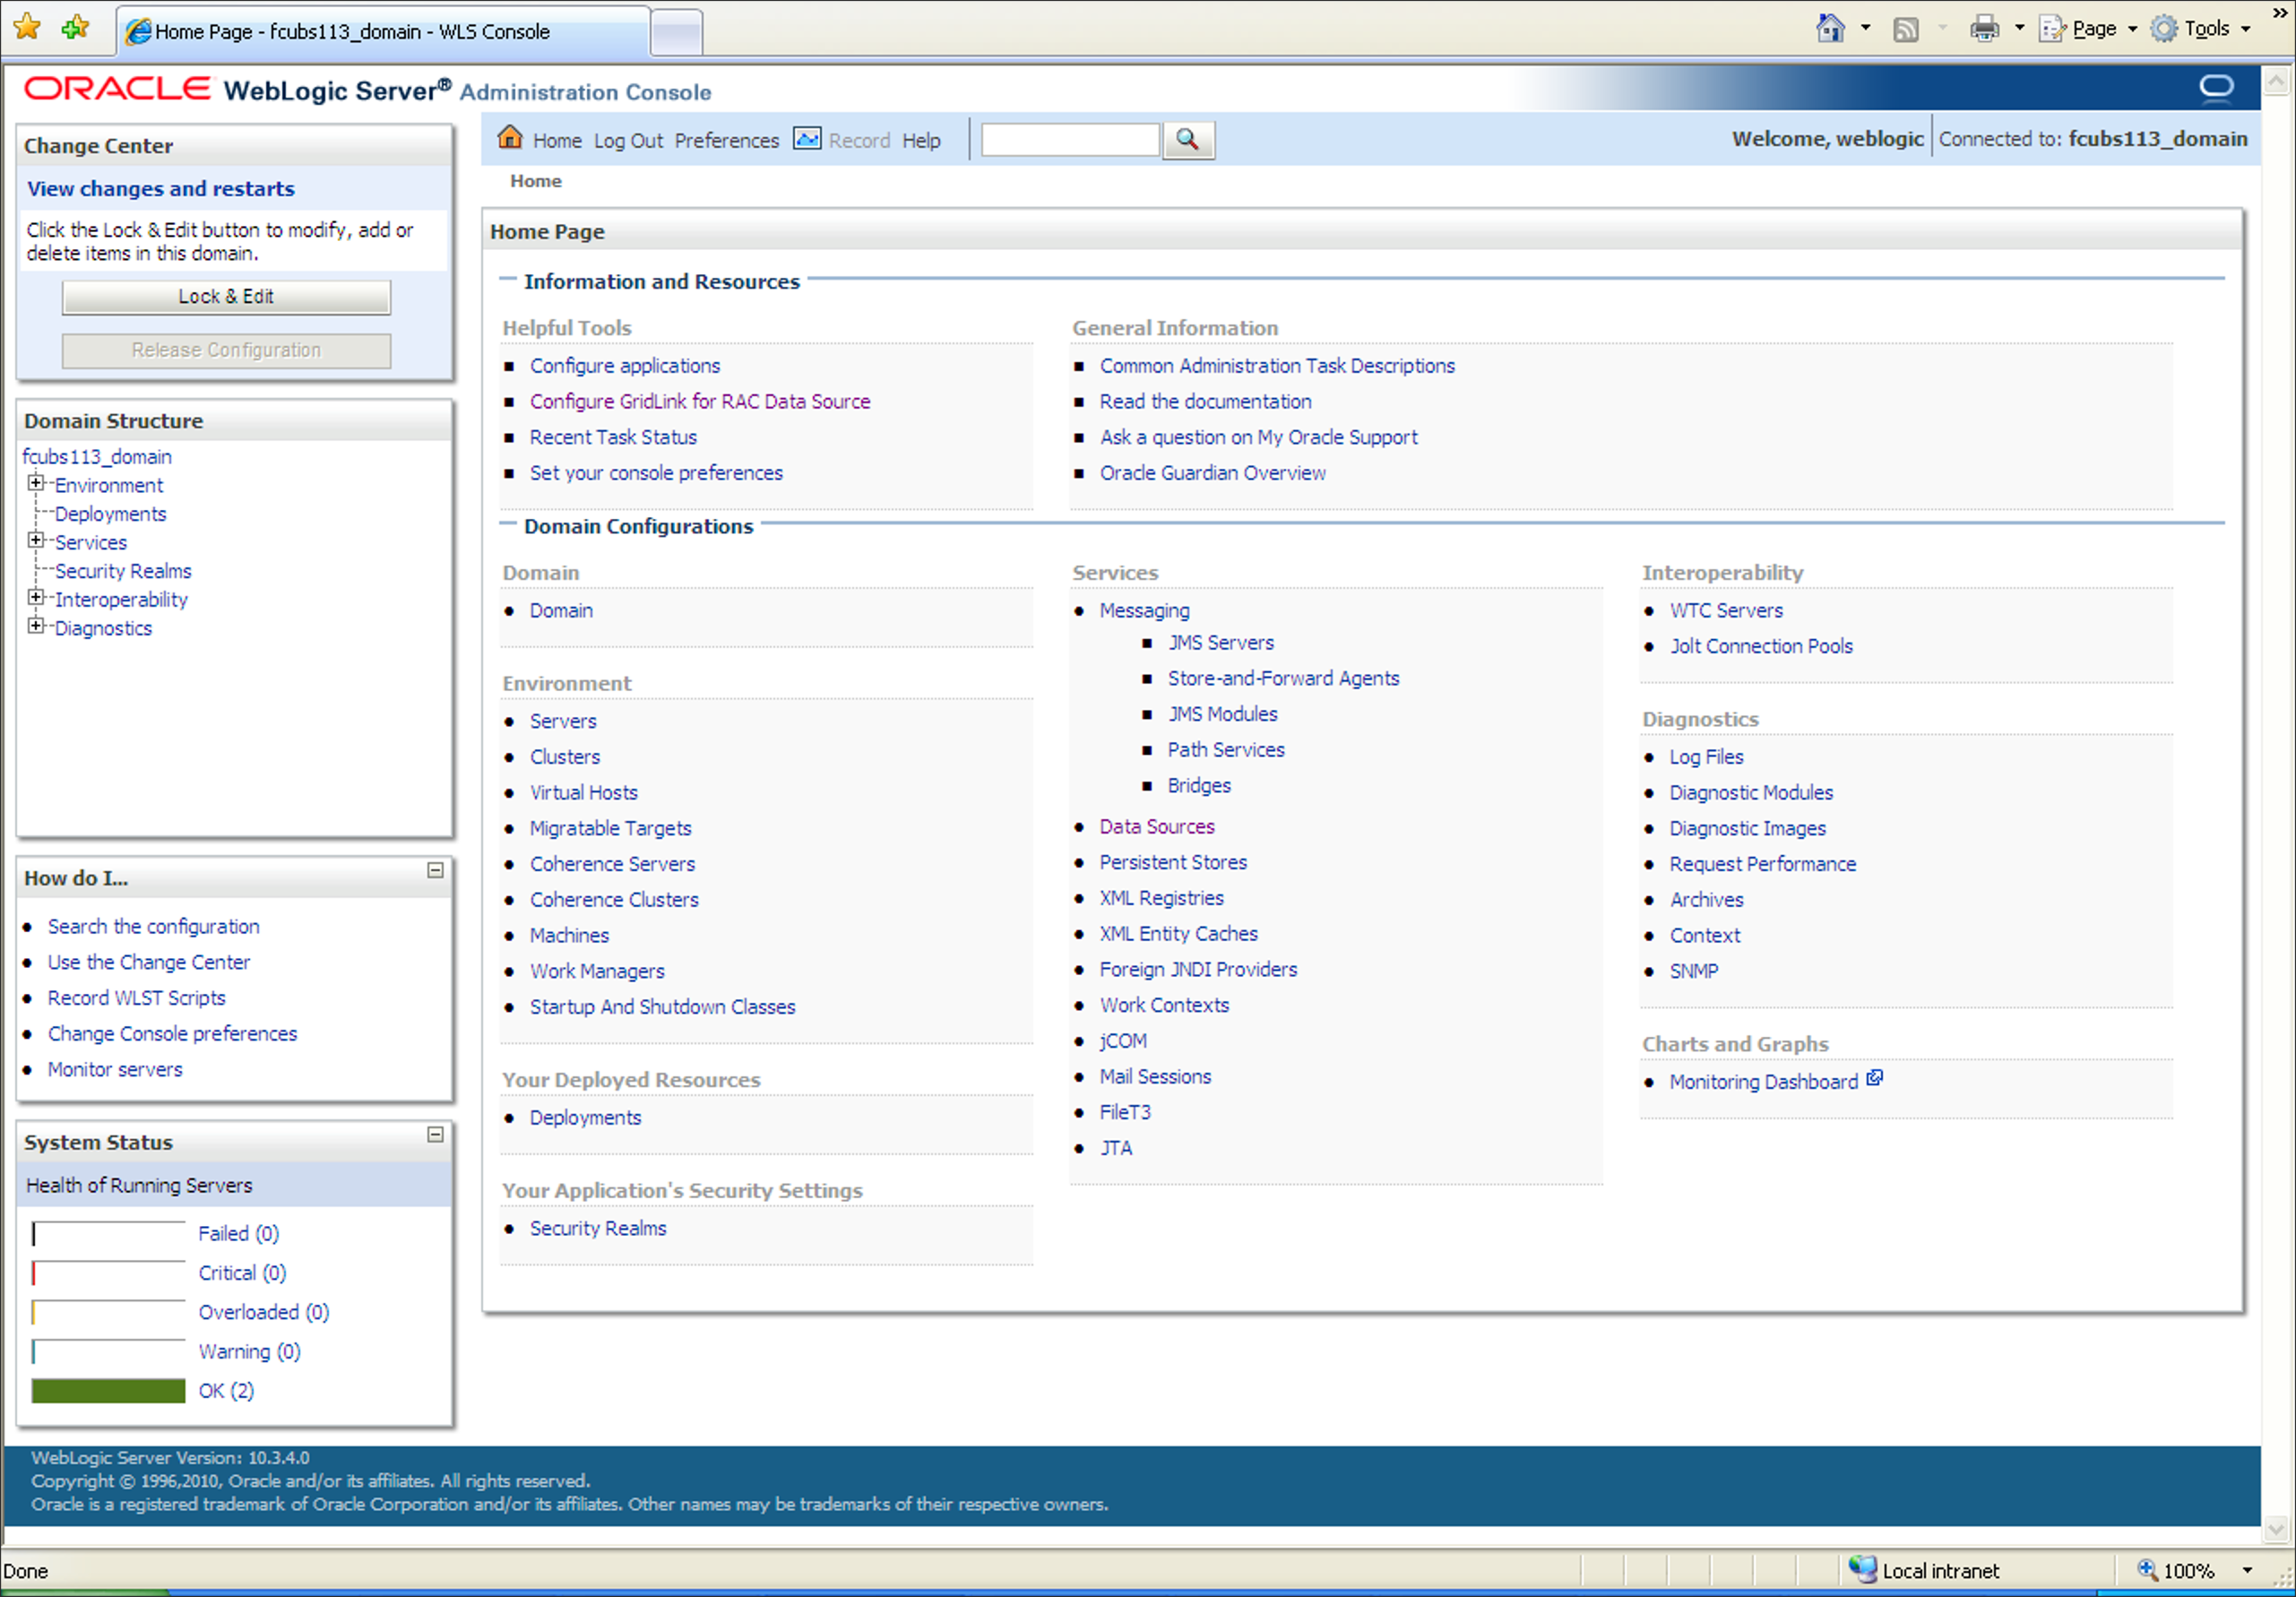
and click Login.The Oracle Weblogic Server Home Page screen is displayed.
Figure 7-59 Oracle Weblogic Server Home Page
- In the Domain Structure, expand the node
Services and Messaging, and
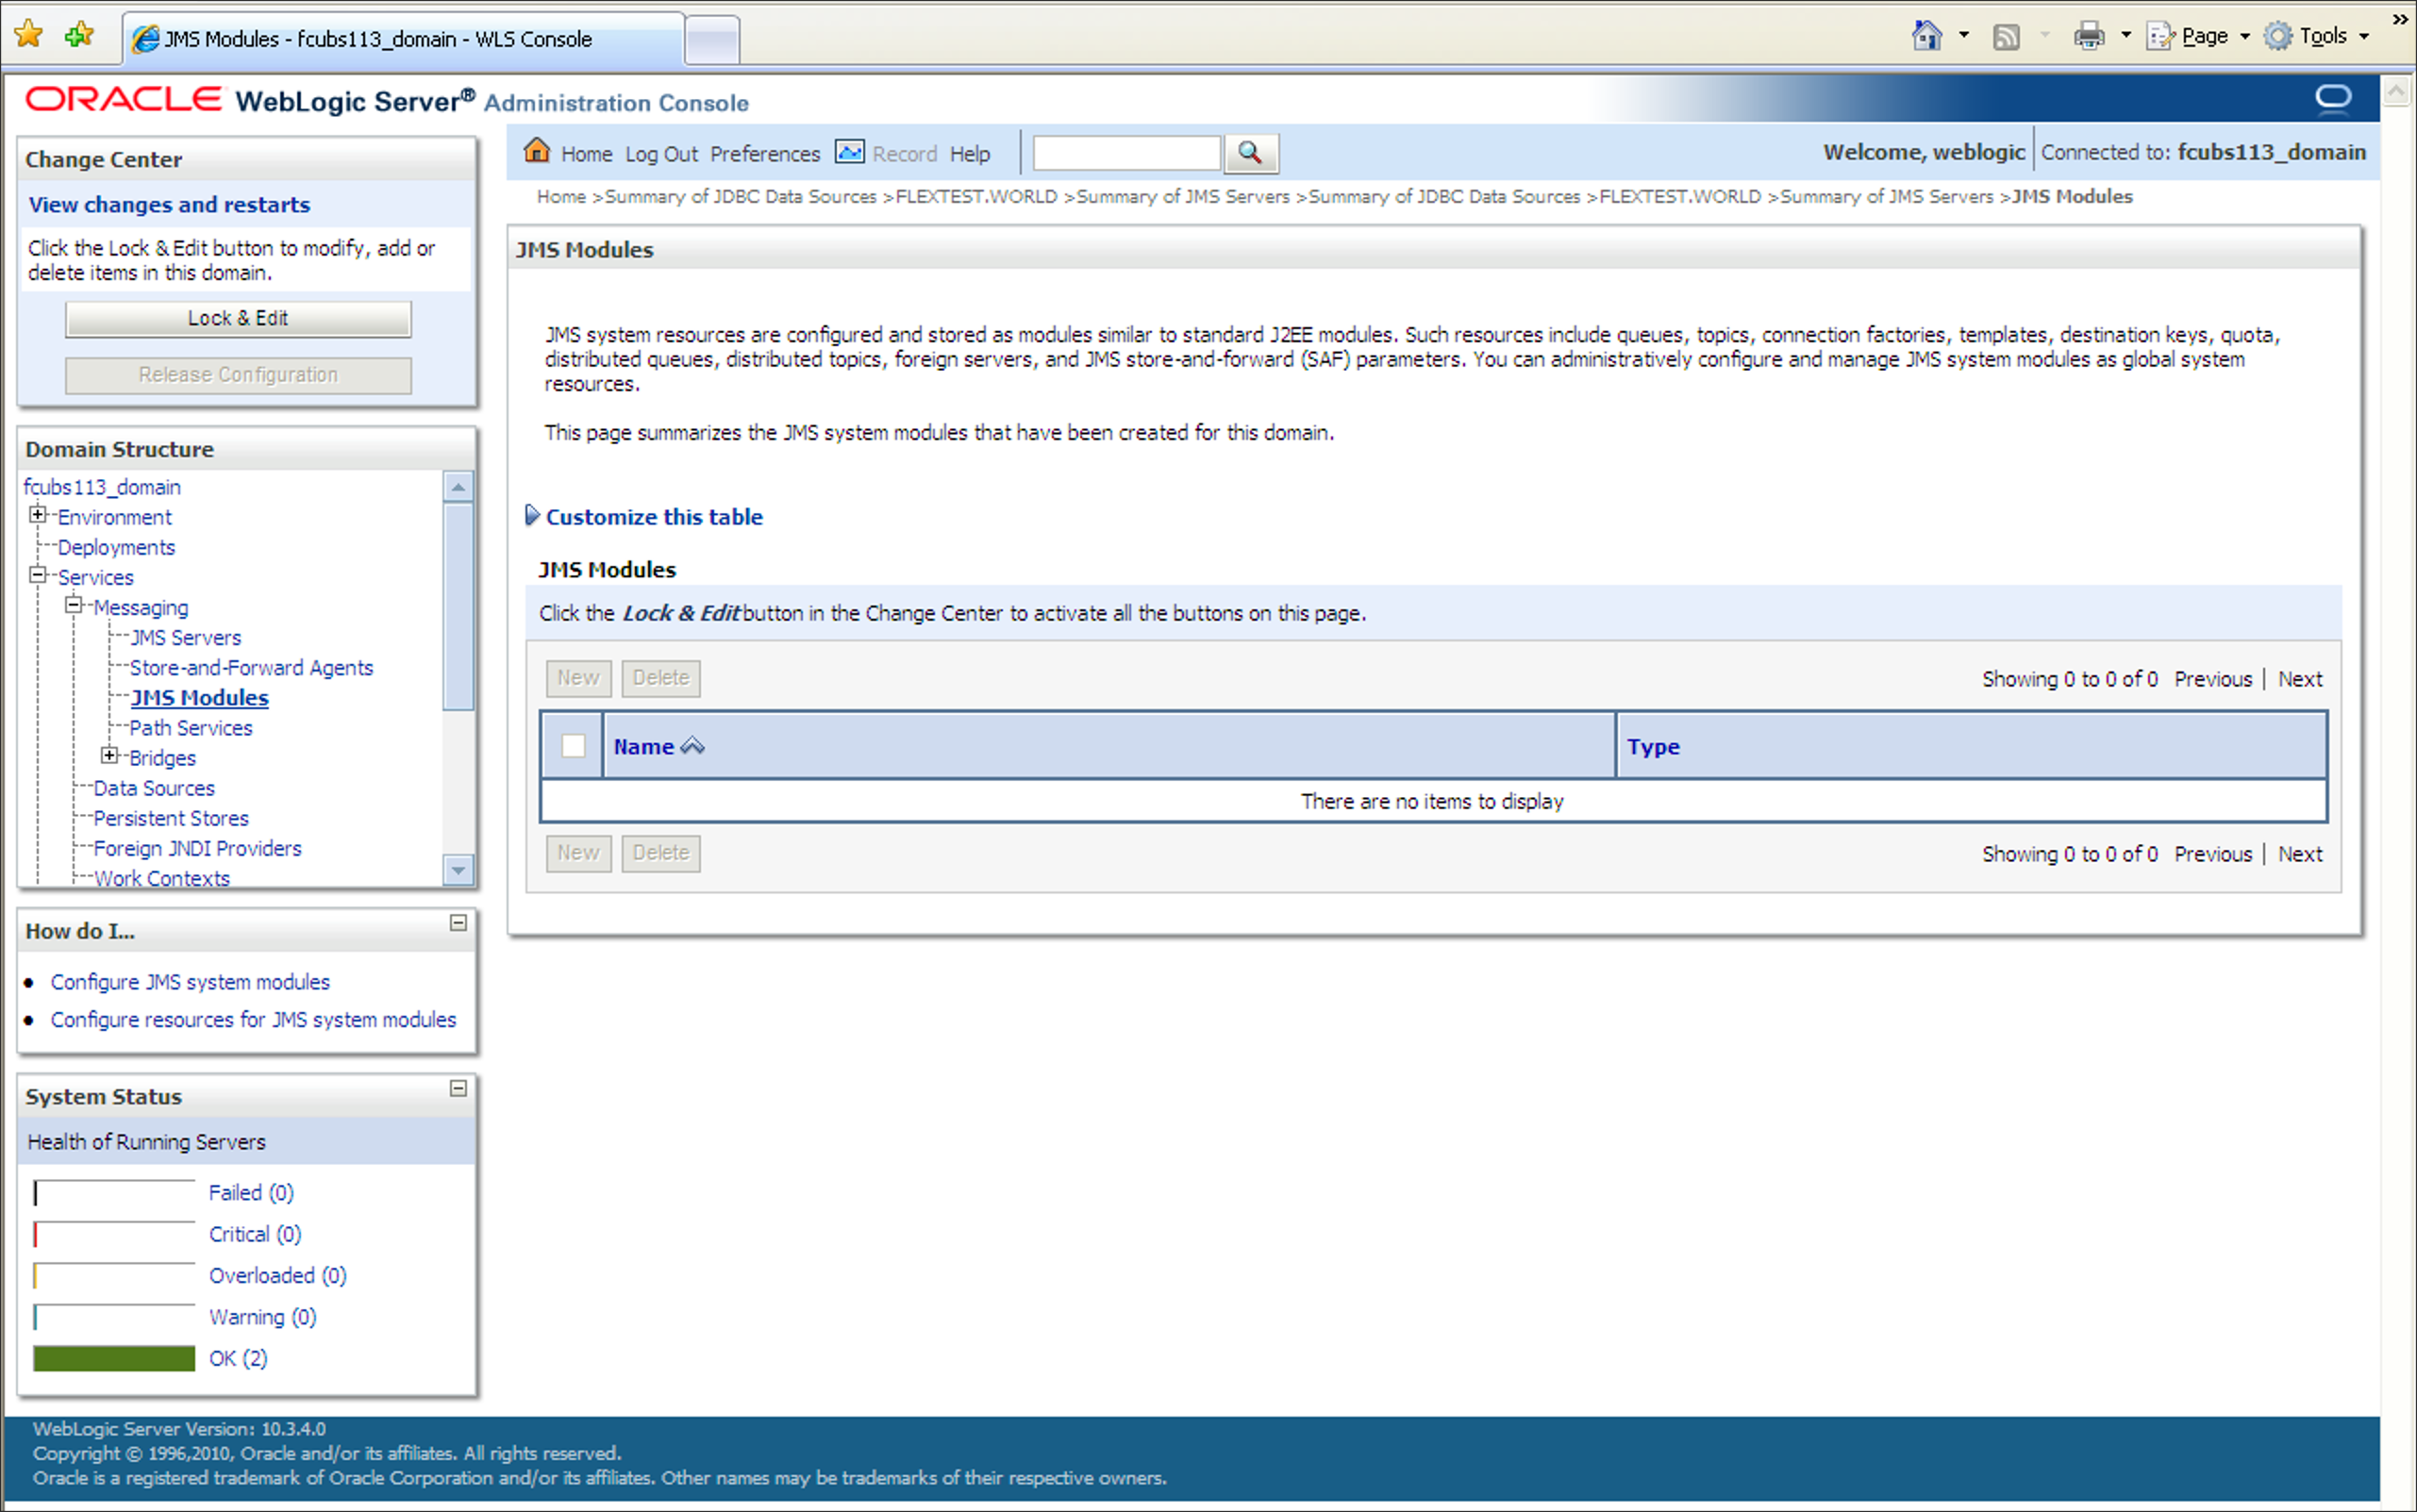
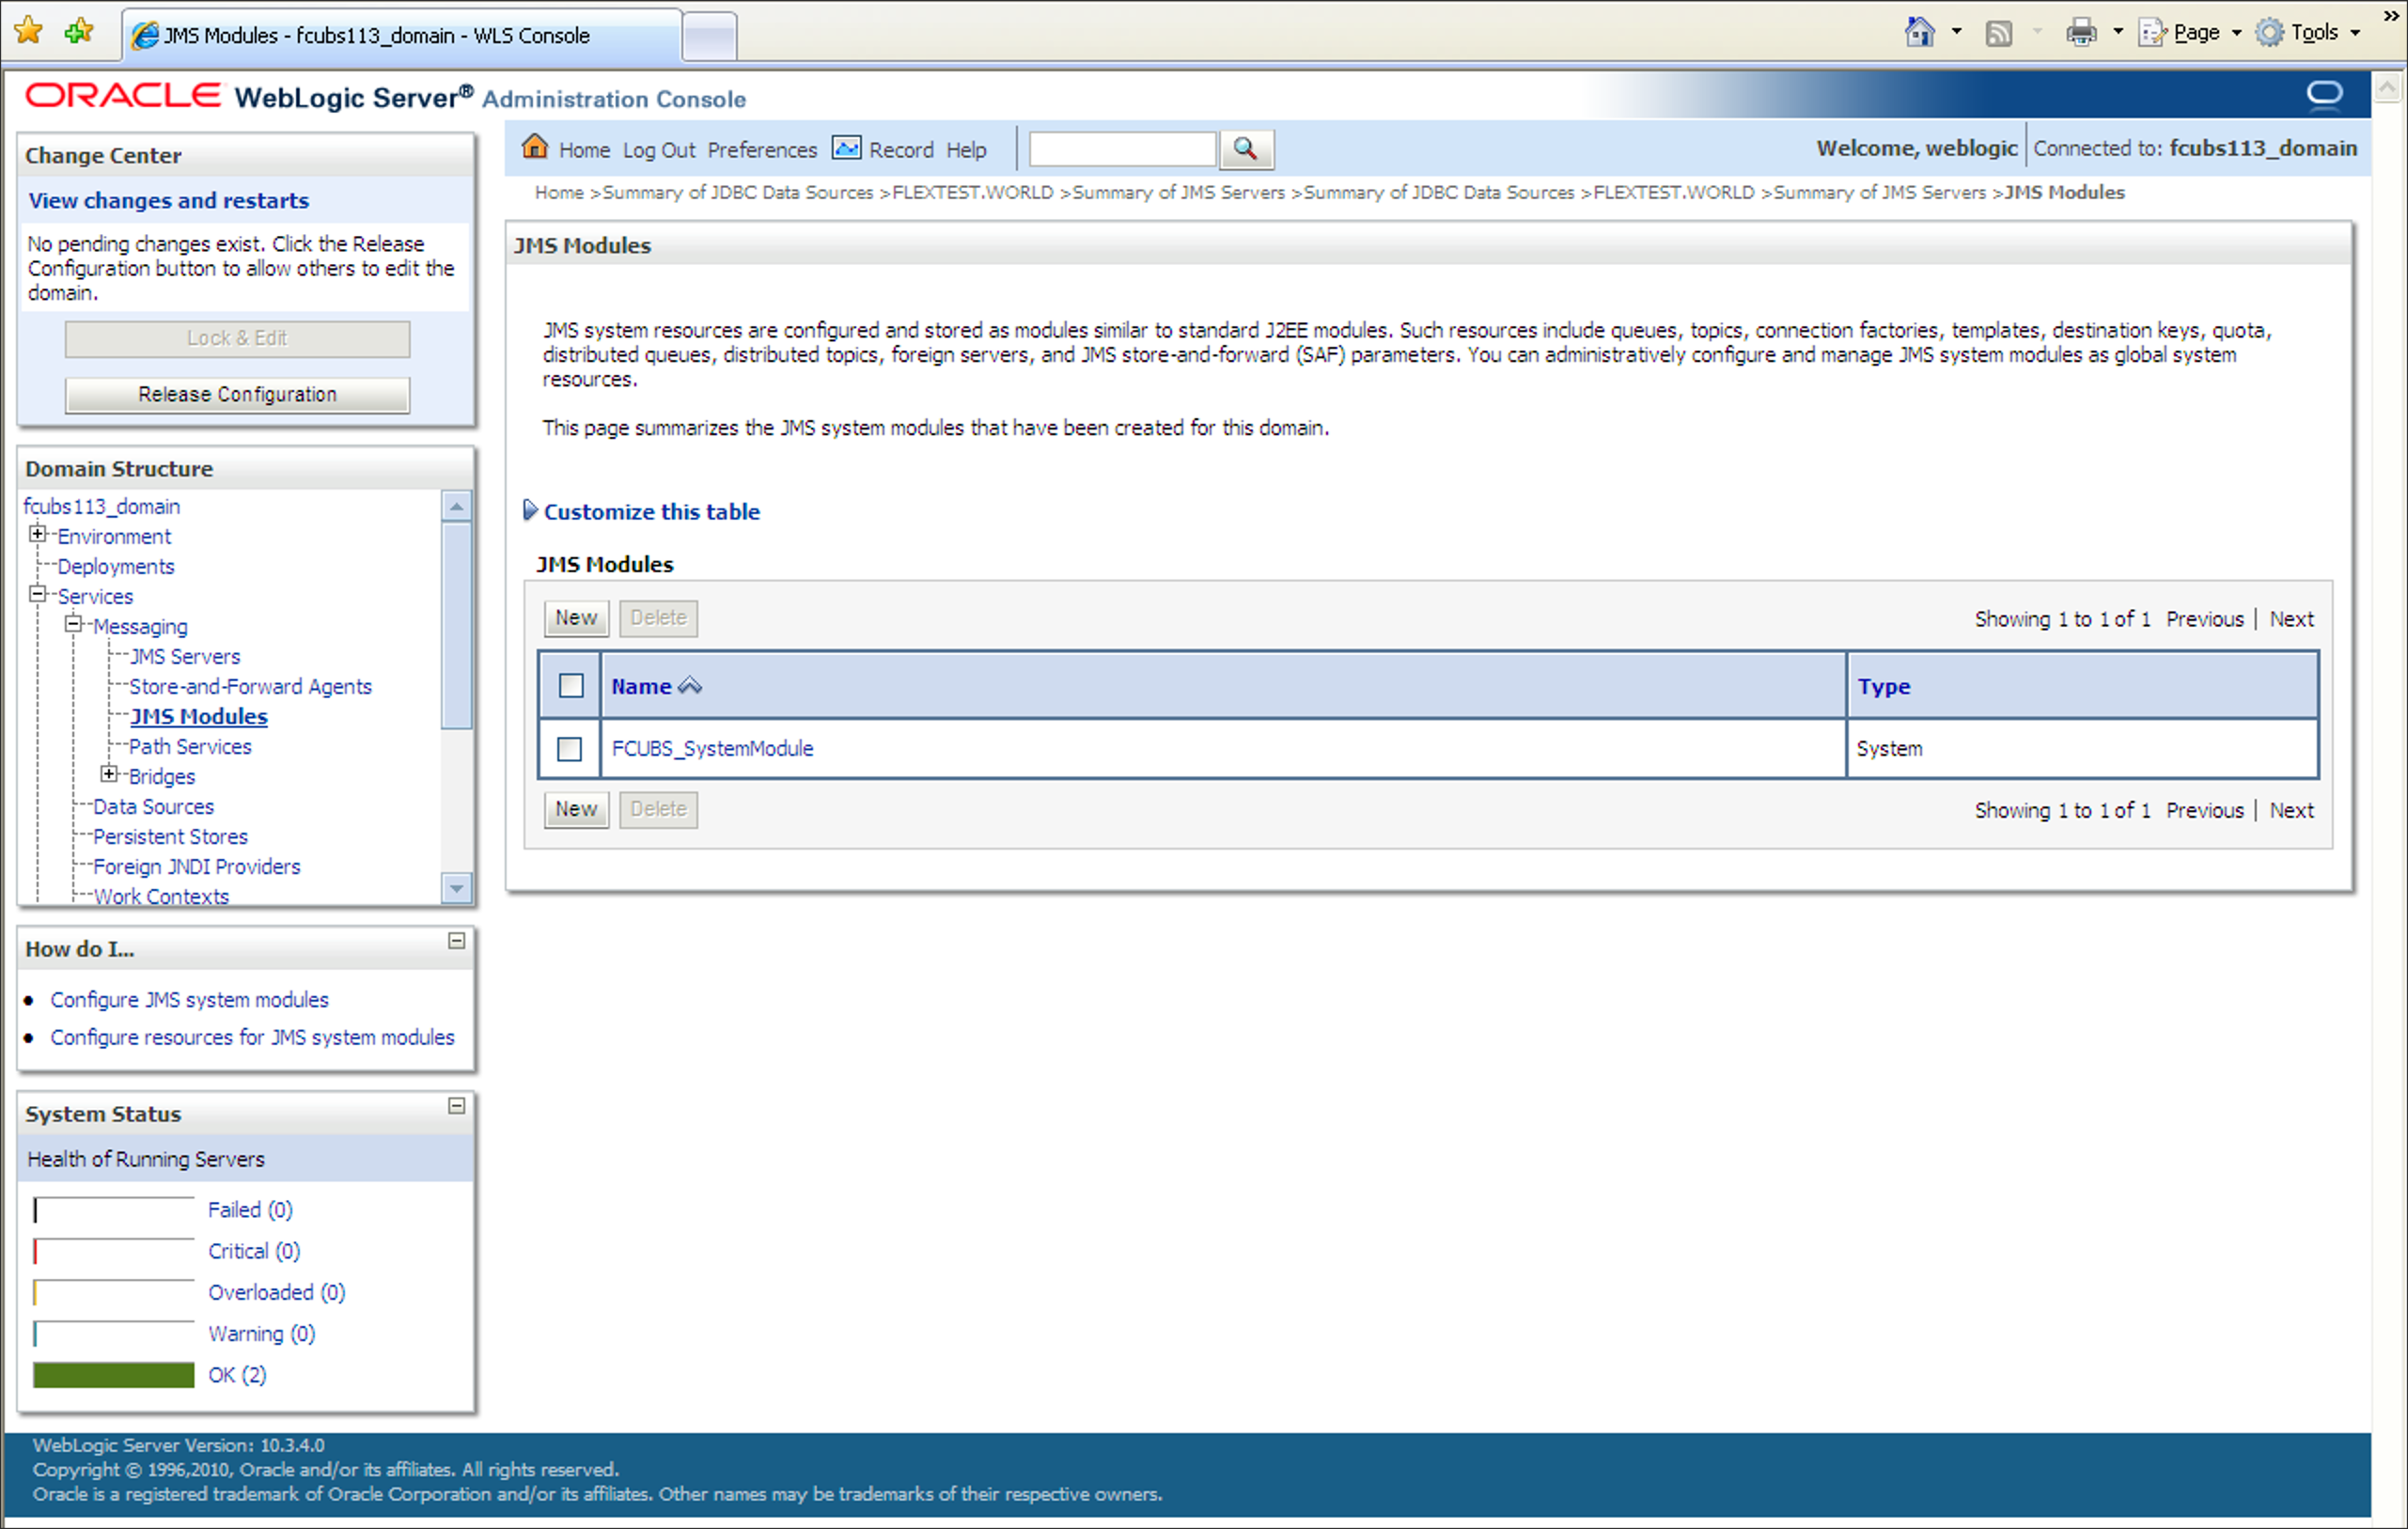
click JMS Modules from the list.The JMS Modules screen is displayed.
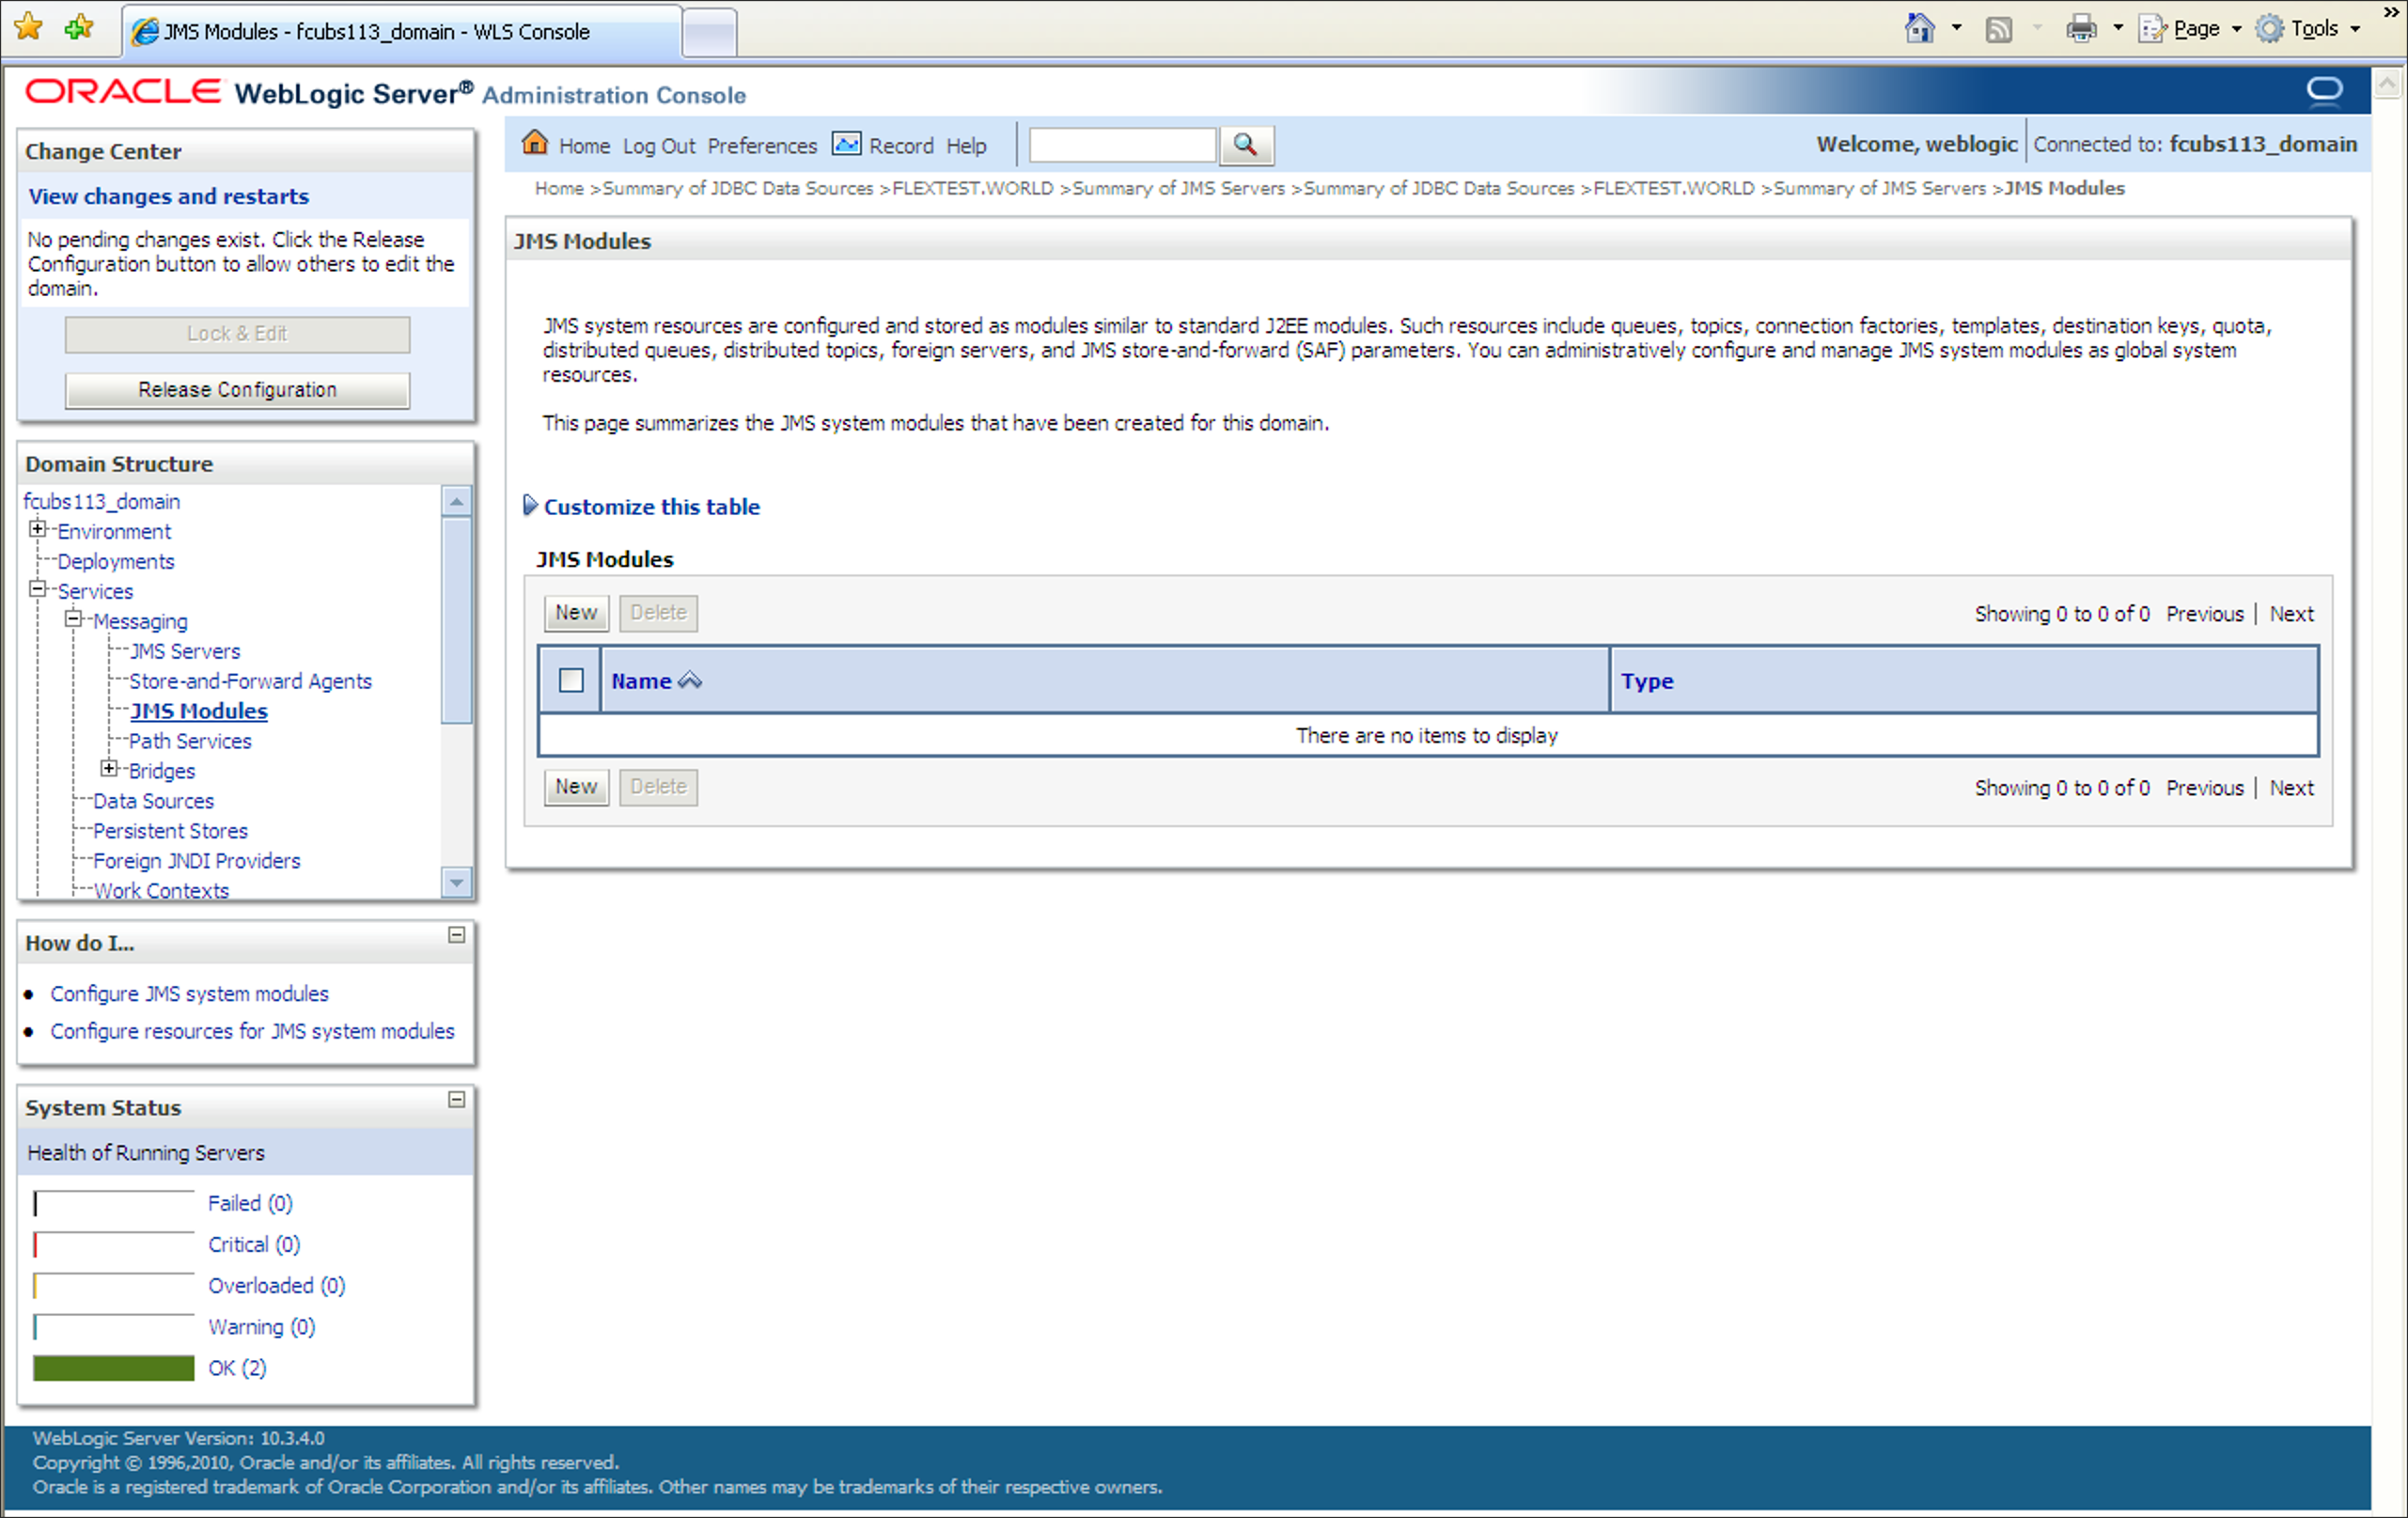
- Click the Lock & Edit button in the Change
Center to add, modify or delete items by acivating all the buttons on
this screen.The JMS Modules screen is displayed with all the buttons enabled to edit.
Figure 7-61 Click Lock and Edit_JMS Modules_New
- Select the JMS module created earlier in the JMS Modules
section.The screen displays the list of JMS modules created.
Figure 7-62 JMS Modules_Select JMS Moduled created
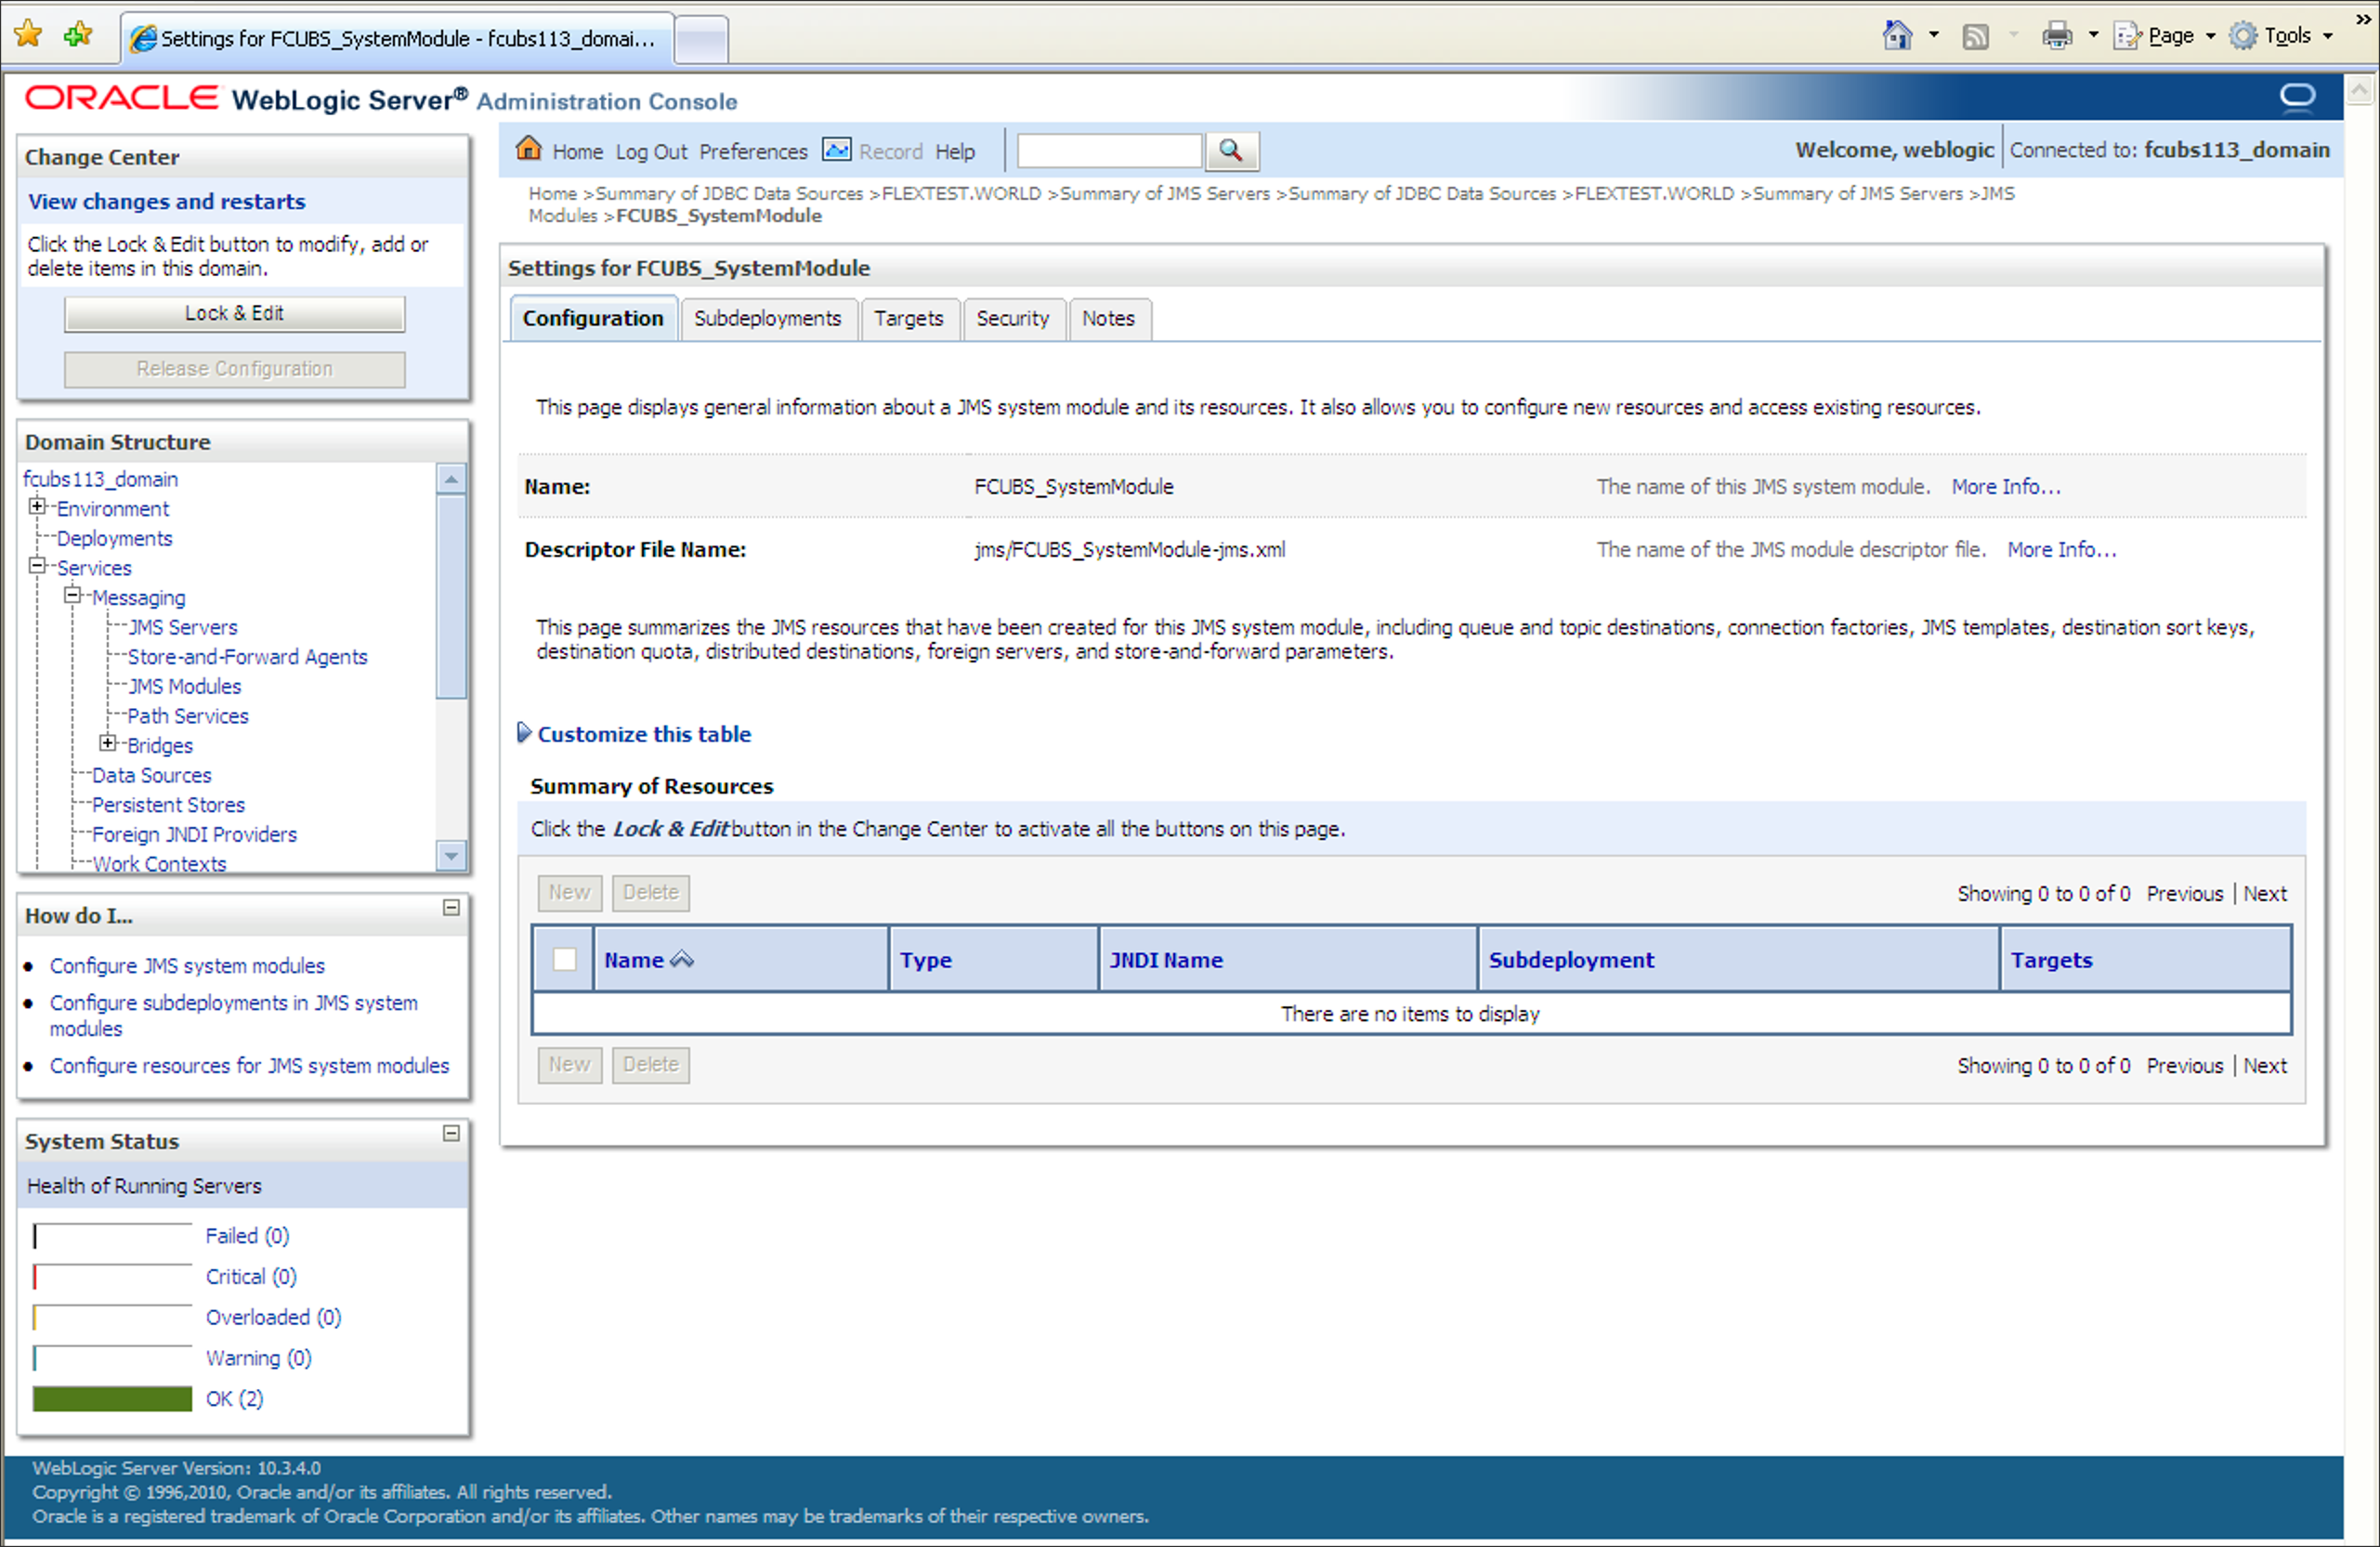
- Click the Configuration tab to set the configuration and
then click Lock & Edit button in the
Change Center.Settings for the SystemModule_Configuration tab is displayed.
Figure 7-63 Settings for the SystemModule_Configuration
- On the Settings for the SystemModule_Configuration tab,
click New in the Summary of
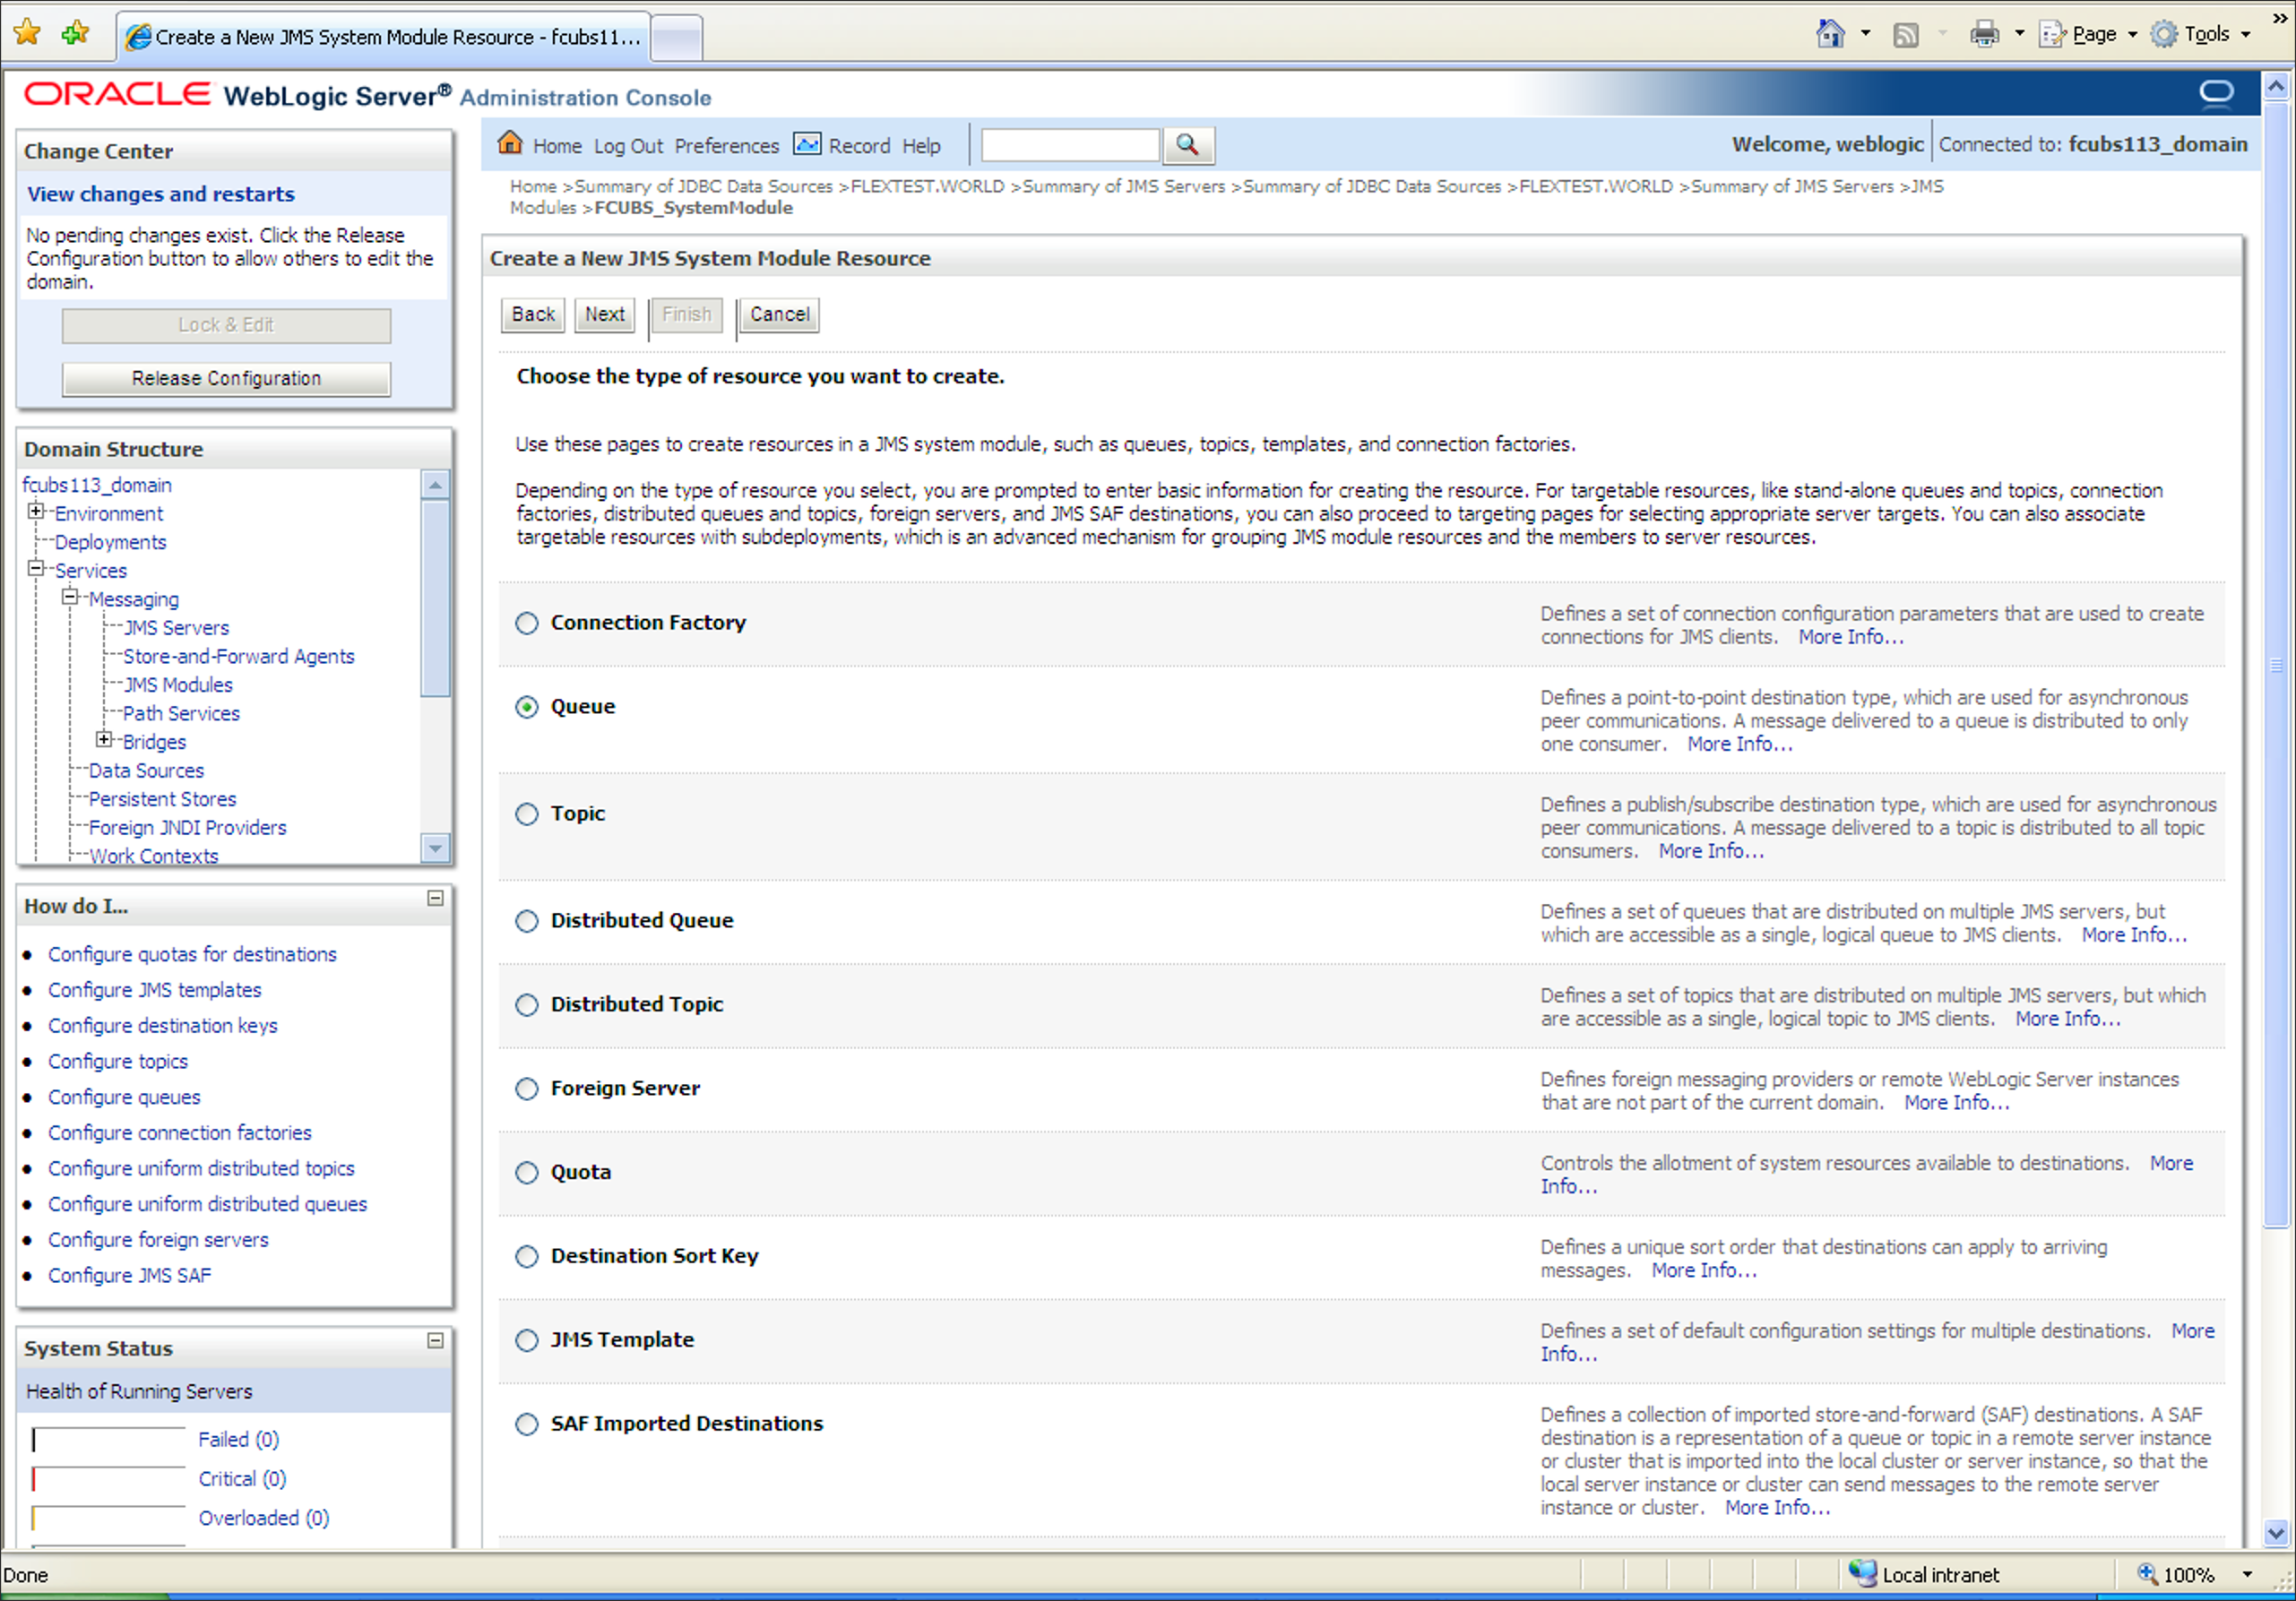
Resources section.Create a New JMS System Module Resource screen is displayed.
Figure 7-64 Create a New JMS System Module Resource
- Select the Queue option and click
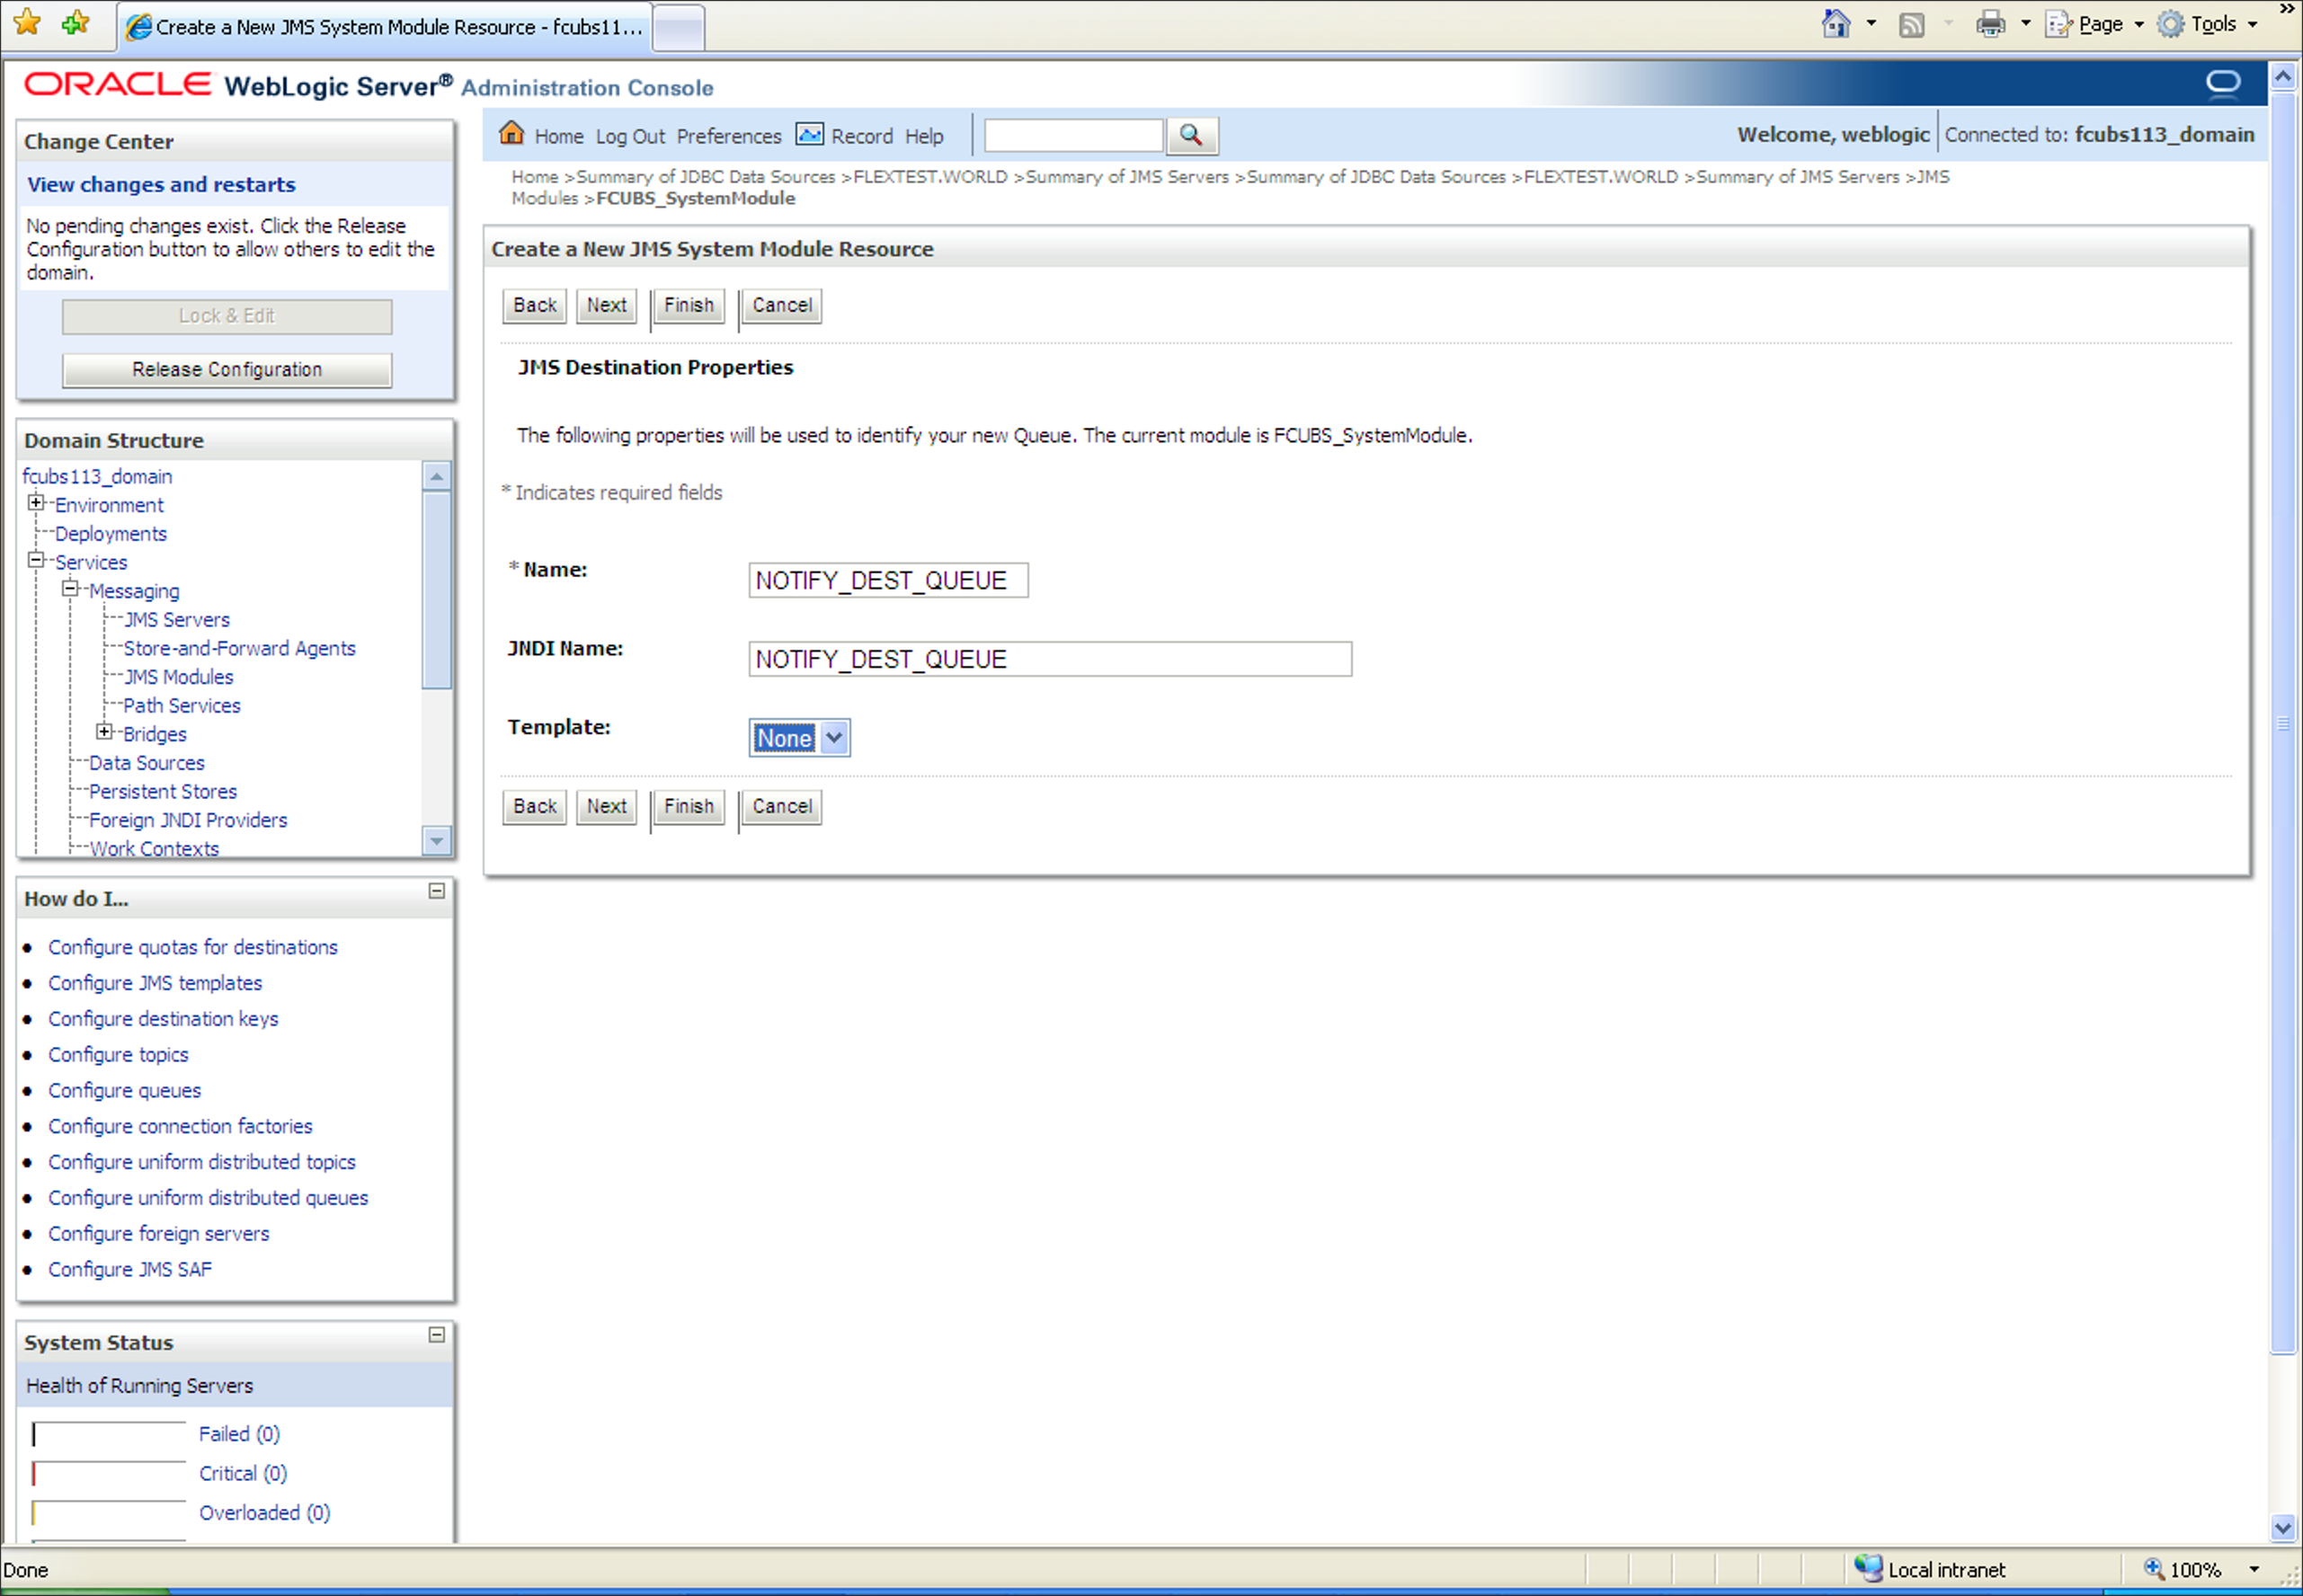
Next.Create a New JMS System Module Resource_JMS Destination Properties screen is displayed.
Figure 7-65 Create a New JMS System Module Resource_JMS Destination Properties
- To Create a New JMS System Module Resource, specify the
fields.For more information on fields, refer to the field description table.
Table 7-8 JMS Destination Properties
Filed Description Name Specify the Name of the Queue as NOTIFY_DEST_QUEUE. JNDI Name Specify the JNDI Name as NOTIFY_DEST_QUEUE Template Select the Template as None from the drop-down. - Click Next to select the subdeployment.Create a New JMS System Module Resource_Select Subdeployments screen is displayed.
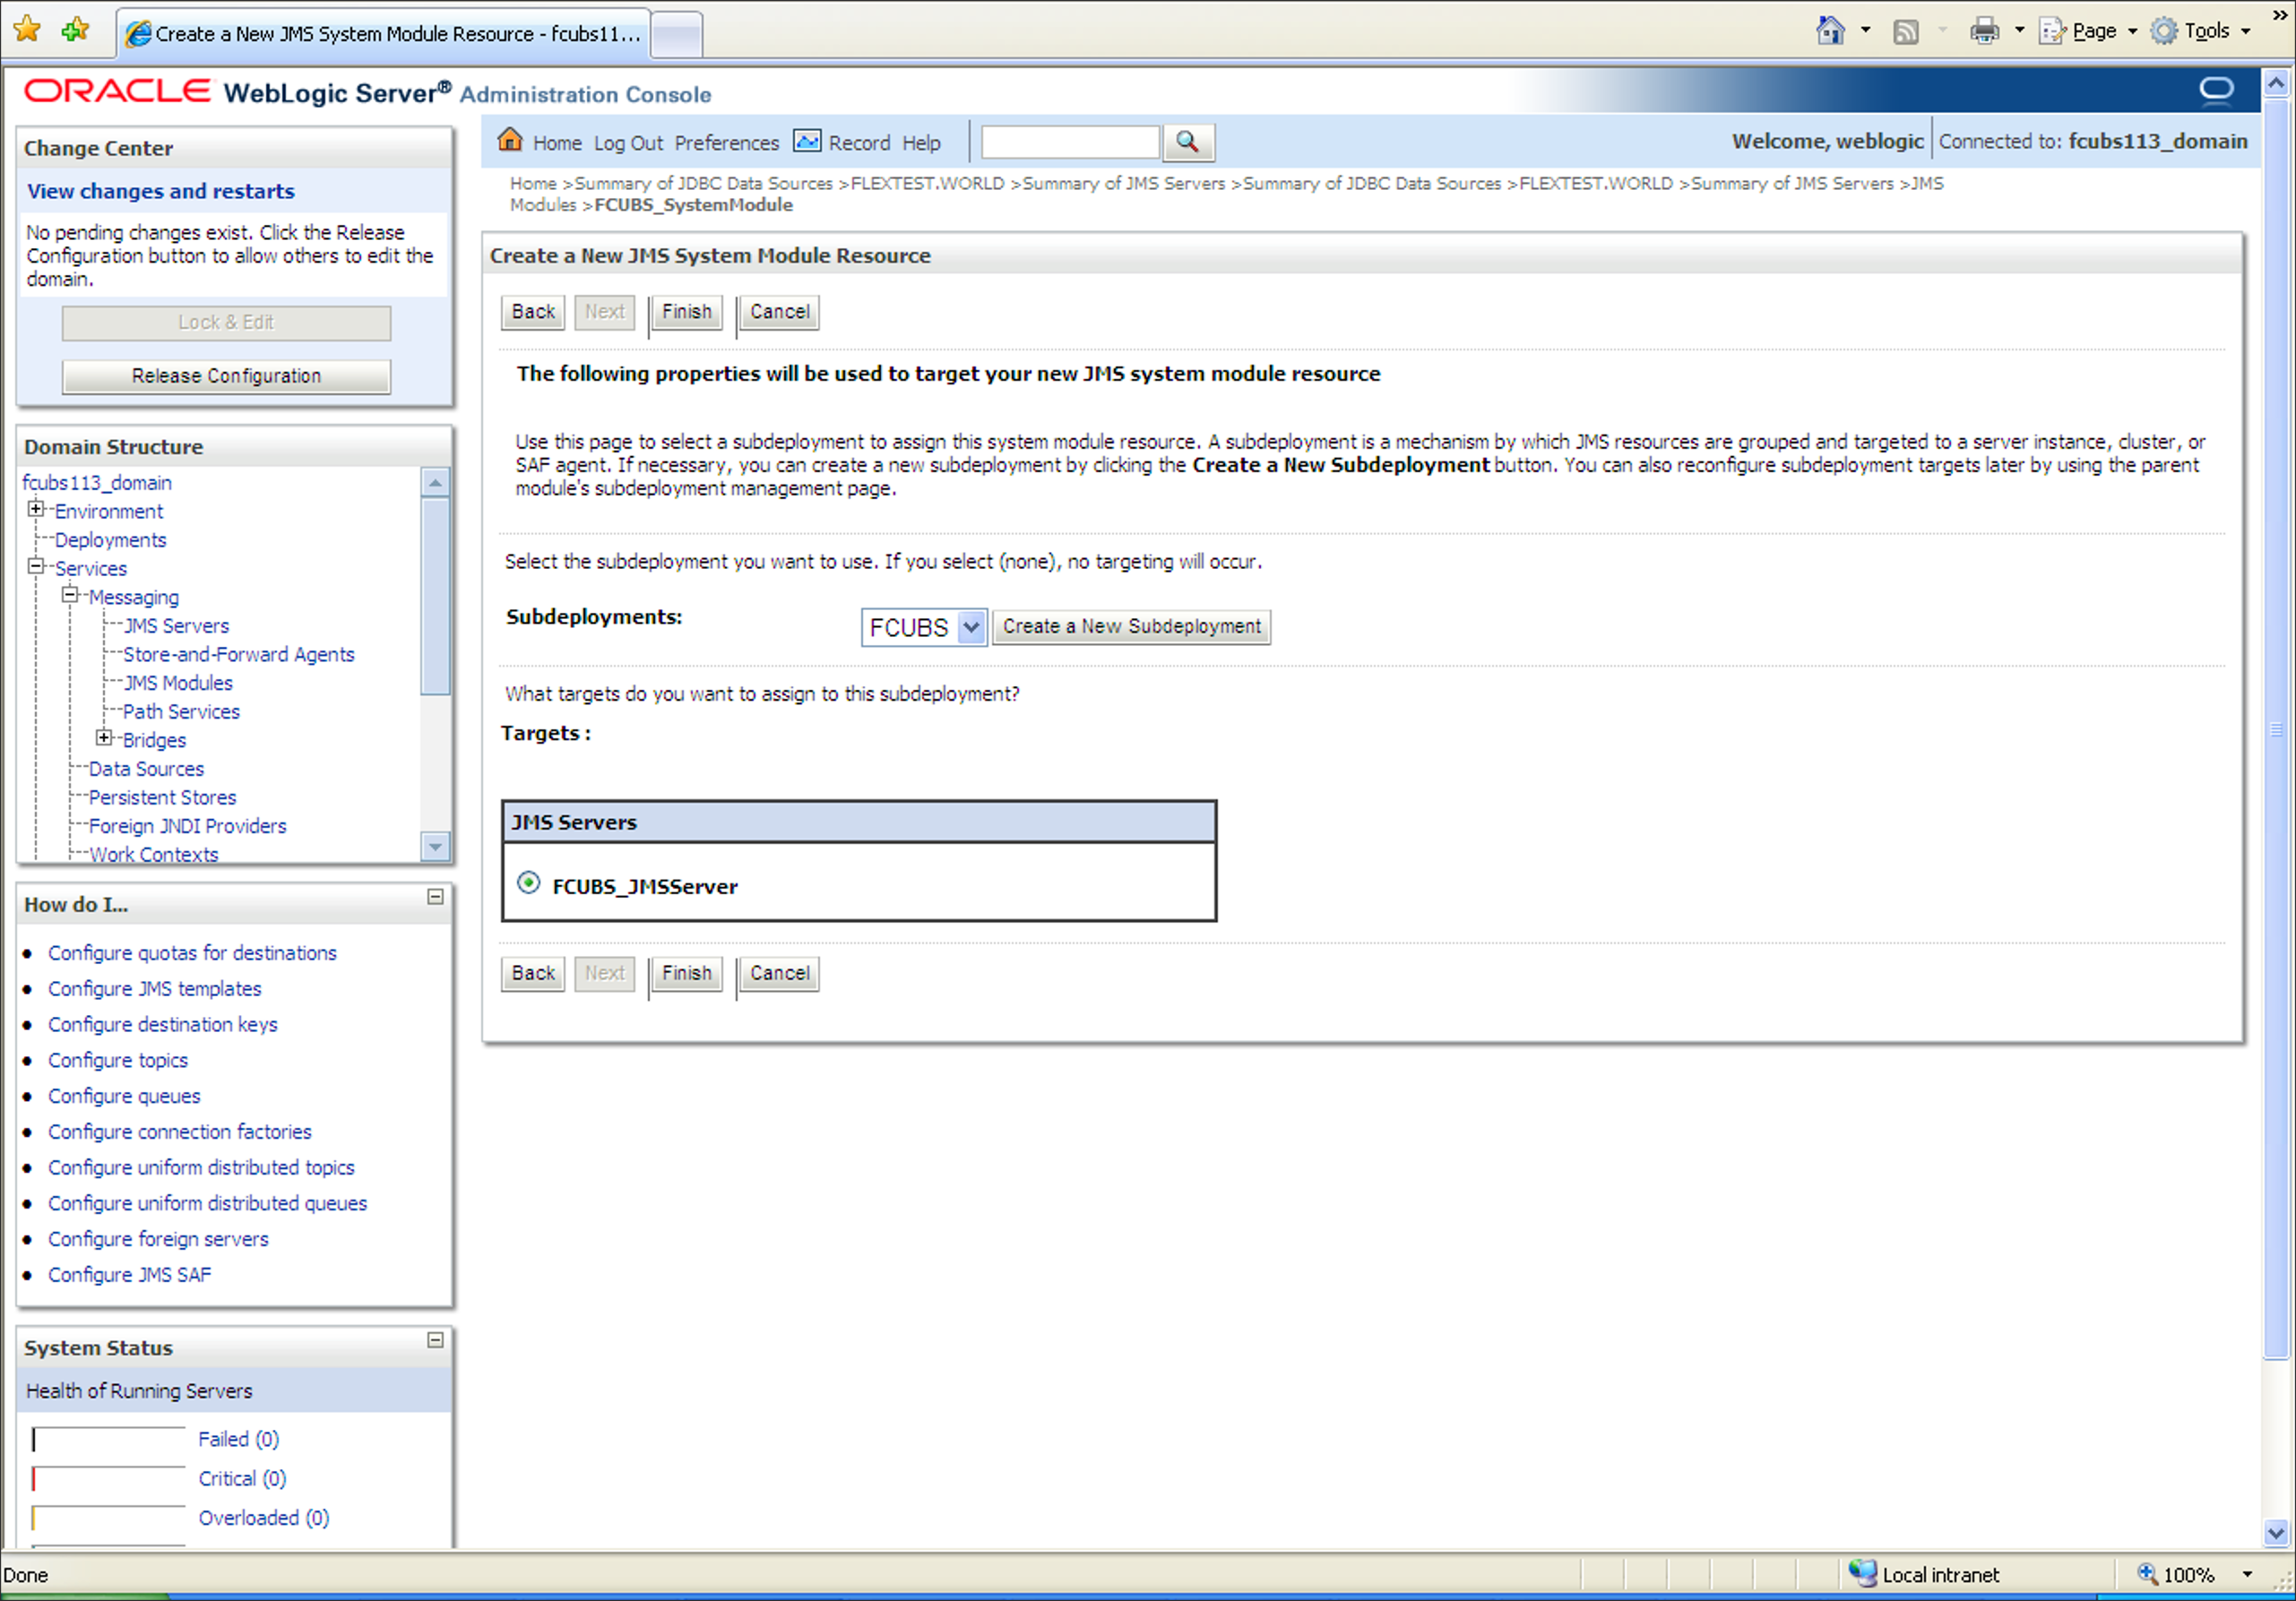
Figure 7-66 Create a New JMS System Module Resource_Select Subdeployments
- Select the server created earlier as the target to assign to this subdeployment
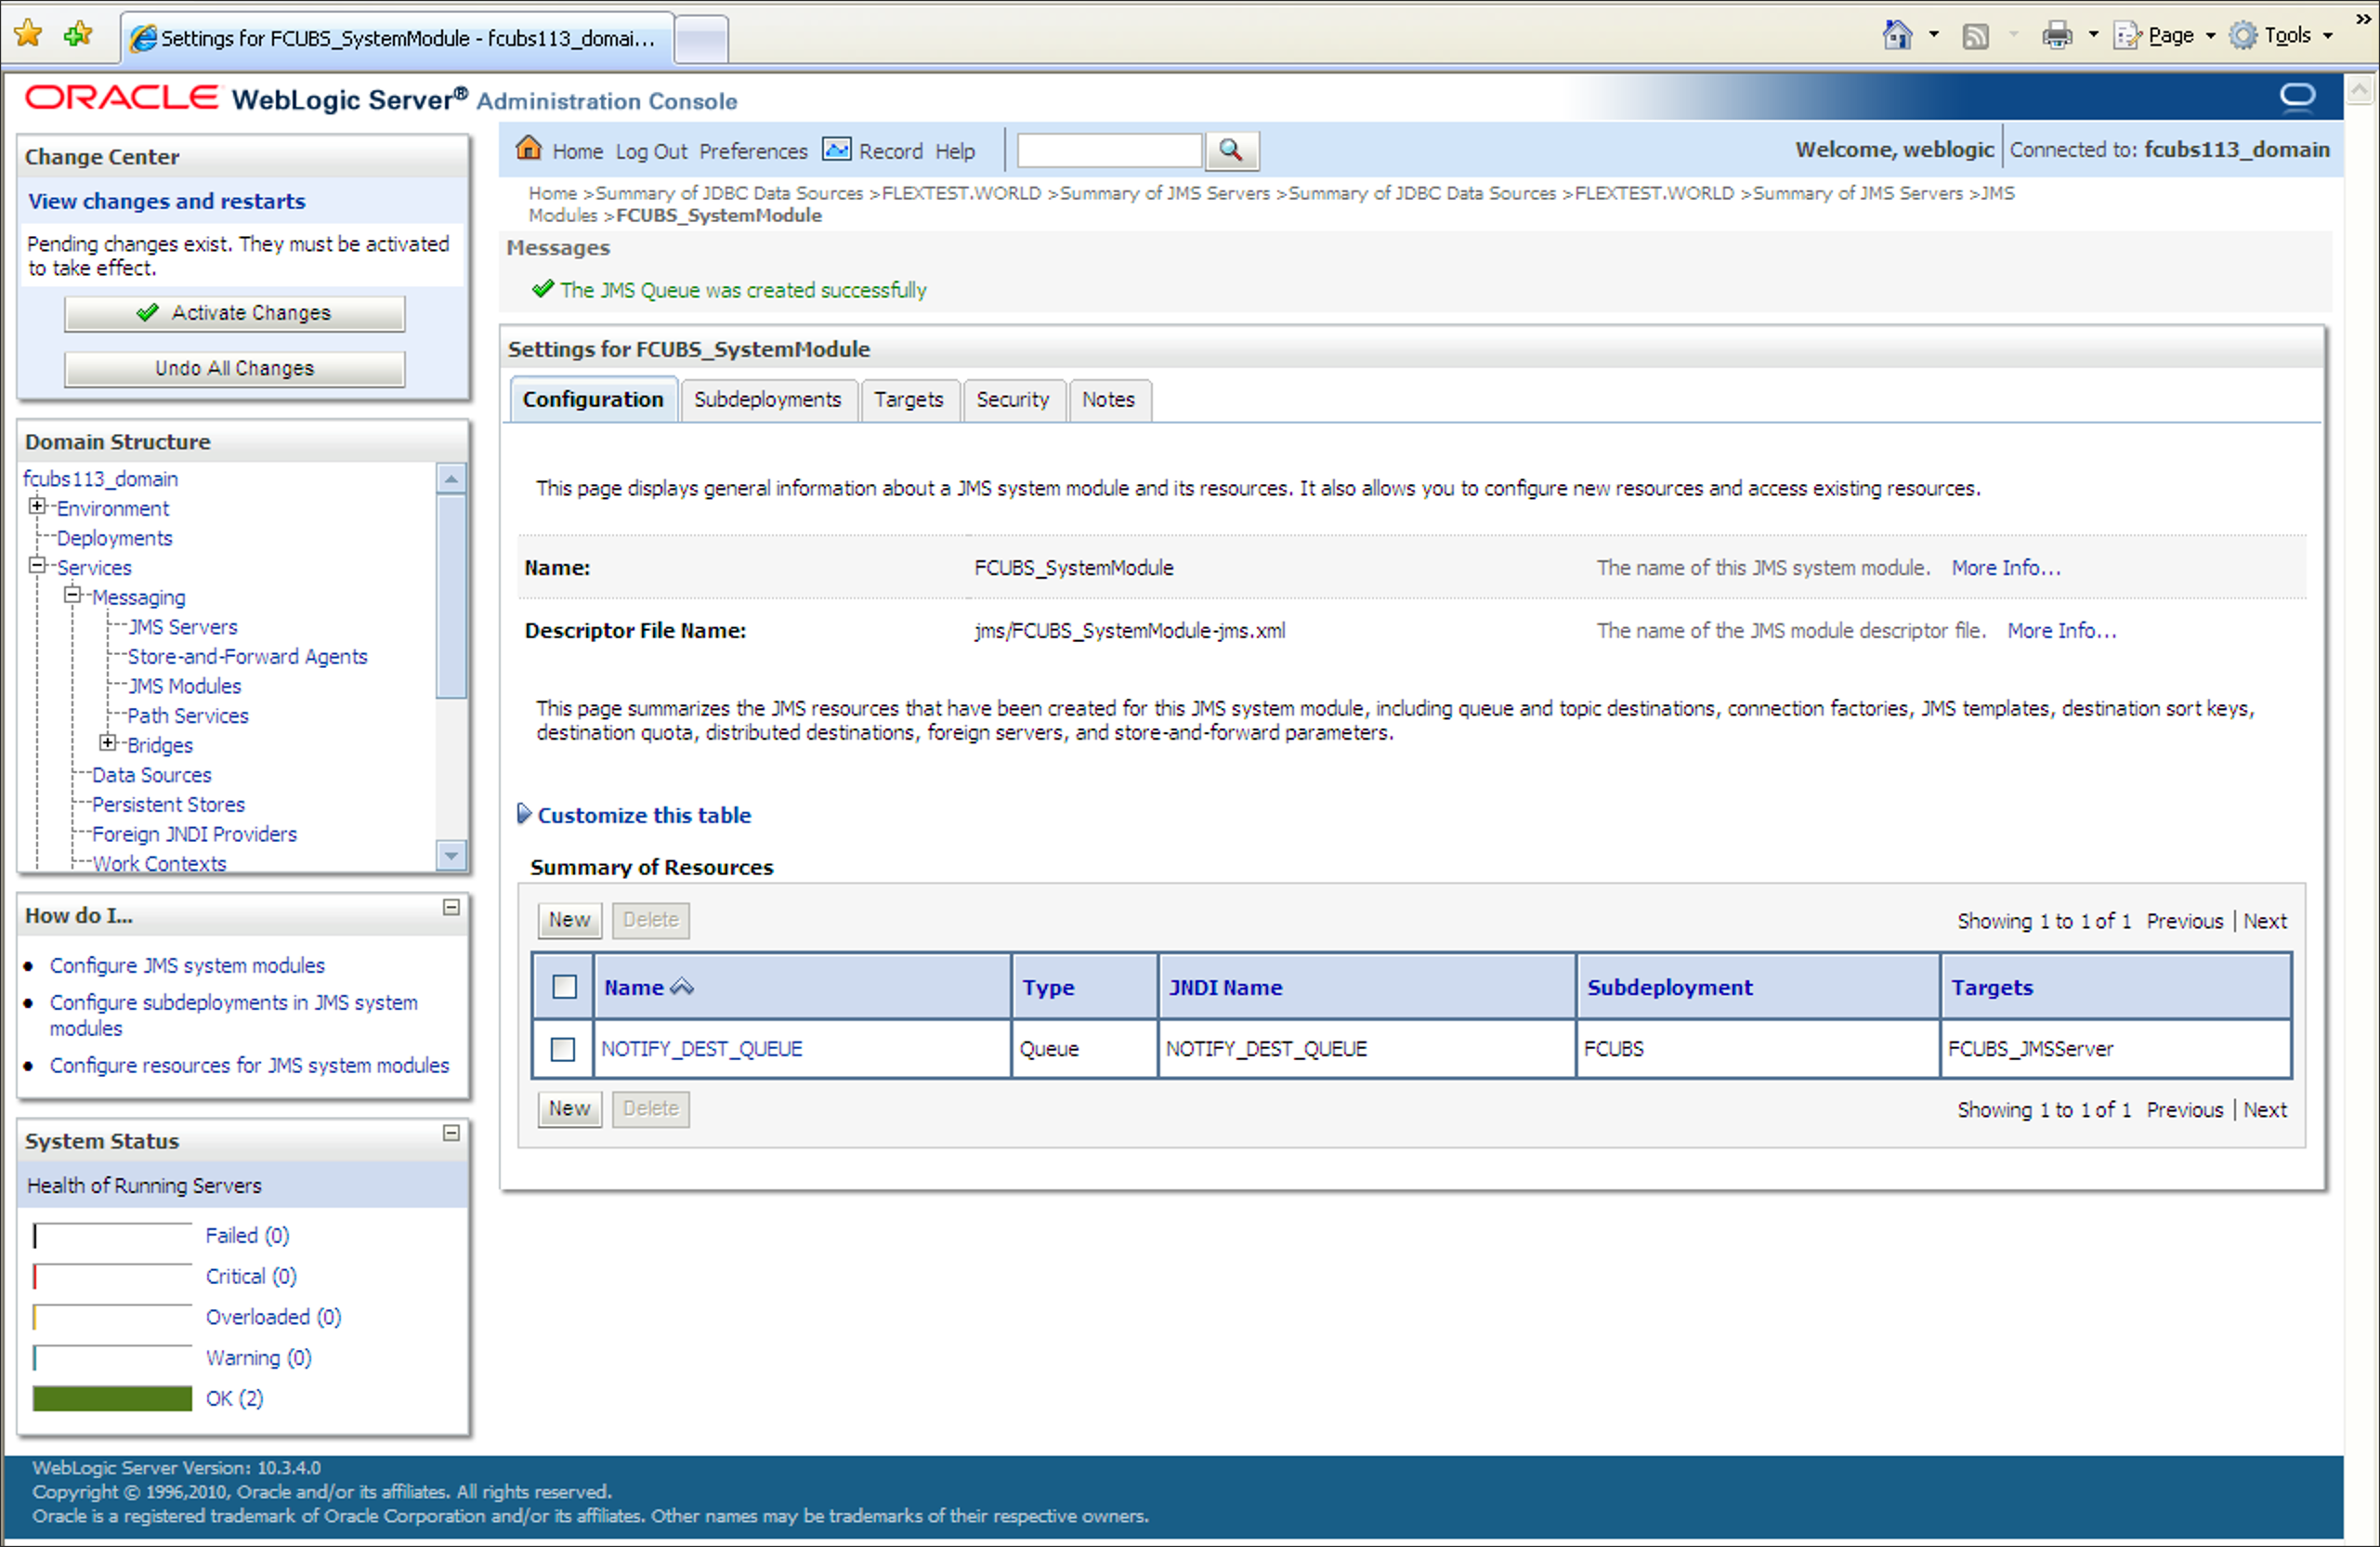
and click Finish button.The new JMS Queue is created.
- Click the Activate Changes button in the
Change Center section of the screen to accept the
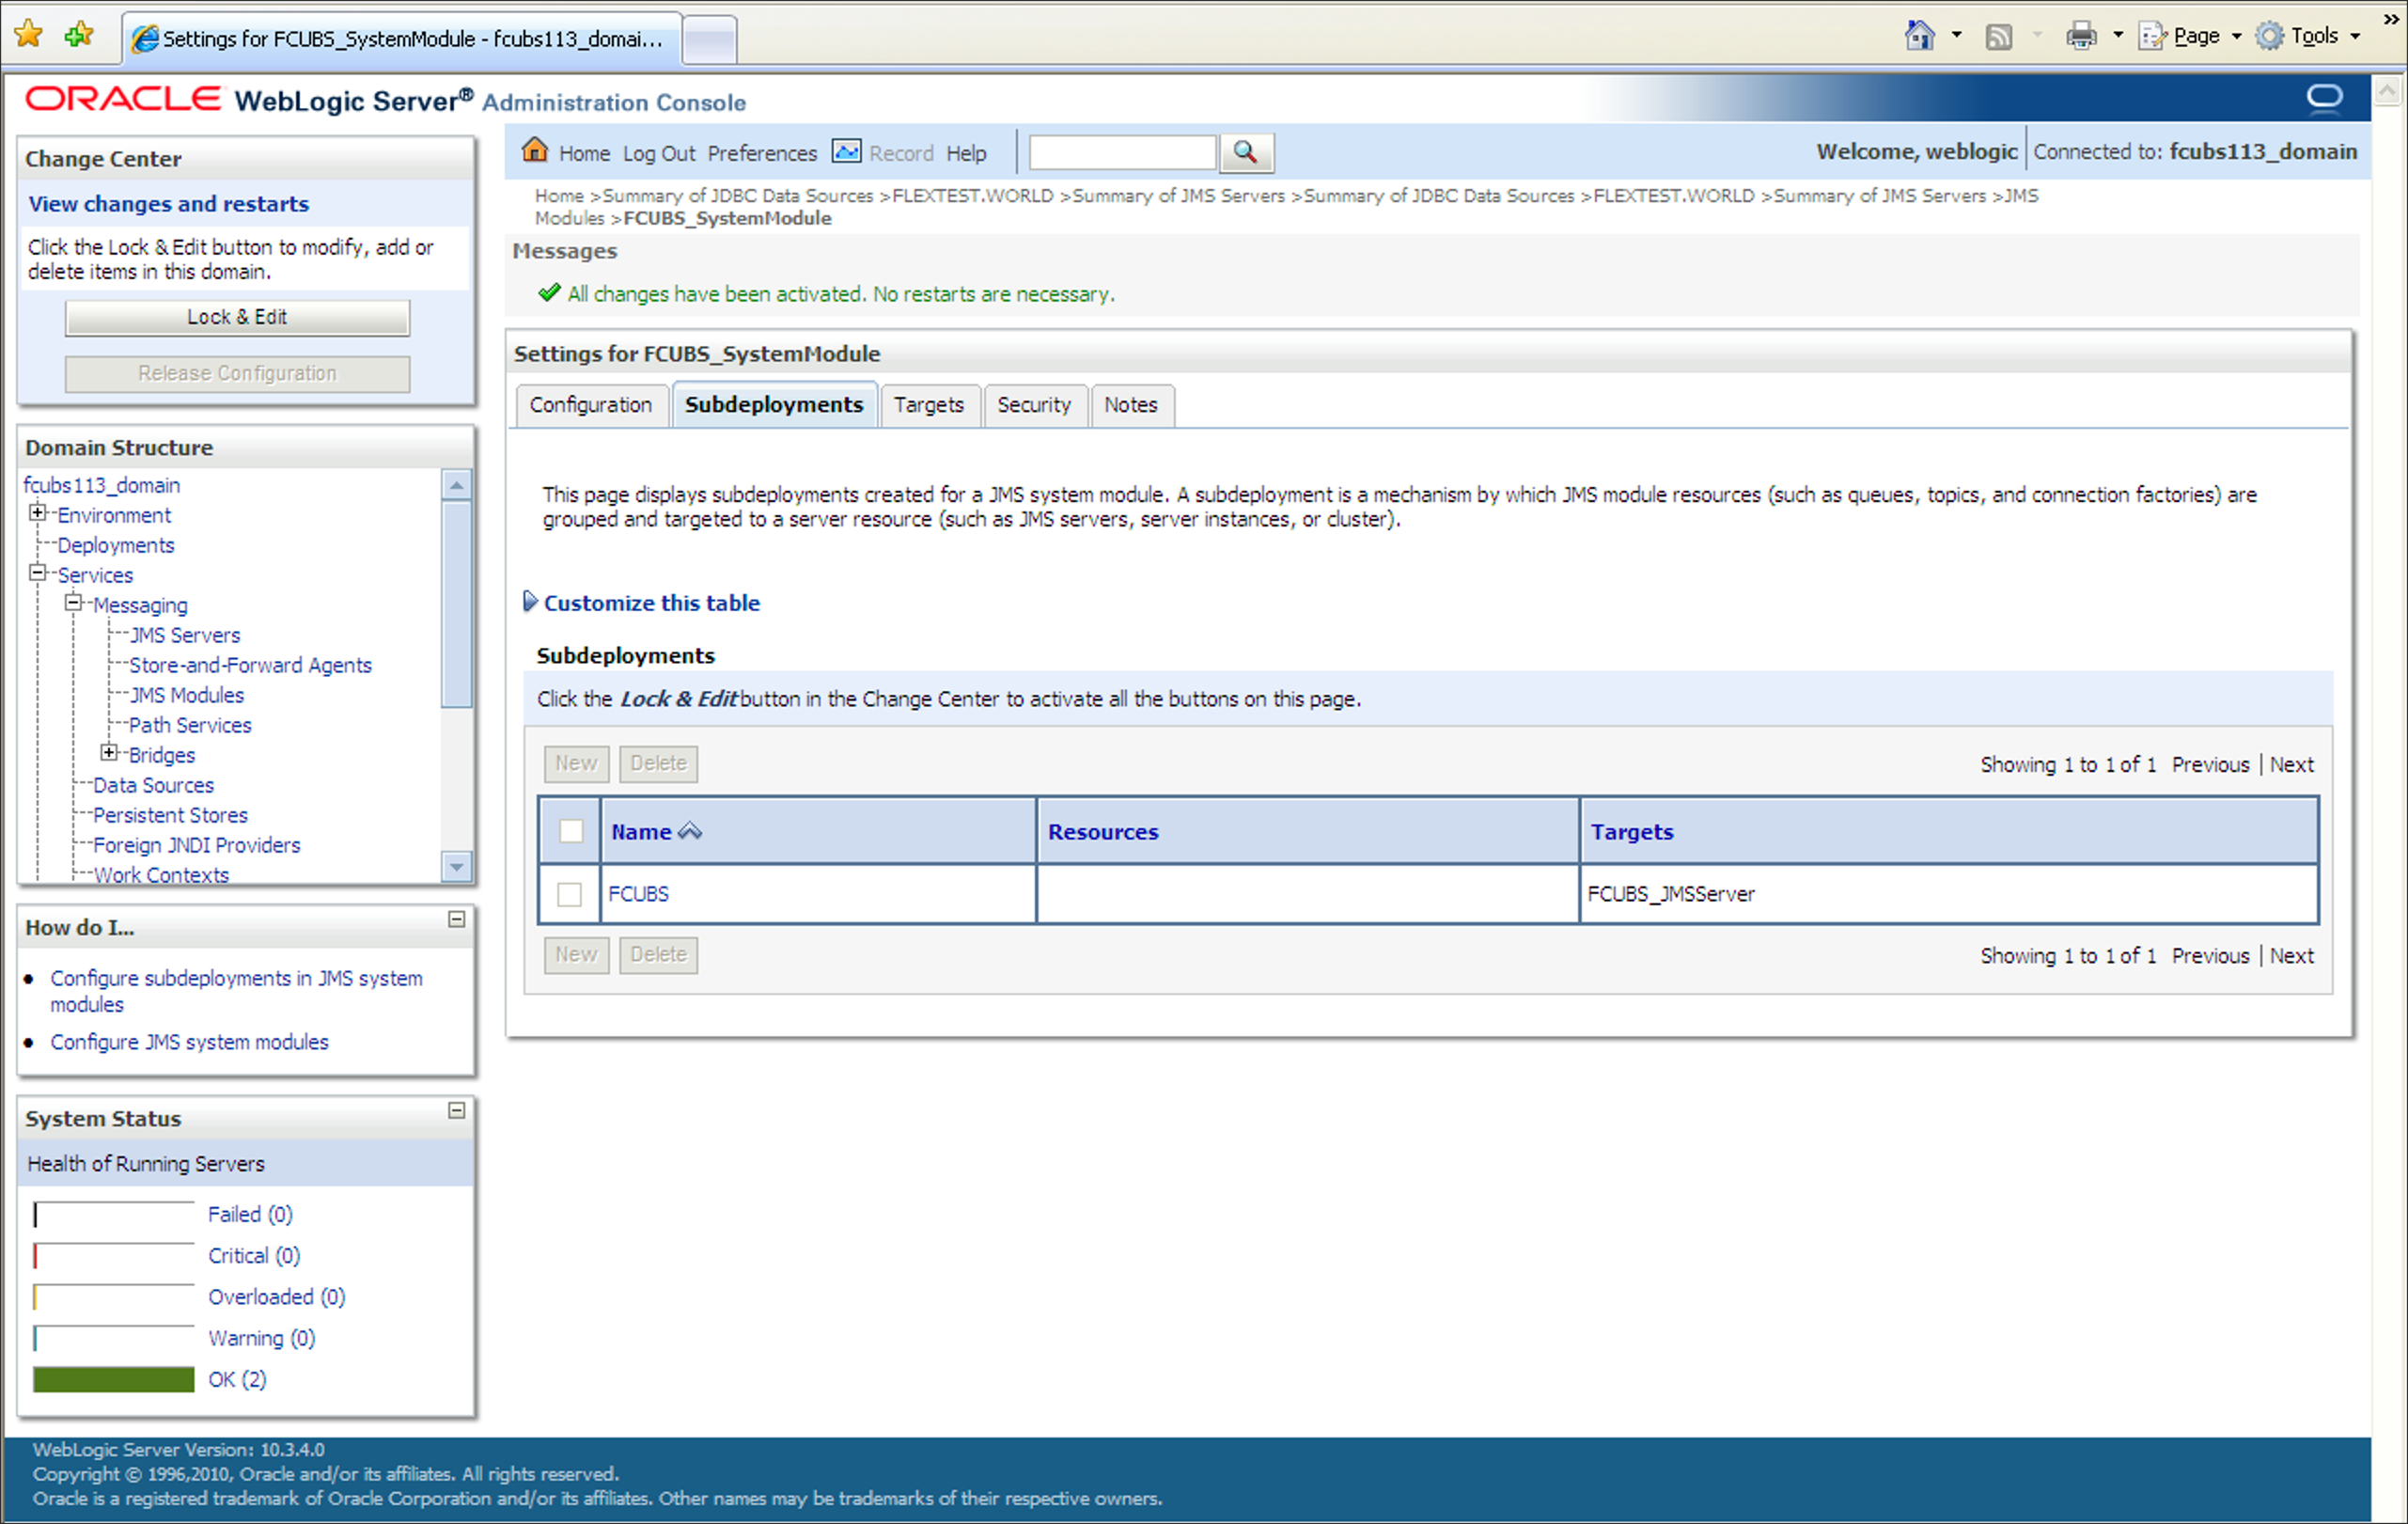
changes made.The message All the changes have been activated. No restarts are necessary. is displayed.
Figure 7-68 Subdeployments_All Changes Activated
Parent topic: Create Resources on Weblogic
