7.4 Create Subdeployment
This topic explains the systematic instructions to create the subdeployment in the Weblogic application server.
Follow the steps given below to create the subdeployments:
- Start the Administration Console of WebLogic Application server.You can start the Application by opening the Oracle
Weblogic Remote Consoleapplication post installing the application from the linkhttps://github.com/oracle/weblogic-remote-console/releases.The WebLogic Remote Console screen is displayed. - Click Providers and select Add Admin server Connection Provider.The user must enter the required URL, username, and password to establish a connection to the Admin Console.The Edit Admin Server Connection Provider popup window is displayed.
- Click Edit Tree icon after logging into the WebLogic Console.
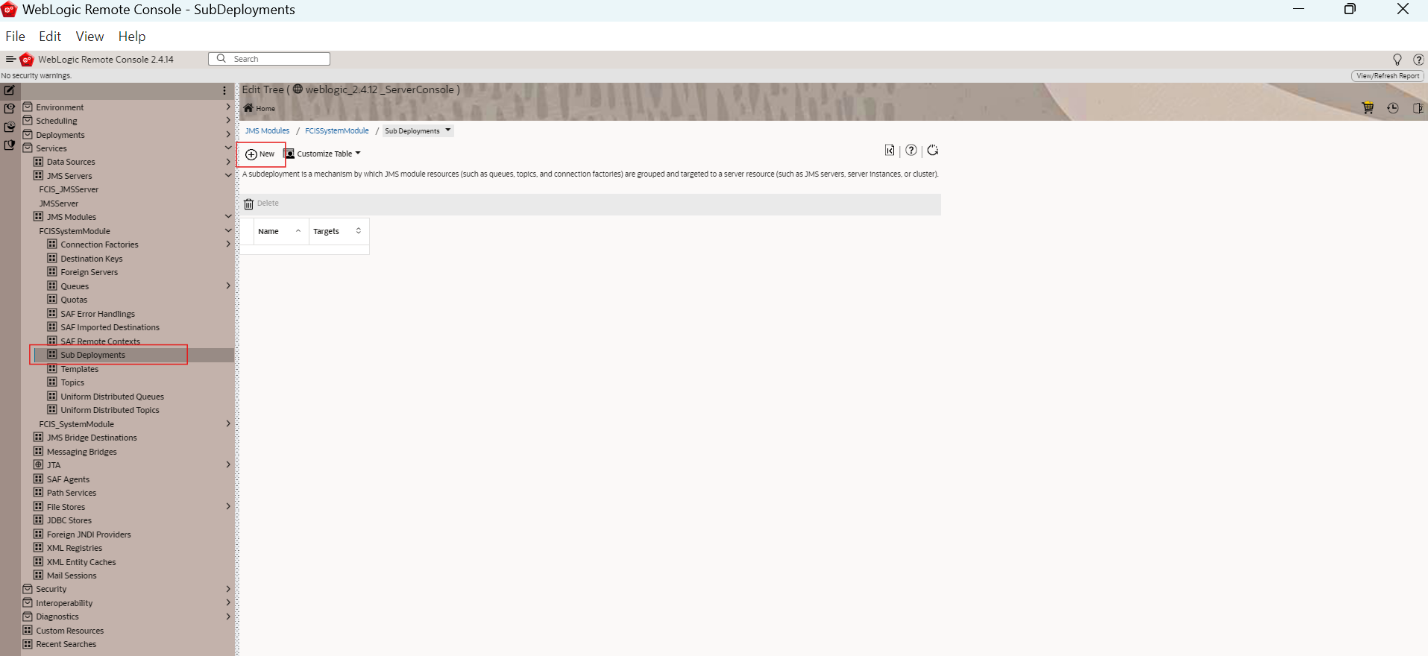
- Go to Services and then select Sub Deployments within JMS Modules.The Sub Deployments screen is displayed.
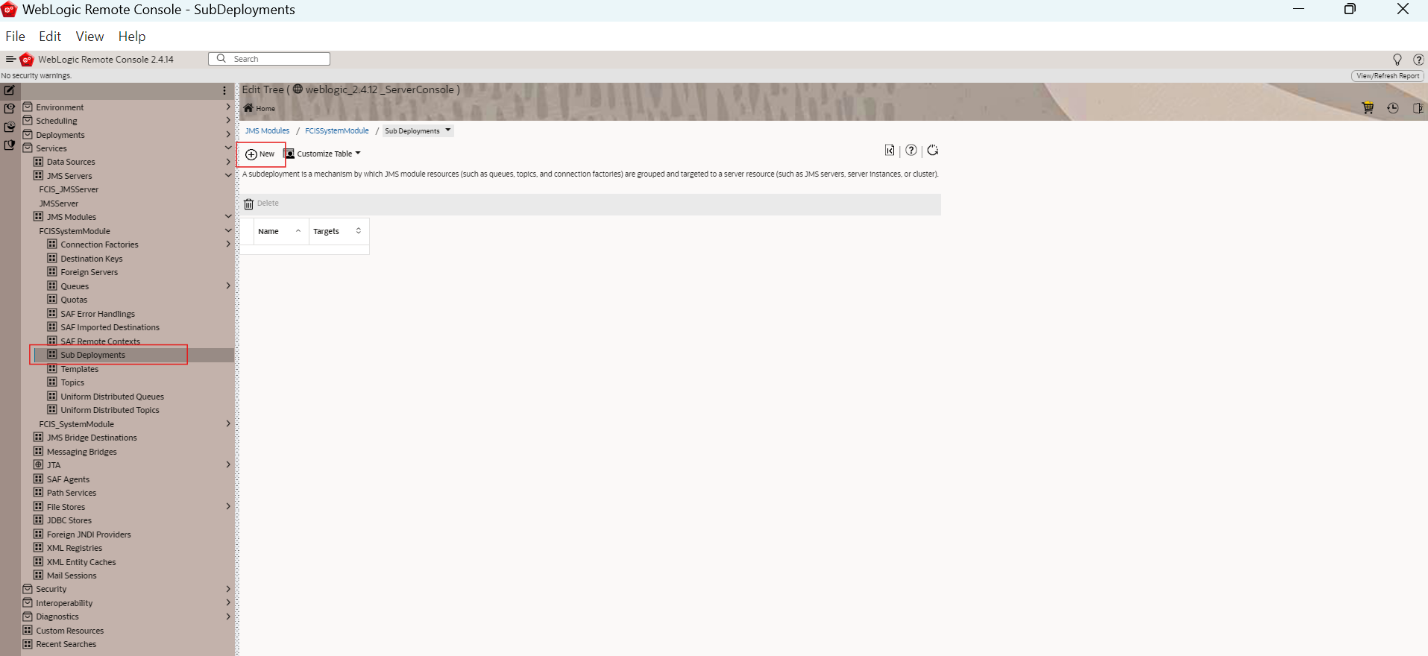
- Select the JMS module created and click the Sub Deployments.The following screen is displayed.
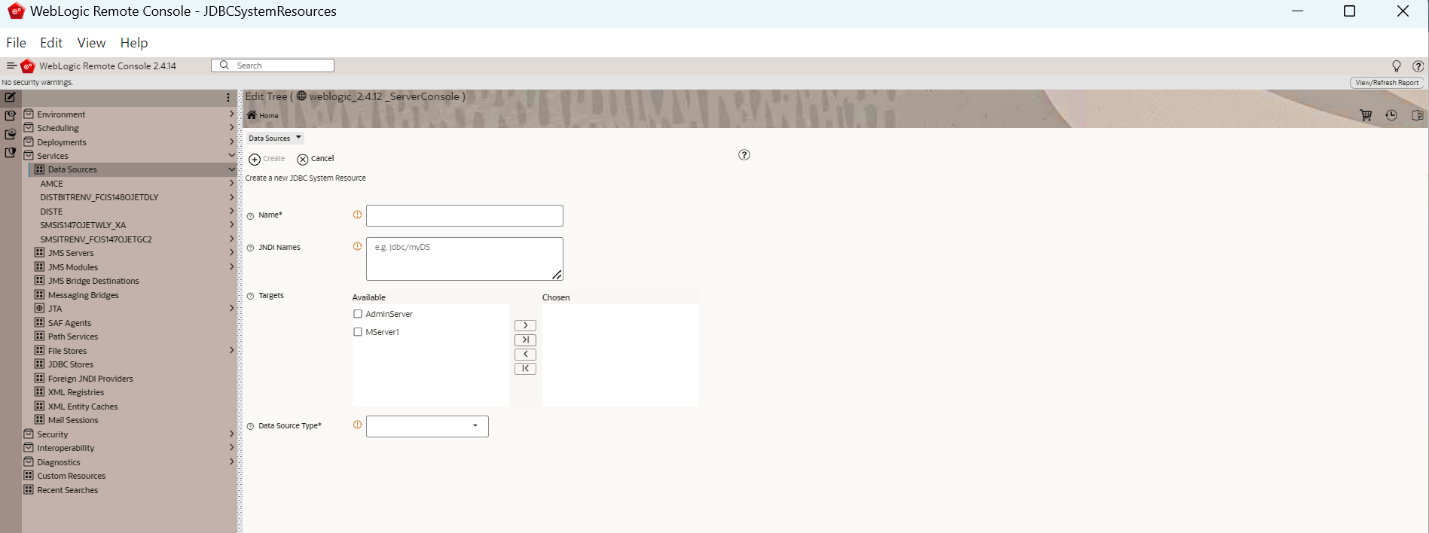
- Click New to create a new Sub Deployment.The following screen is displayed.
- Specify the Subdeployment Name as FCIS.
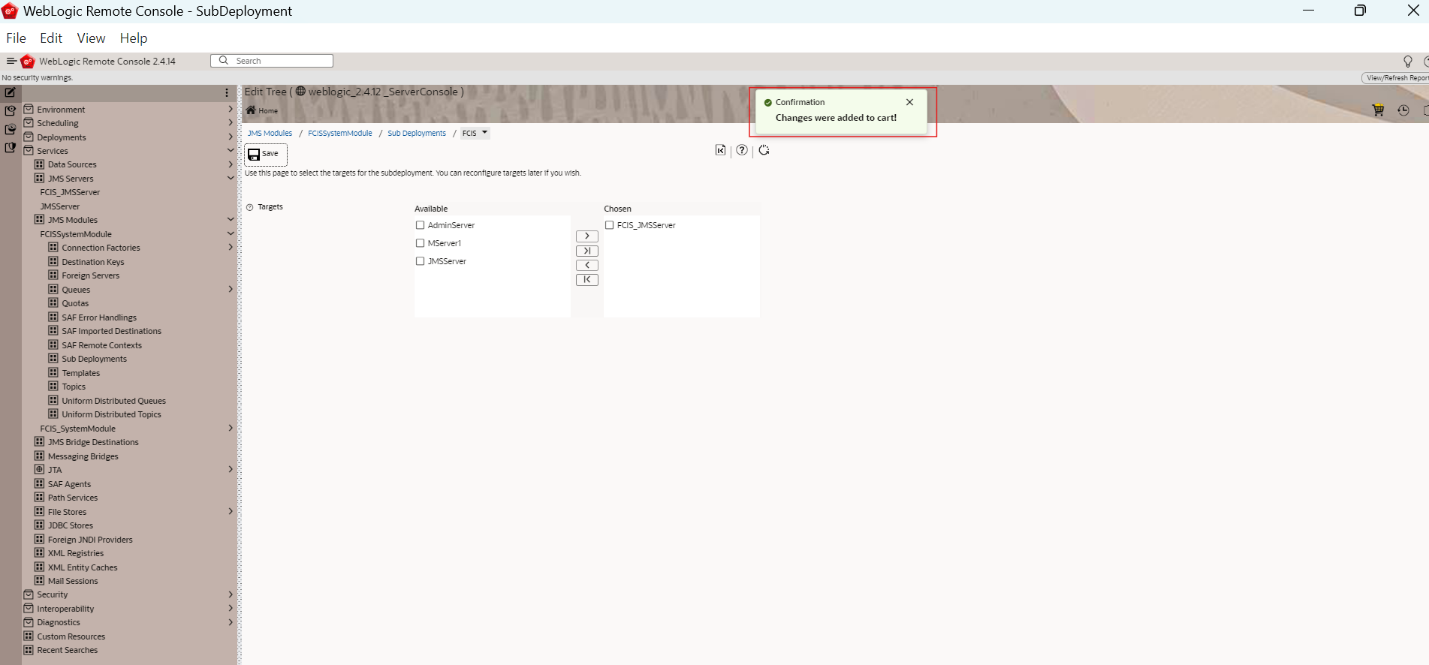
- Click Create.The following screen is displayed.
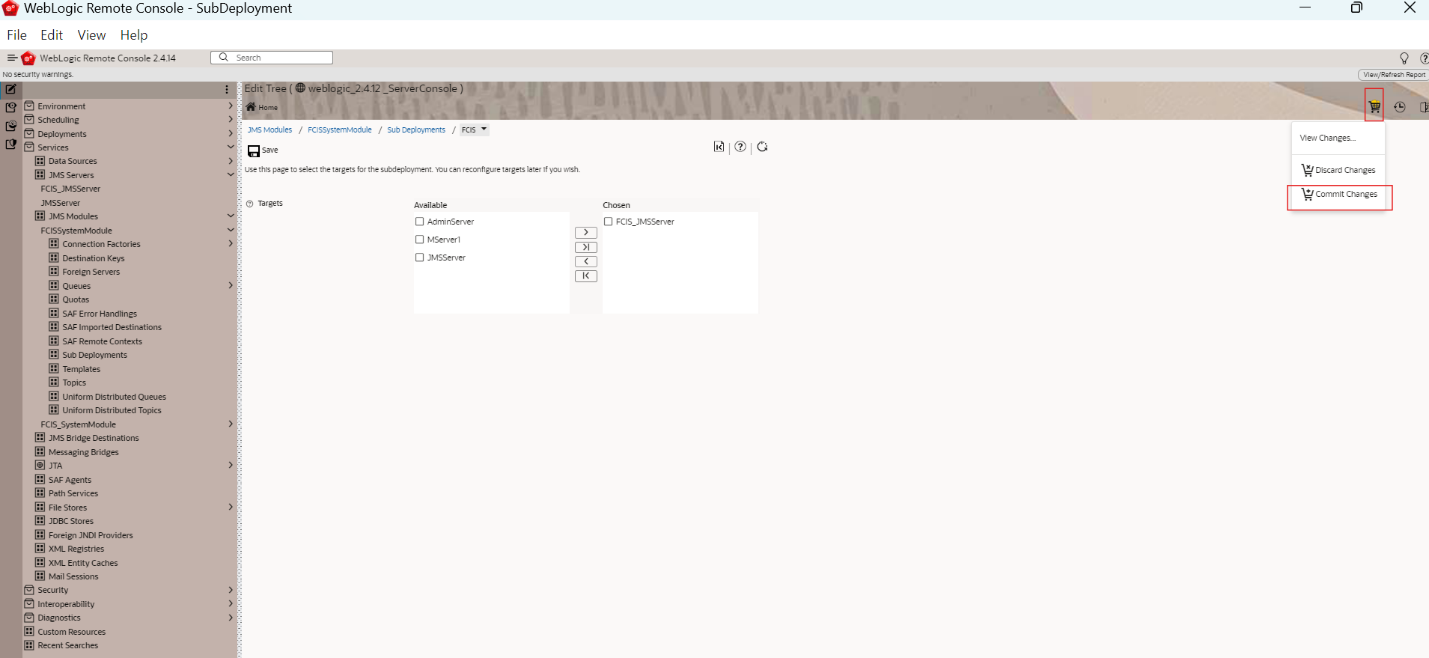
- Select the JMS Server created.
- Click Save.The following screen is displayed.
- Click the Cart icon to view, commit or discard the changes and select Commit Changes to apply the changes.The Changes were successfully committed is displayed on committing the changes.
Figure 7-41 Changes successfully committed
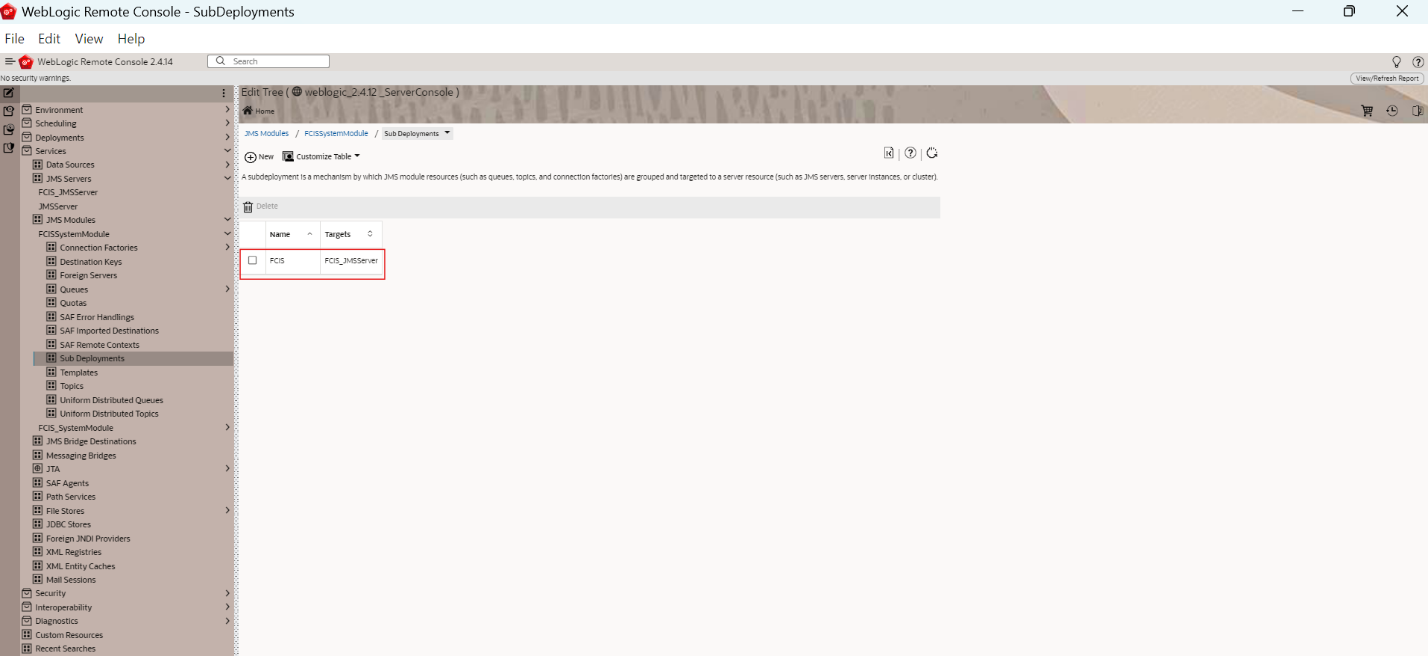
- You can view the new module created in the JMS Modules screen.The new Subdeployment created is displayed.
Parent topic: Create Resources on Weblogic
