- Routing Hub Configuration User Guide
- Transformation
7 Transformation
This topic describes the systematic instructions to configure the transformation.
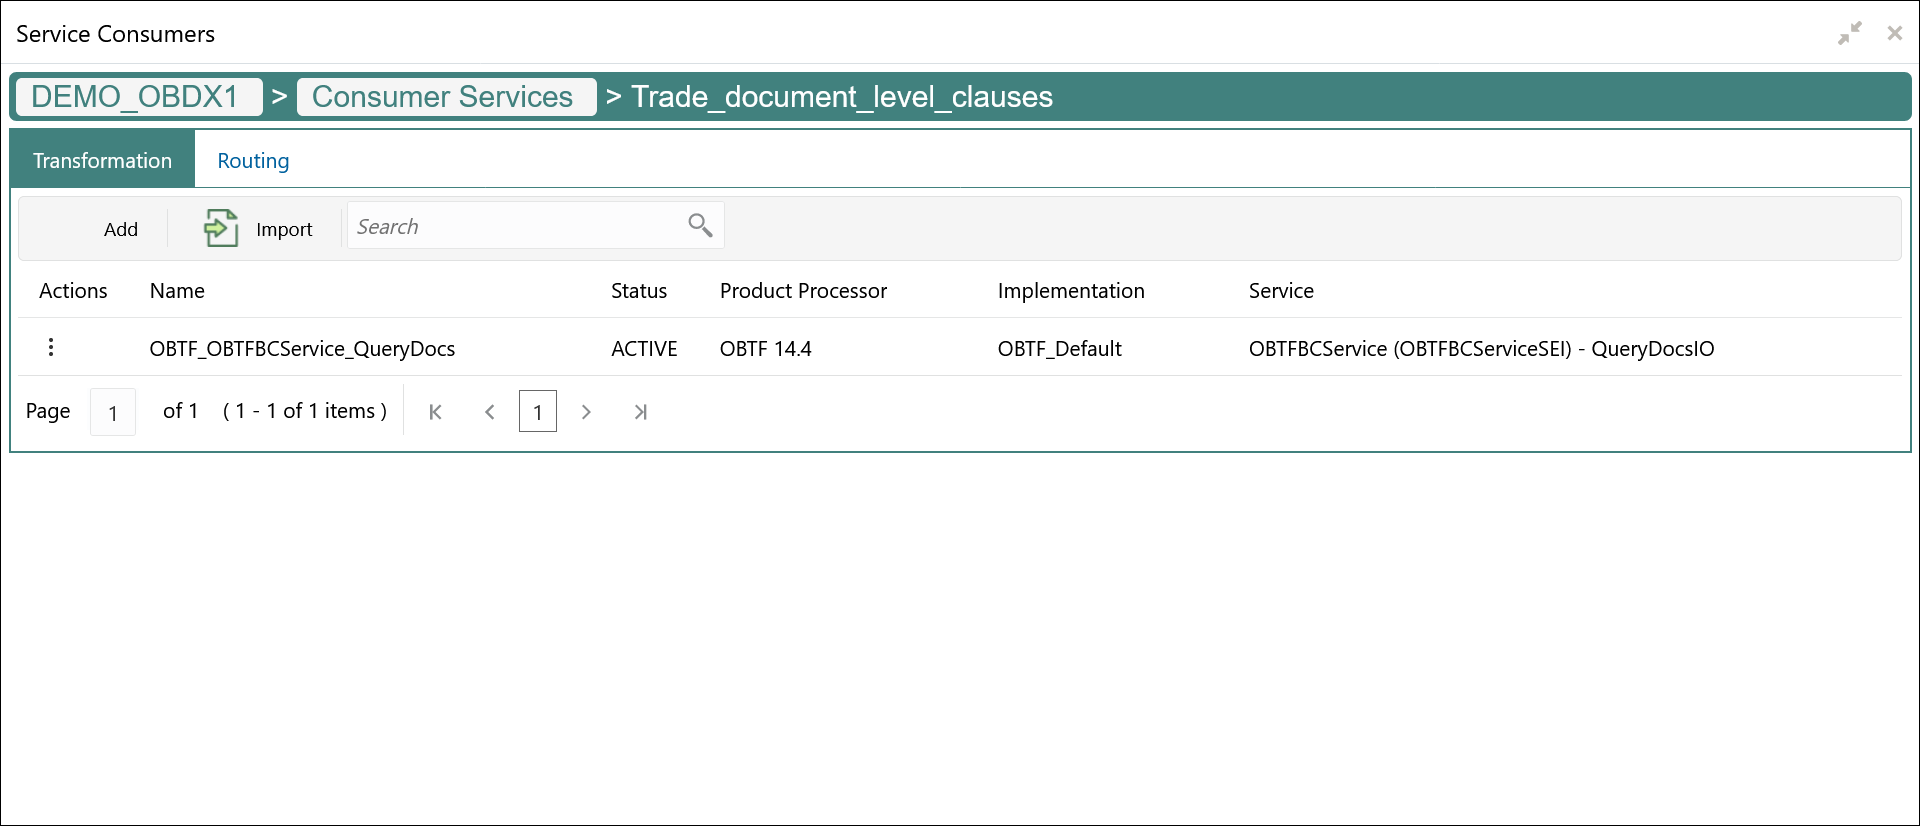
- On Consumer Services screen, click the required consumer service tile.The Transformation screen displays.
Add Transformation
The user can create transformation manually.
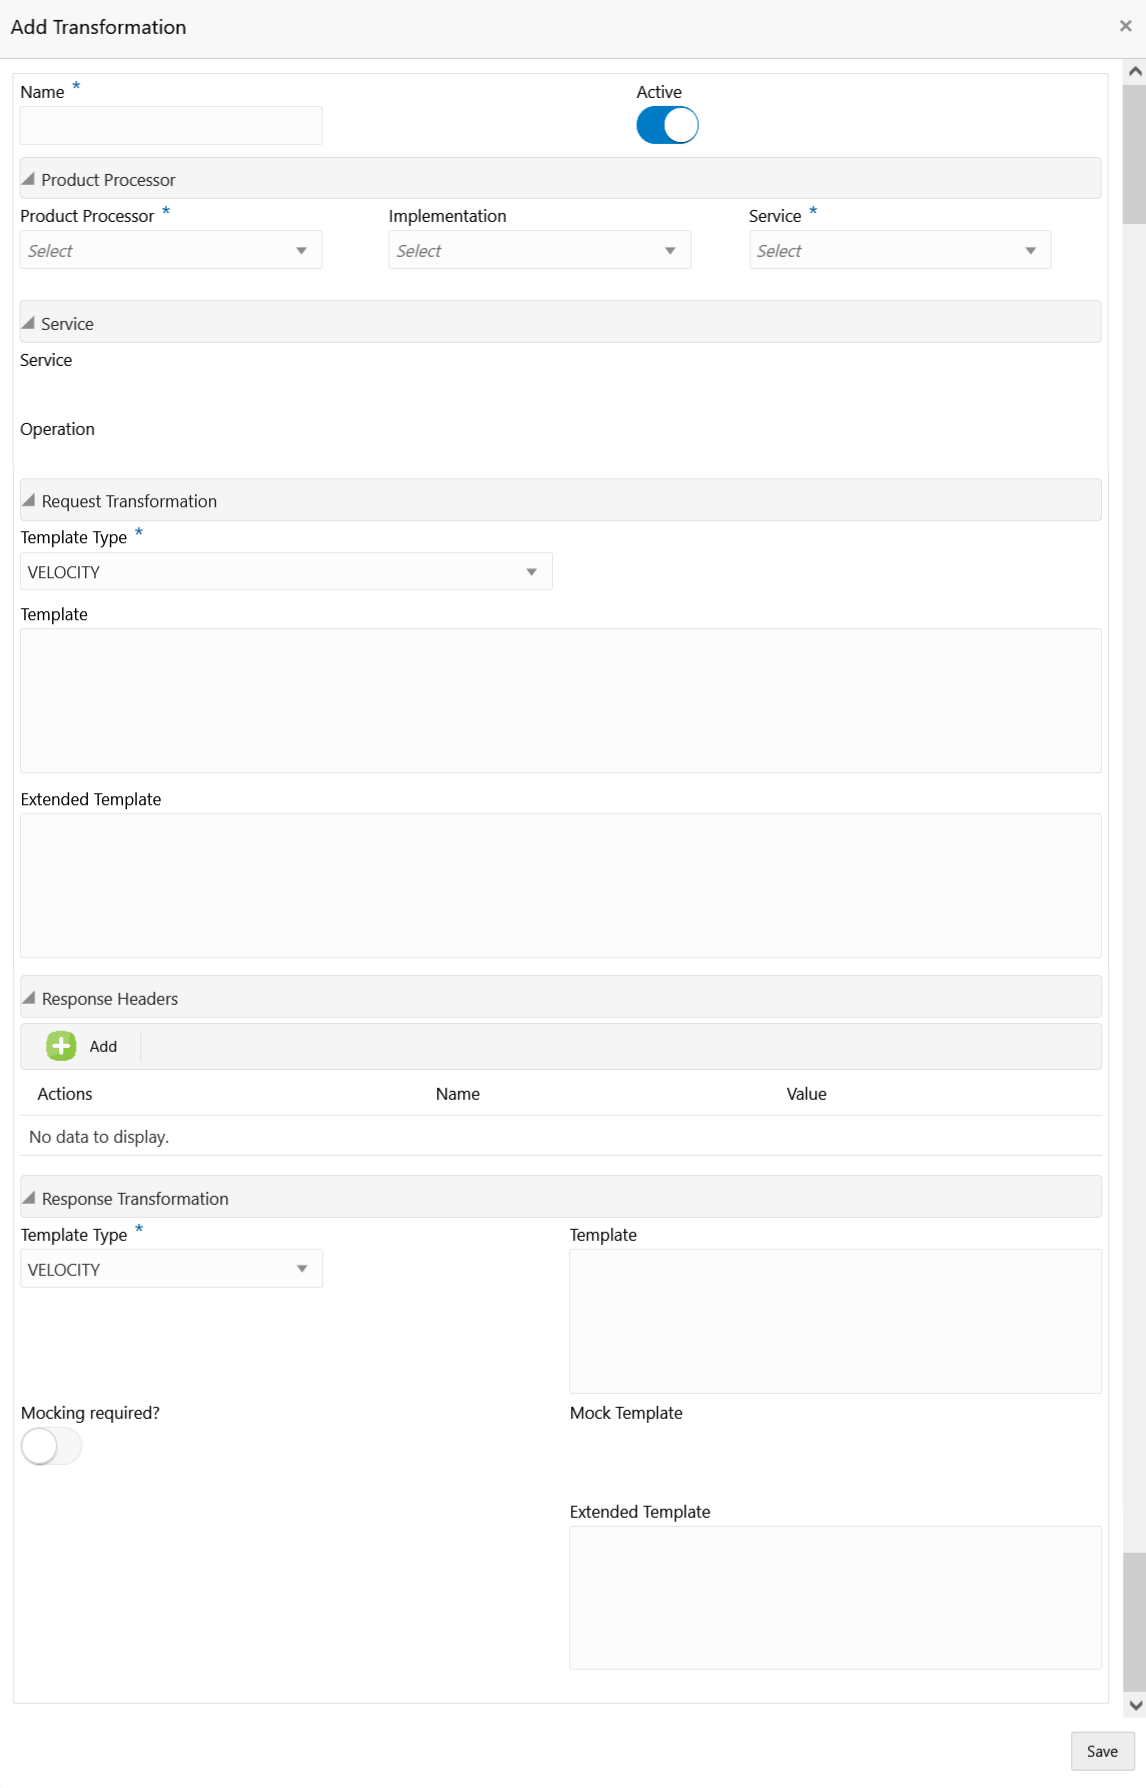
- On Transformation screen, click Add.The Add Transformation screen displays.
- Specify the fields on Add Transformation screen.
Note:
The fields, which are marked with an asterisk, are mandatory.For more information on fields, refer to the field description table.
Table 7-1 Add Transformation - Field Description
Field Description Name Specify the name for the transformation. Note:
- Enter 0 to maximum of 255 characters.
- No numeric value at beginning and no space allowed.
Active Active / Inactive If transformation is marked as inactive, then the user will not be able to select transformation in routing.
Product Processor Displays the Product Processor details. Product Processor Select the product processor from the drop-down list. Implementation Select the implementation from the drop-down list. Service Select the service from the drop-down list. Service Displays the service details of the selected service. Headers Displays the header list relevant to the selected provider, implementation and service. User can change the header values. The value can either be hardcoded or can be Velocity mapping.
Path Params Displays the path param list relevant to the selected service. User can change the param values. Value can either be hardcoded or can be Velocity mapping.
Query Params Displays the query param list relevant to the selected service. User can change the param values. Value can either be hardcoded or can be Velocity mapping.
Request Transformation Displays the Request Transformation details. Body Type Select the body type for the Request Transformation from the drop-down list. The available options are:- RAW
- FORM DATA
Note:
This field appears only if the selected service is REST service.Template Type Select the template type for the Request Transformation from the drop-down list. The available options are:- VELOCITY
- JSLT
- XSLT
Template Specify the template for the Request Transformation in which provider accepts. Refer to Transformation Type for syntax.
Extended Template Specify the custom template in order to extend the kernel template. Refer to Extensibility and Transformation Type for syntax.Note:
This field appears only if the Body Type is selected as FORM DATA.Response Header Specify the additional headers required to be part of Routing Hub response headers. Value can either be hardcoded or can be Velocity mapping.
Response Transformation Displays the response transformaton details. Template Type Select the template type for the Response Transformation from drop-down list. The available options are:- VELOCITY
- JSLT
- XSLT
Template Specify the kernel template in which consumer accepts. Refer to Transformation Type for syntax.
Mocking required? Select the toggle if the mocking is required for the Response Transformation or not. If the toggle is ON, the Routing Hub will return the mocked template output (with extended template output if mentioned) to consumer without invoking provider API.
Mock Template Specify the kernel template for the Response Transformation in which the consumer accepts. Refer Transformation Type for syntax.
- Click Save to save the details.The Confirmation screen displays.
- Click Confirm to add the transformation.
Import Transformation
The user can create a transformation by importing the JSON file. The user can also import zip file in order to import all the configuration JSON files together (except parent level configuration JSON files).
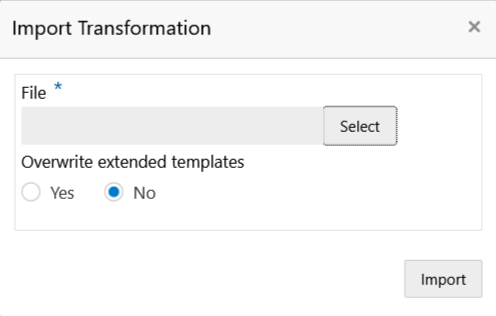
- On Transformation screen, click Import.The Import Transformation screen displays.
For more information on fields, refer to the field description table.
Table 7-2 Import Transformation - Field Description
Field Description File Select the file using Select button. Note:
Allows only to select one file and accepts JSON and ZIP file.Overwrite extended templates Select the respective radio button to overwrite the extended templates. The available options are:- Yes - This option overwrites the extended templates.
- No - This option retains the existing extended templates.
- Click Import to import the selected file.The Confirmation screen displays.
View Transformation
The user can view transformation details and can also switch to edit form by clicking on edit icon.
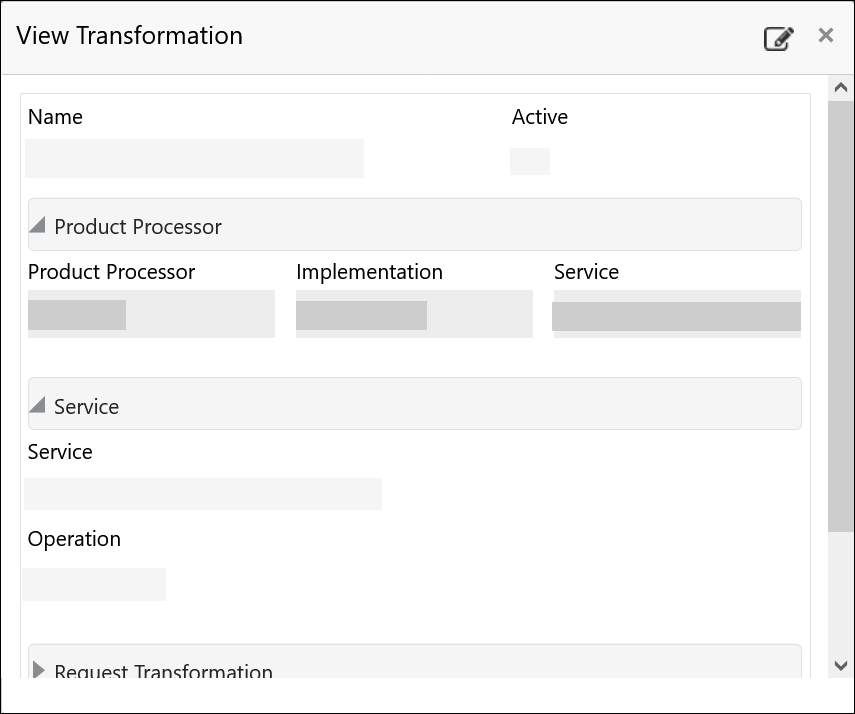
- On Transformation list, click Operation menu (3 dots button), and click View.The View Transformation screen displays.
Click Edit icon to edit the Transformation.
Edit Transformation
The user can modify the transformation details.
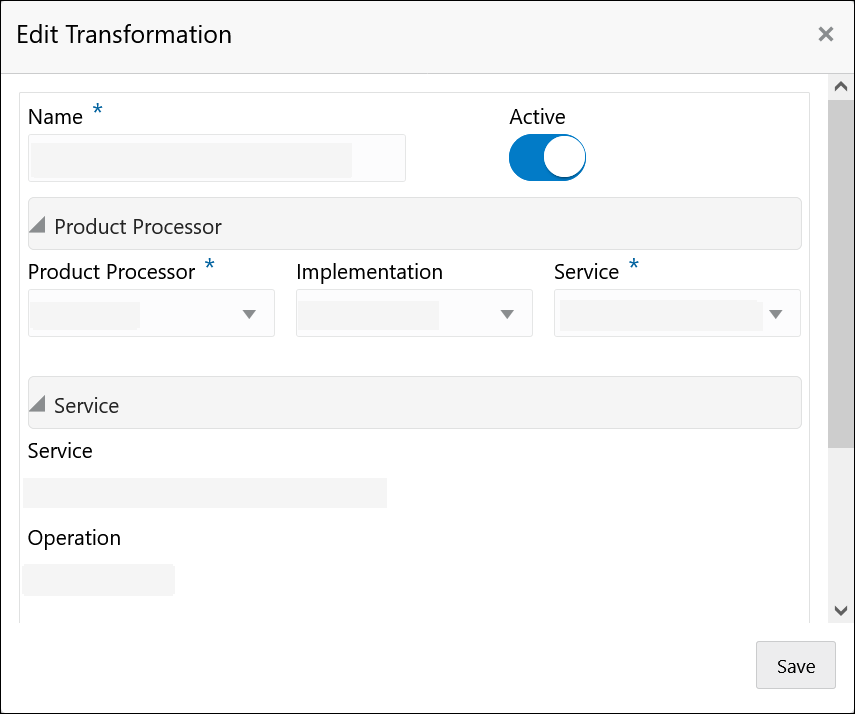
- On Transformation list, click Operation menu (3 dots button), and click Edit.The Edit Transformation screen displays.
- Click Save once the edit is done.The Confirmation screen displays.
Delete Transformation
The user can delete the transformation.
- On Transformation list, click Operation menu (3 dots button), and click Delete.The Confirmation - Delete screen displays.
Export Transformation
The user can export the transformation configuration as JSON file.
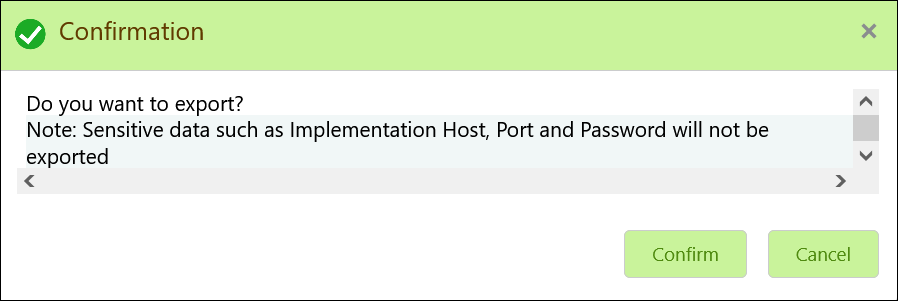
- On Transformation list, click Operation menu (3 dots button), and click Export.The Confirmation screen displays.
Request Audit
- On Transformation list, click Operation menu (3 dots button), and click Request Audit.The Request Audit screen displays.
Note:
Refer to Request Audit topic for screen and field description.
