12.4.2 Create a Business based Data Adjustment
To create a data adjustment for the action type Data Adjustments - Others, follow these steps:
- From the Issues & Actions page, under an action created, click View More.
- On the Data Adjustment page, click Create.
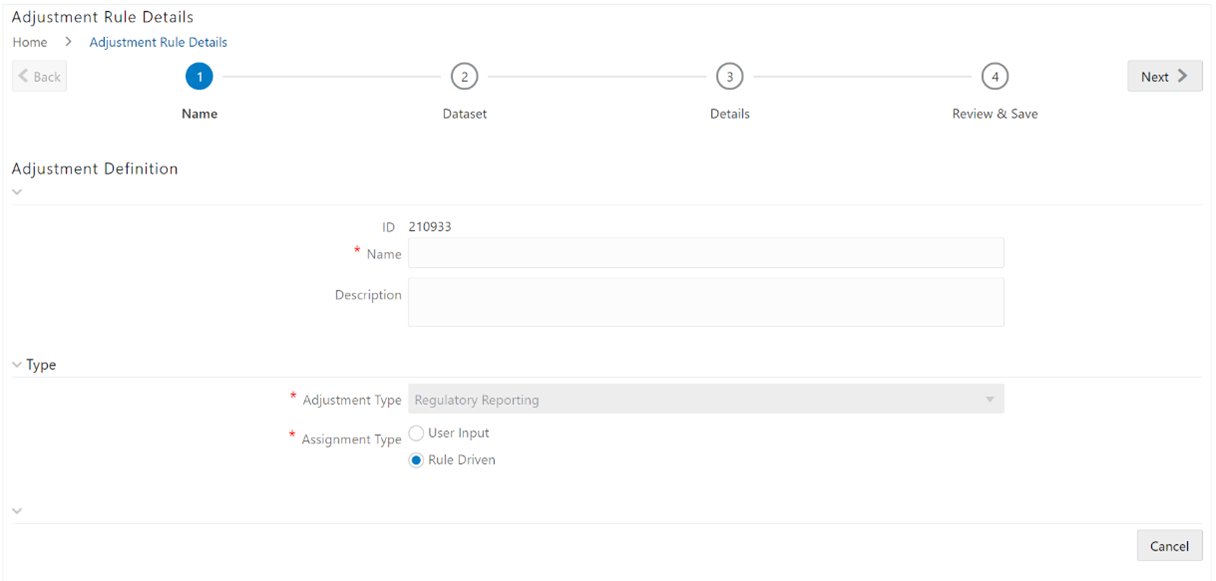
The Adjustments Rule Details window is displayed.
- In the Adjustment Rule Details window, enter values in the
Name and Description fields.
Figure 12-7 Adjustment Rule Details

- Select the Assignment Type as either User Input or Rule Driven.
- For User Input:
- In the Adjustment Entity drop-down, select the entity or table for which the adjustment must be performed.
- In the Select Filter section, enter values in the
following fields:
Table 12-4 Select Filter Fields
Field Description Filter Type Select a value from the drop-down box. Filter Attribute Select a value from the drop-down box. Hierarchy Name Select a value from the drop-down box. Hierarchy Values Select a value from the drop-down box. Hierarchy Select a value from the drop-down box. - Click Go, and then click Next.
- Select Add Attribute.
- In the Add Column window, in the Target Attribute drop-down, select a value and then click OK. The target attribute displays the columns based on the selected entity.
- Click Next, and then click Save.
- In the Manual Data section, select Export.
- In the Export window, in the MIS Date section, select a date the entity has data, and then click Export.
- Save the Excel file to your system.
- Enter values in the specific columns as per the selected target attribute, and then save the Excel.
- In the Manual Data section, in the ID column, select the required ID and then click Import.
- In the Import window, attach the Excel that you added data to, and then click Upload.
- Click Import.
- Click Submit if you want to send the Data Adjustment for approval or click Save.
- For Rule Driven:
- To go to the next section, click Next or click Dataset.
- In the Adjustment Entity, Filter Type, Filter Attribute, Hierarchy Name, and Hierarchy drop-down boxes, select a value.
- Click Next.
- Click Add Expression.
- Select a value from the drop-down box for
Column.
Note:
You can ignore the Lookup section. - In the Add Expression window, enter values in the
following fields:
Table 12-5 Add Expression Fields
Field Description String Select a value from the drop-down box. Date and Time Select a value from the drop-down box. Aggregate Select a value from the drop-down box. Others Select a value from the drop-down box. Mathematical Select a value from the drop-down box. Concatenation Select a value from the drop-down box. Mathematical operators Select a value from the drop-down box. Others Select a value from the drop-down box. Comparison Select a value from the drop-down box. Logical Operators Select a value from the drop-down box. Expression Enter an expression.
- Click OK.
- Click Next.
- In the Review and Save section, click
Save.
The Data Adjustment for the action has been created.