POS Reports
Managers tasks include actions necessary to conclude business activity. For example, at the end of a shift, each employee needs to know their tips, the chef may need to know how many specials were sold, and managers need to know the net sales. All of these activities require information from the Simphony Essentials system, which is provided in separate, pre-defined reports generated from stored point-of-sale data files on the POS client.
These reports can be generated from the POS Reports page. You can access the POS Reports page for TSR and Bar operations from the home page. For QSR operations, access it from the Manager Functions button and then the POS Reports tab.
Reports are not supported on mobile phones and handheld devices.
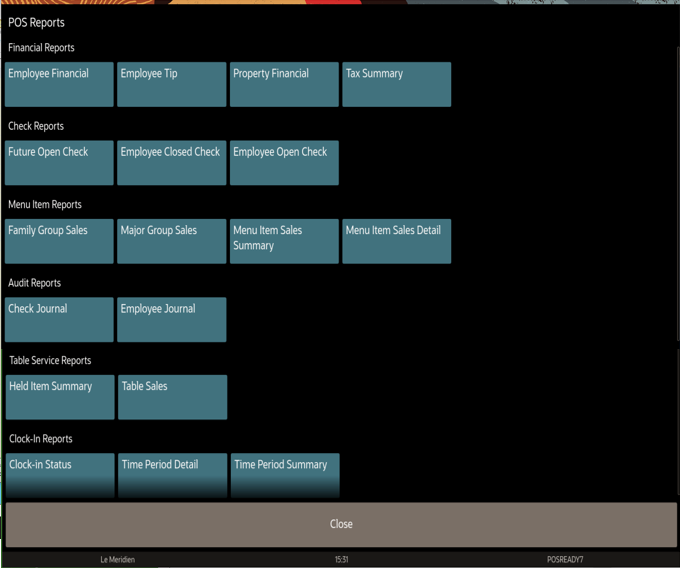
Figure 9-1 Example of POS Reports Page for TSR

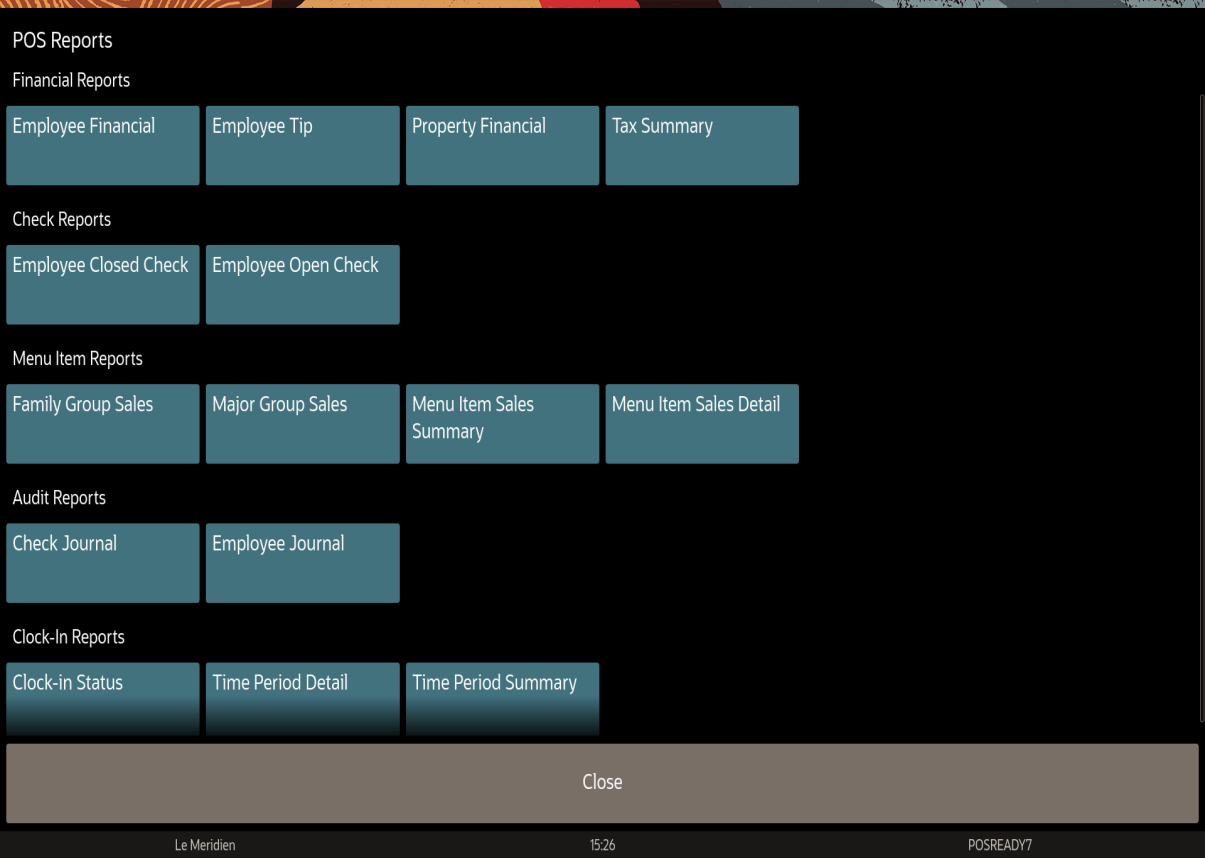
Figure 9-2 Example of POS Reports Page for QSR and Bar

All Simphony Essentials POS reports may be either displayed on screen or printed.
The following table lists the main types of reports available on the POS client from the POS Reports page.
Table 9-1 POS Report Types
| Report Type | Description | Report Name |
|---|---|---|
|
Financial Reports |
Provides financial reporting for an employee or property, or tax summary. |
|
|
Check Reports |
Provides a list of all open, closed, and future open checks (also called Autofire checks) belonging to an employee at the time the report is taken. |
|
|
Menu Item Reports |
Provides sales and food cost totals for each menu item. |
|
|
Audit Reports |
Provides a journal of all sales transactions by a specific employee shown in a check detail area, and by check detail area. |
|
|
Table Service Reports |
Provides sales totals for each table in a revenue center. |
|
|
Clock In Reports |
If option 90 - Hide Clock In/Out Button on Sign In Screen is disabled in the EMC Enterprise Parameters module, the Clock In reports are available. |
-
Click the appropriate report name on the POS Reports page.
-
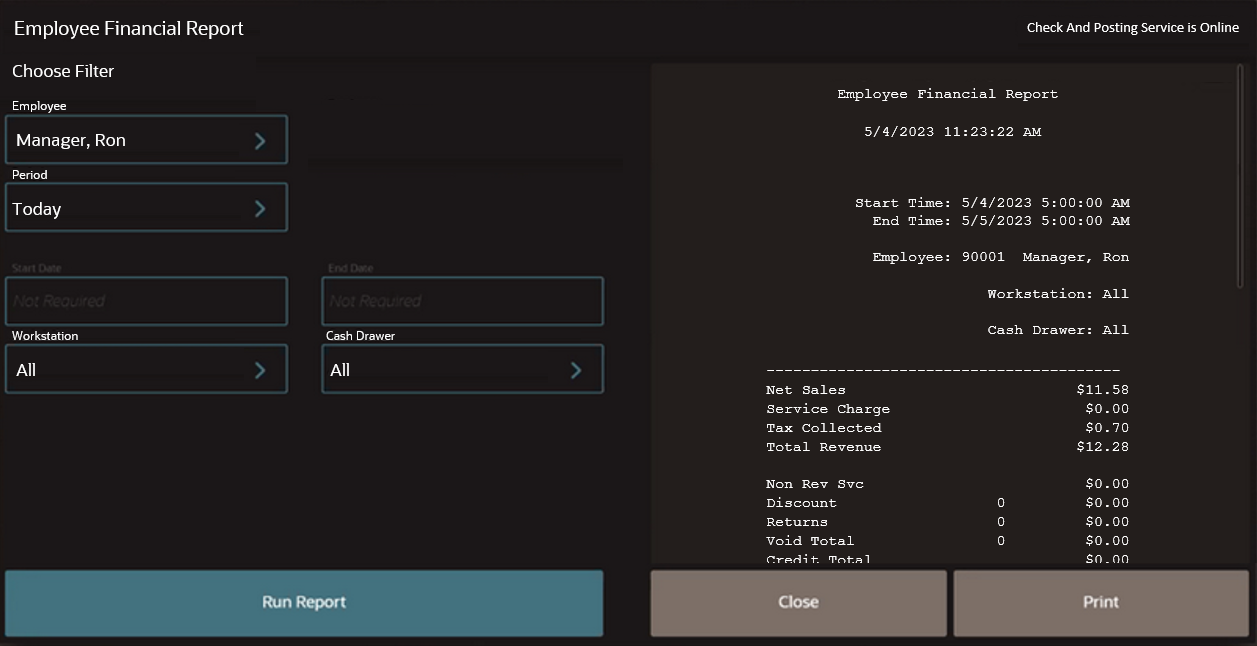
Select the filters to limit the results shown in the report (for example, View, Employee, Date, Workstation, Cash Drawer, and so on).
Figure 9-3 POS Reports Filters

-
Click Run Report.
-
To print the report, click Print.
- Employee Financial Report
- Employee Financial Report - VAT
- Employee Tip Report
- Property Financial Report
- Property Financial Report - VAT
- Tax Summary Report
- Future Open Check Report
- Employee Closed Check Report
- Employee Open Check Report
- Family Group Sales Report
- Major Group Sales Report
- Menu Item Sales Summary Report
- Menu Item Sales Detail Report
- Check Journal Report
- Employee Journal Report
- Held Item Summary Report
- Table Sales Report
- Clock In Status Report
- Time Period Detail Report
- Time Period Summary Report
Parent topic: Reports