Location Management
Use the Location Management window to add or edit a location.
-
Click the Tasks icon.
-
Click the Admin Task.
-
Click the Location Management Task.
The following information is displayed for each location:
-
Location ID – Unique ID of the Location.
-
Location Name – Name of the Location.
-
Address –Address 1 of the Location.
-
Franchisee Location – Indicates whether the Location is a Franchisee.
-
Active – Indicates whether the Location is currently active.
The Location Management window shows the first 25 locations, displayed in Location ID ascending order. You can click the Show More… link to show the next 25 locations or filter the results by completing the following steps:
Filtering the Results
-
Enter the information in any available following fields:
Figure 13-31 Filter Options

-
Attribute – Additional, descriptive information about a Customer Engagement element.
-
Attribute Value – This is a dynamic field based on the attribute previously selected.
-
Location ID – Unique ID for the Location.
-
Location Name – Name of the Location.
-
Address – Address 1 of the Location.
-
City – City of the Location.
-
State – State or Province of the Location.
-
Postal Code – Postal Code or Zip Code of the Location.
-
-
Click Apply to filter the results, or click Reset to clear the fields.
Note:
The results remain the same even if you click Reset. Reset only clears the previously entered filter criteria. The results will only refresh when another filter is configured.
Adding a Location
Use the following steps to add a location:
Location Information
-
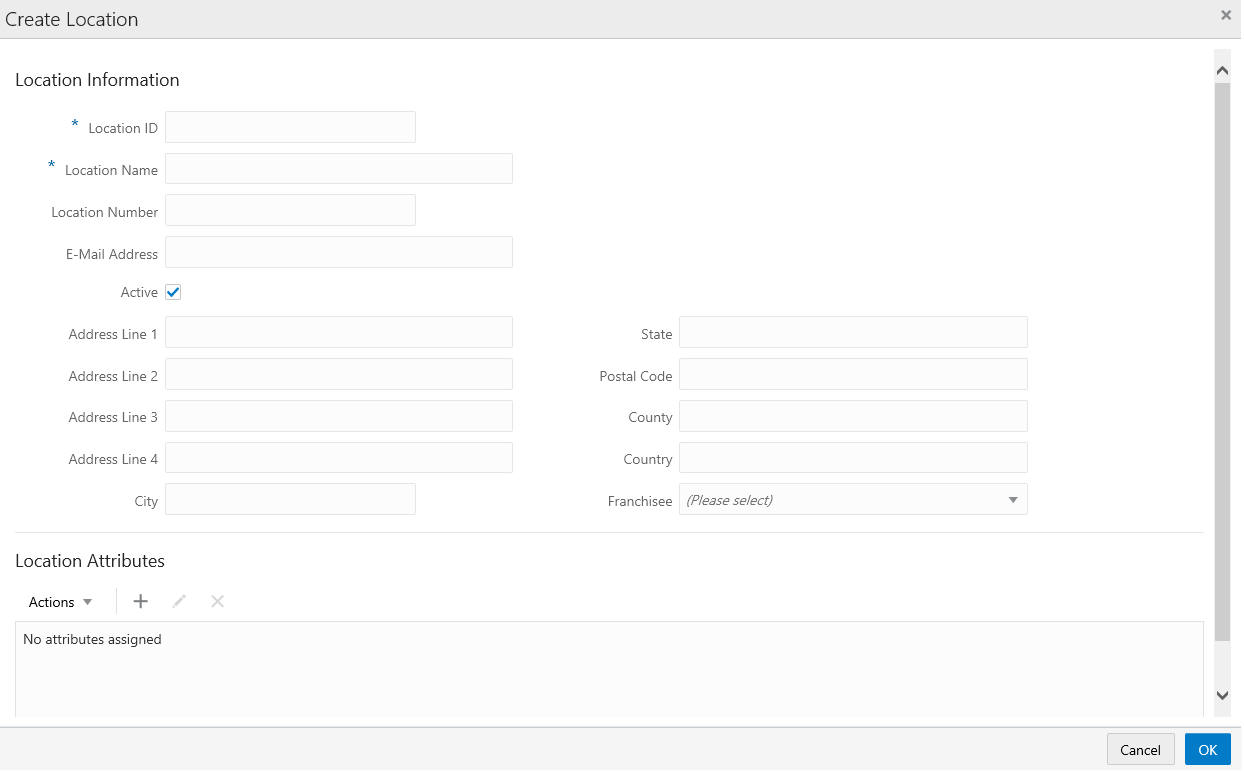
Click the Add (+) icon, or choose Add from the Action menu. This displays a Create Location window where you can enter the following information:
Figure 13-32 Create Location
-
Enter the values for the following fields:
-
Location ID - Unique ID of the Location (Required field).
-
Location Name - Name of the Location (Required field).
-
Active - Indicates whether the Location is currently active. The default is checked.
-
Location Number - Location Number of the Location.
-
Email Address - Email address for the Location.
-
Address Line 1 - Line 1 of the Location's address.
-
Address Line 2 - Line 2 of the Location's address.
-
Address Line 3 - Line 3 of the Location's address.
-
Address Line 4 - Line 4 of the Location's address.
-
City - City of the Location.
-
State - State or Province of the Location.
-
Postal Code - Postal Code or ZIP Code of the Location.
-
County - County of the Location.
-
Country - Country of the Location.
-
Franchisee - Name of the Franchisee to which the Location is assigned (optional).
-
-
Either continue to the Location Attributes section or, if no Location Attribute additions are required, Click OK to create the Location. Click Cancel to close the window without saving.
Location Attributes
If configured, the user can Add, Edit, or Delete Location Attributes.
Adding a Location Attribute
-
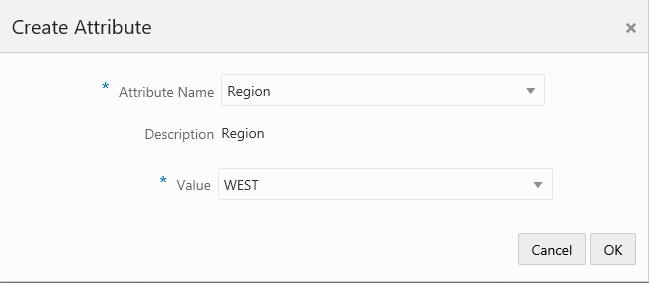
To add a Location attribute, click the Action Menu and click Add or click the Add (+) icon. This displays a Create Attribute window where you can enter the following information:
Figure 13-33 Create Location Attribute
-
Click the Attribute Name list.
-
The Value field is dynamic and is based off of the data type of the attribute. The user either enters a value or selects a value from the list.
-
-
Click OK. This adds the new Location Attribute. Or select Cancel to close the window without adding the location attribute.
Editing a Location Attribute
-
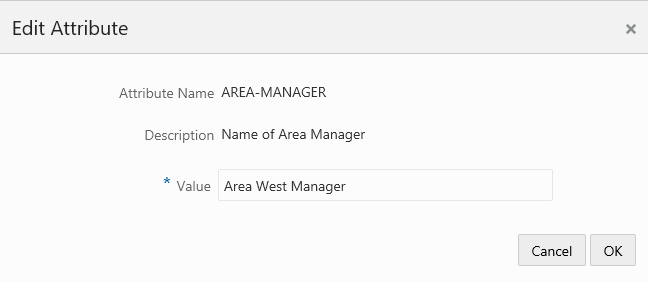
To edit a Location attribute, highlight the Location Attribute and click the Action Menu, then click Edit, or click the Edit icon.
Figure 13-34 Edit Attribute
-
Edit the location attribute value.
-
Click Ok to accept the change or Cancel to close without saving.
Deleting a Location Attribute
-
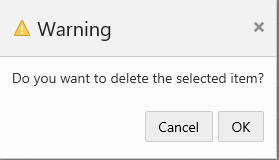
To delete a Location Attribute, highlight the row of the location attribute and from the Action menu, click Delete, or click the Delete X icon.
Figure 13-35 Warning
-
Click OK to delete the Location Attribute, or Cancel to return to the list of Location Attributes.
-
Once all Location Attributes are determined, click OK to create the location, or Cancel to close the window without saving.
Editing a Location
To edit the information in the Location Information, and/or Location Attribute sections for the Location, select the location from the Location Management window.
-
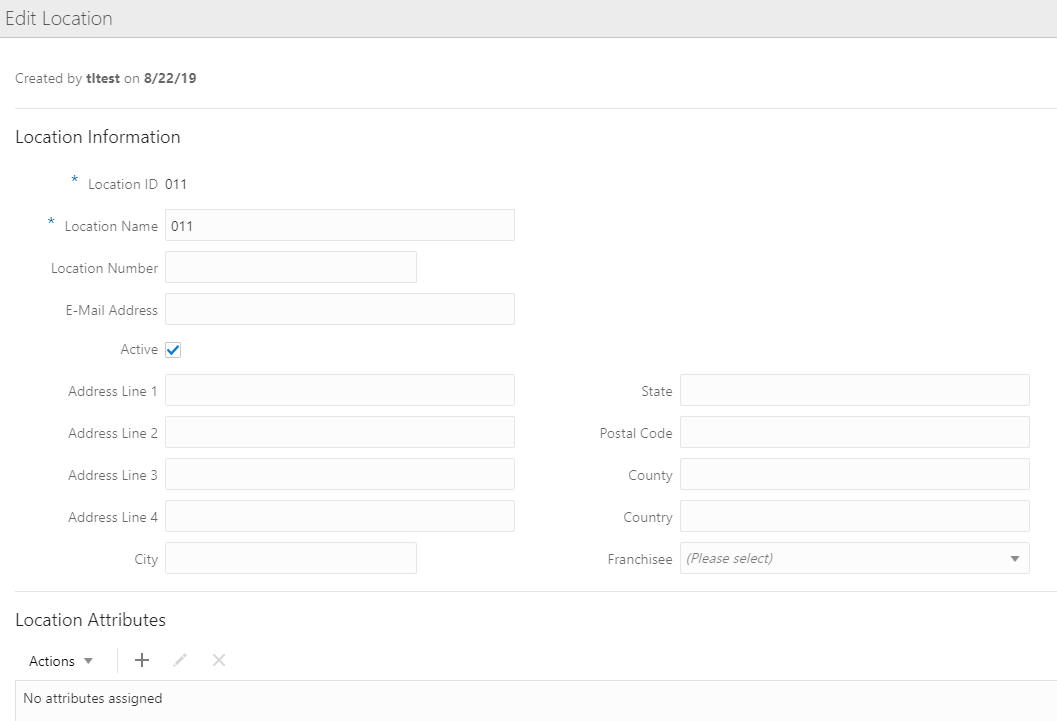
Click the Edit icon, or choose Edit from the Actions menu. This displays an Edit Location window which displays a window with details of the location:
Figure 13-36 Edit Location
-
Make any necessary change to the Location Information fields, and/or the Location Attributes values.
-
Click OK to accept the changes. The location is displayed with the new information. Click Cancel to close without saving.