Role Groups
You have the ability to view, add, edit, and delete role groups, so that you can define which permissions should be granted to a role group. To access Role Groups do the following:
-
Click Menu.
-
Click the Admin task.
-
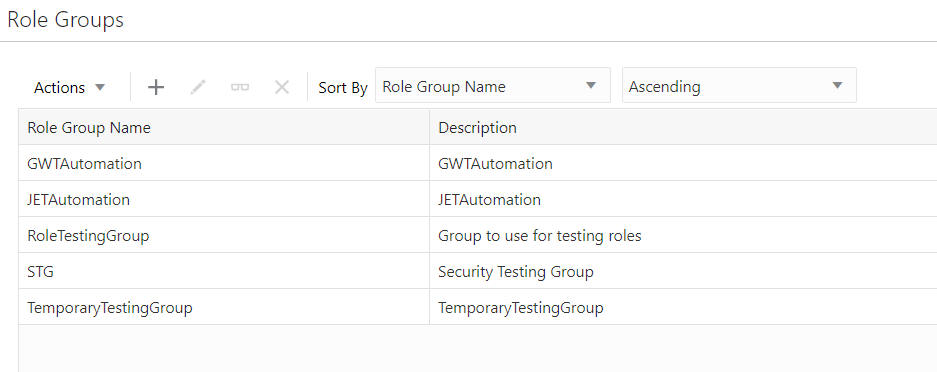
Click Role Groups. The Role Groups window displays.
Sorting Role Groups
Roles Groups can be sorted ascending or descending using the following Sort By options:
Figure 13-45 Sorting Role Groups

-
Role Group Name (default)
-
Description
Adding Role Groups
To add a Role Group do the following:
-
Click the Actions menu Add option, or the + icon which opens the Add Role Group window.
-
Enter a Role Group Name.
-
Enter a Description.
-
Use the Select All check box to select all Effective Roles or select individual Effective Roles using the check box next to the role.
-
Click OK to add the role group, or click Cancel to close the window without saving.
Editing Role Groups
To edit a Role Group do the following:
-
Highlight a Role Group.
-
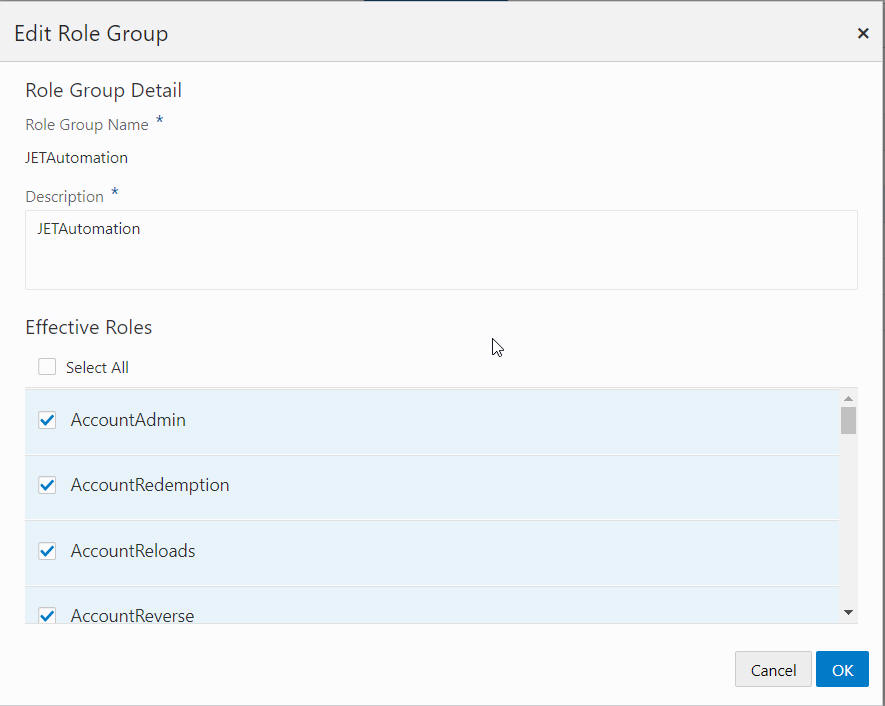
Click the Actions menu Edit option, or the Pencil icon which opens the Edit Role Group window.
Figure 13-46 Edit Role Group

-
Edit the Description.
-
Edit the Effective Roles.
-
Click OK to save the changes, or click Cancel to close the window without saving.
