Layout Configuration
In Retail Home, an administrative user defines dashboards for enterprise roles. Users will see the dashboards configured for their enterprise role(s) when they log in to Retail Home. This section describes how to associate enterprise roles with application tiles.
Adding a Role
To add a new dashboard for a role, complete the following steps:
-
In the Dashboard Configuration flow, select the Layouts tab if it is not already selected.
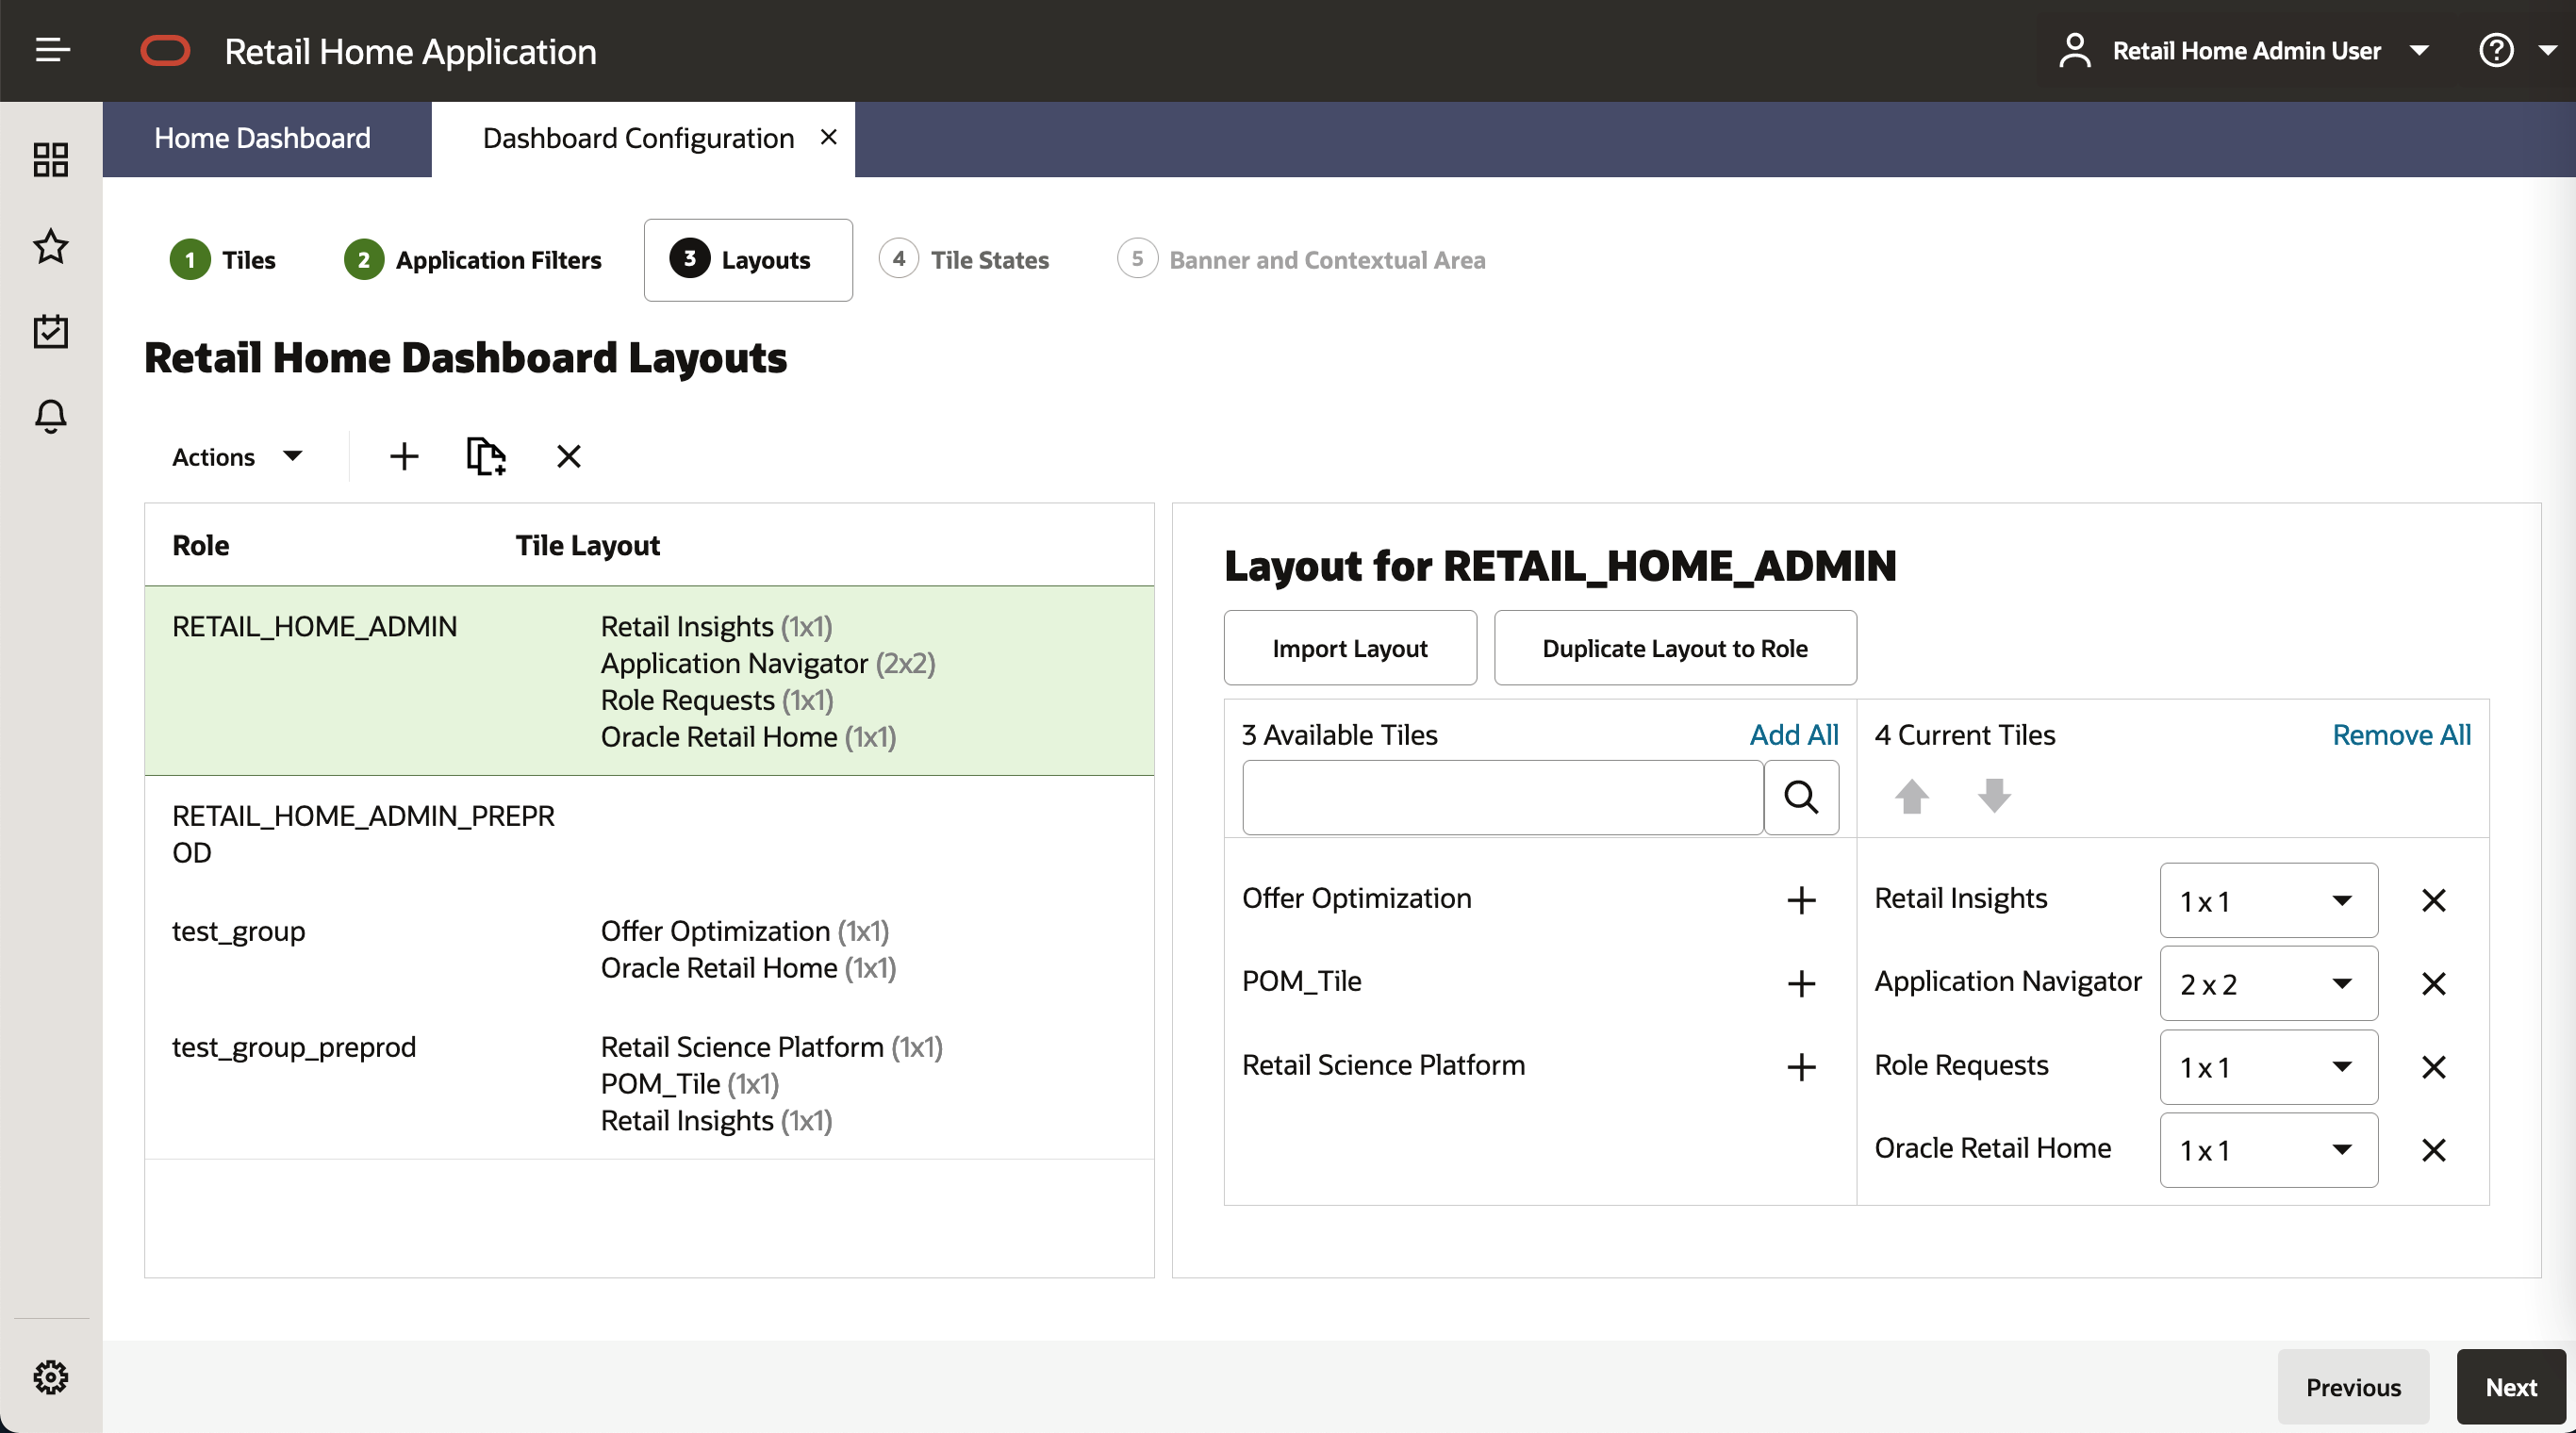
Figure 2-13 Mapping Table for Role and Application Tiles

-
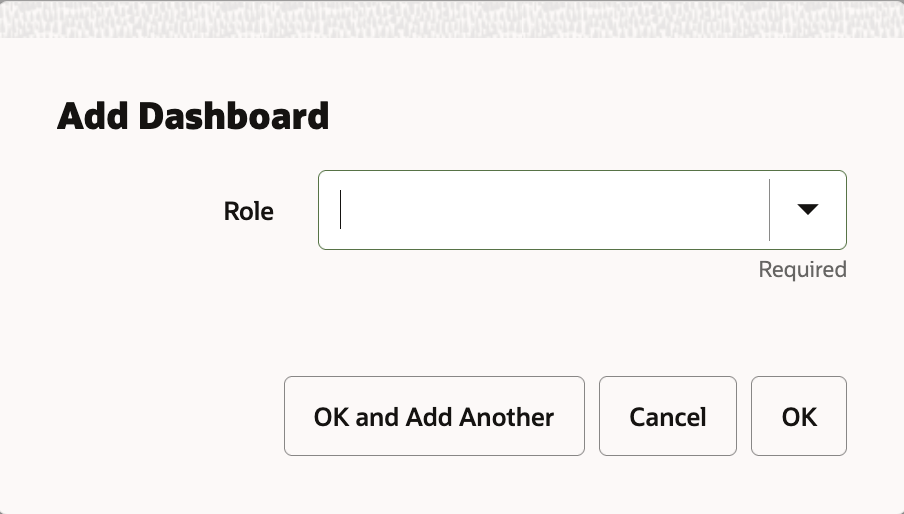
Click the Add icon. The Add Role dialog box is displayed. The dialog displays a Role Name search listing out the roles that are configured.
Figure 2-14 Add Role

-
Enter text in the Role Name text box to search for a specific role. If the result includes more than one role, select the appropriate one.
-
Click OK to save your changes and close the dialog box. Click OK and Add Another to save your changes and to add additional roles. Click Cancel to close the dialog box without saving your changes.
Duplicating a Role Configuration
To duplicate an existing association between a role and an application, complete the following steps:
-
In the Dashboard Configuration flow, select the Layouts tab if it is not already selected.
Figure 2-15 Mapping Table for Role and Application Tiles

-
Select the row in the table that you wish to duplicate to another role.
-
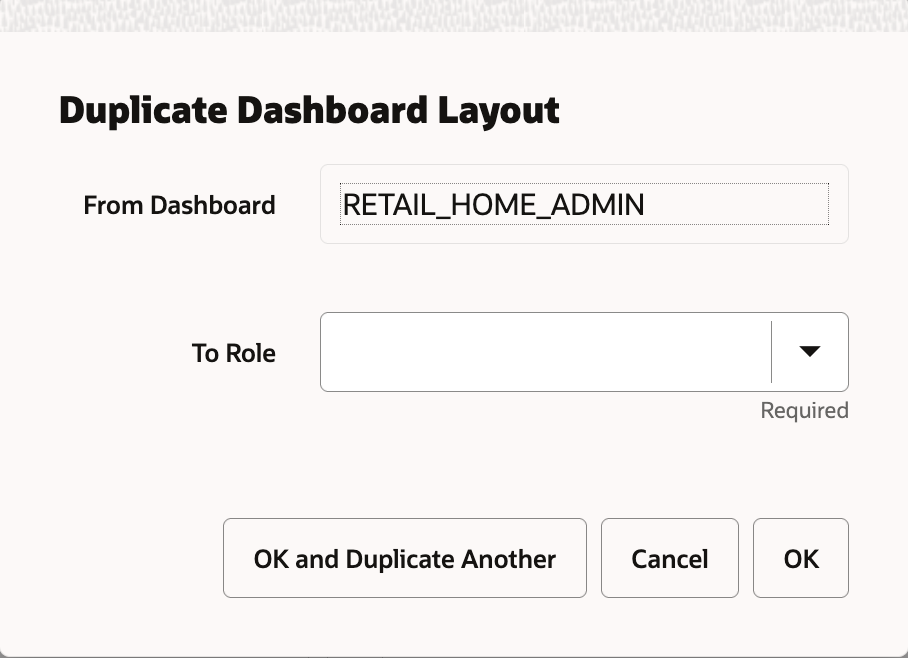
Click the Duplicate icon. The Duplicate Role Configuration dialog box is displayed.
Figure 2-16 Duplicate Role Configuration

-
Enter text in the To Role text box to search for a specific role. If the result includes more than one role, select the appropriate one.
-
Click OK to save your changes and close the dialog box. Click OK and Duplicate Another to save your changes and duplicate the configuration to another role. Click Cancel to close the dialog box without saving your changes.
Adding/Editing Tile Layout to a Role
You can add a tile, change the order of the tiles, toggle the display, and adjust the size of a tile.
To add a tile to a role, complete the following steps.
-
From the Dashboard Configuration flow, select the Layouts tab if it is not already selected.
Figure 2-17 Mapping Table for Role and Application Tiles

-
Select the Role in the table that you wish to edit. The tiles associated with the role is displayed in the layout table to the right.
-
Click on the add icon for the tile to be associated with the role from the available Tiles listed out on the left column of the layout table. The selected tile is added to the right column of the layout table. The Roles table is also updated with the selected tile.
-
To change the order of application tiles, select a tile and click on the Up/Down Arrow icon. The Roles table is updated accordingly.
-
To adjust the size of a tile, select an alternative size from the drop-down list. The Roles table is updated accordingly.
-
To import Tile Layout of another role to the selected role, click on the import layout button to open Import Layout Dialog box. Select the appropriate role from the drop down. Click OK to confirm the layout change. Click Cancel to close the Dialog box without saving the changes.
Figure 2-18 Import Layout Dialog Box

-
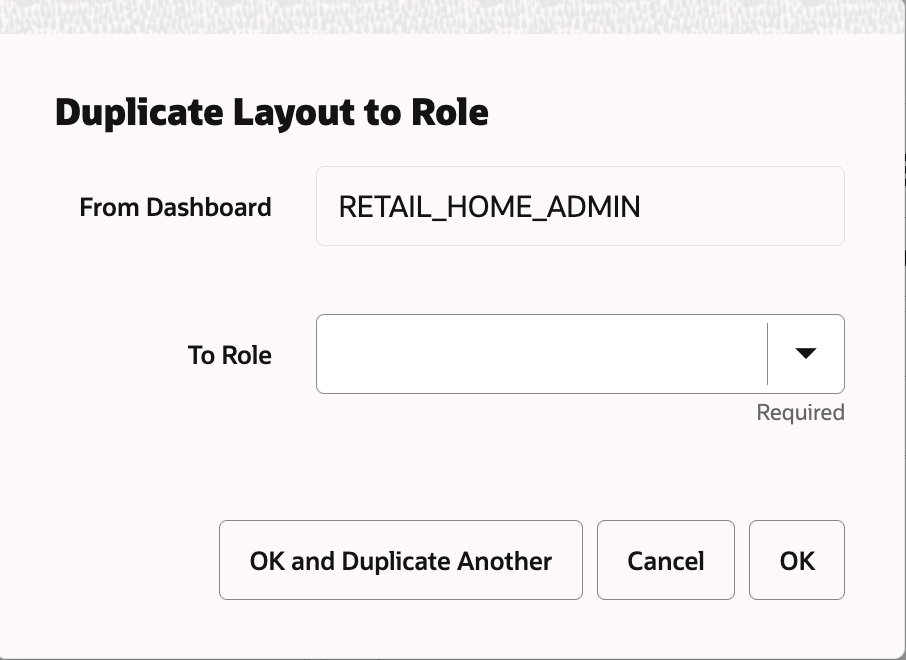
To Duplicate the Tile Layout of the selected role to another role, click on Duplicate Layout to Role button. Select the Role to which the layout needs to be applied. Click OK to confirm the layout change. Click Cancel to close the Dialog box without saving the changes.
Figure 2-19 Duplicate Layout to Role Dialog Box

