Tile Configuration
In Retail Home, an administrative user defines dashboards for enterprise roles. Users will see the dashboards configured for their enterprise role(s) when they log in to Retail Home. This section describes how to create dashboard tiles, the first step in the Dashboard Configuration flow.
Adding a Tile
To add a new dashboard tile, complete the following steps:
-
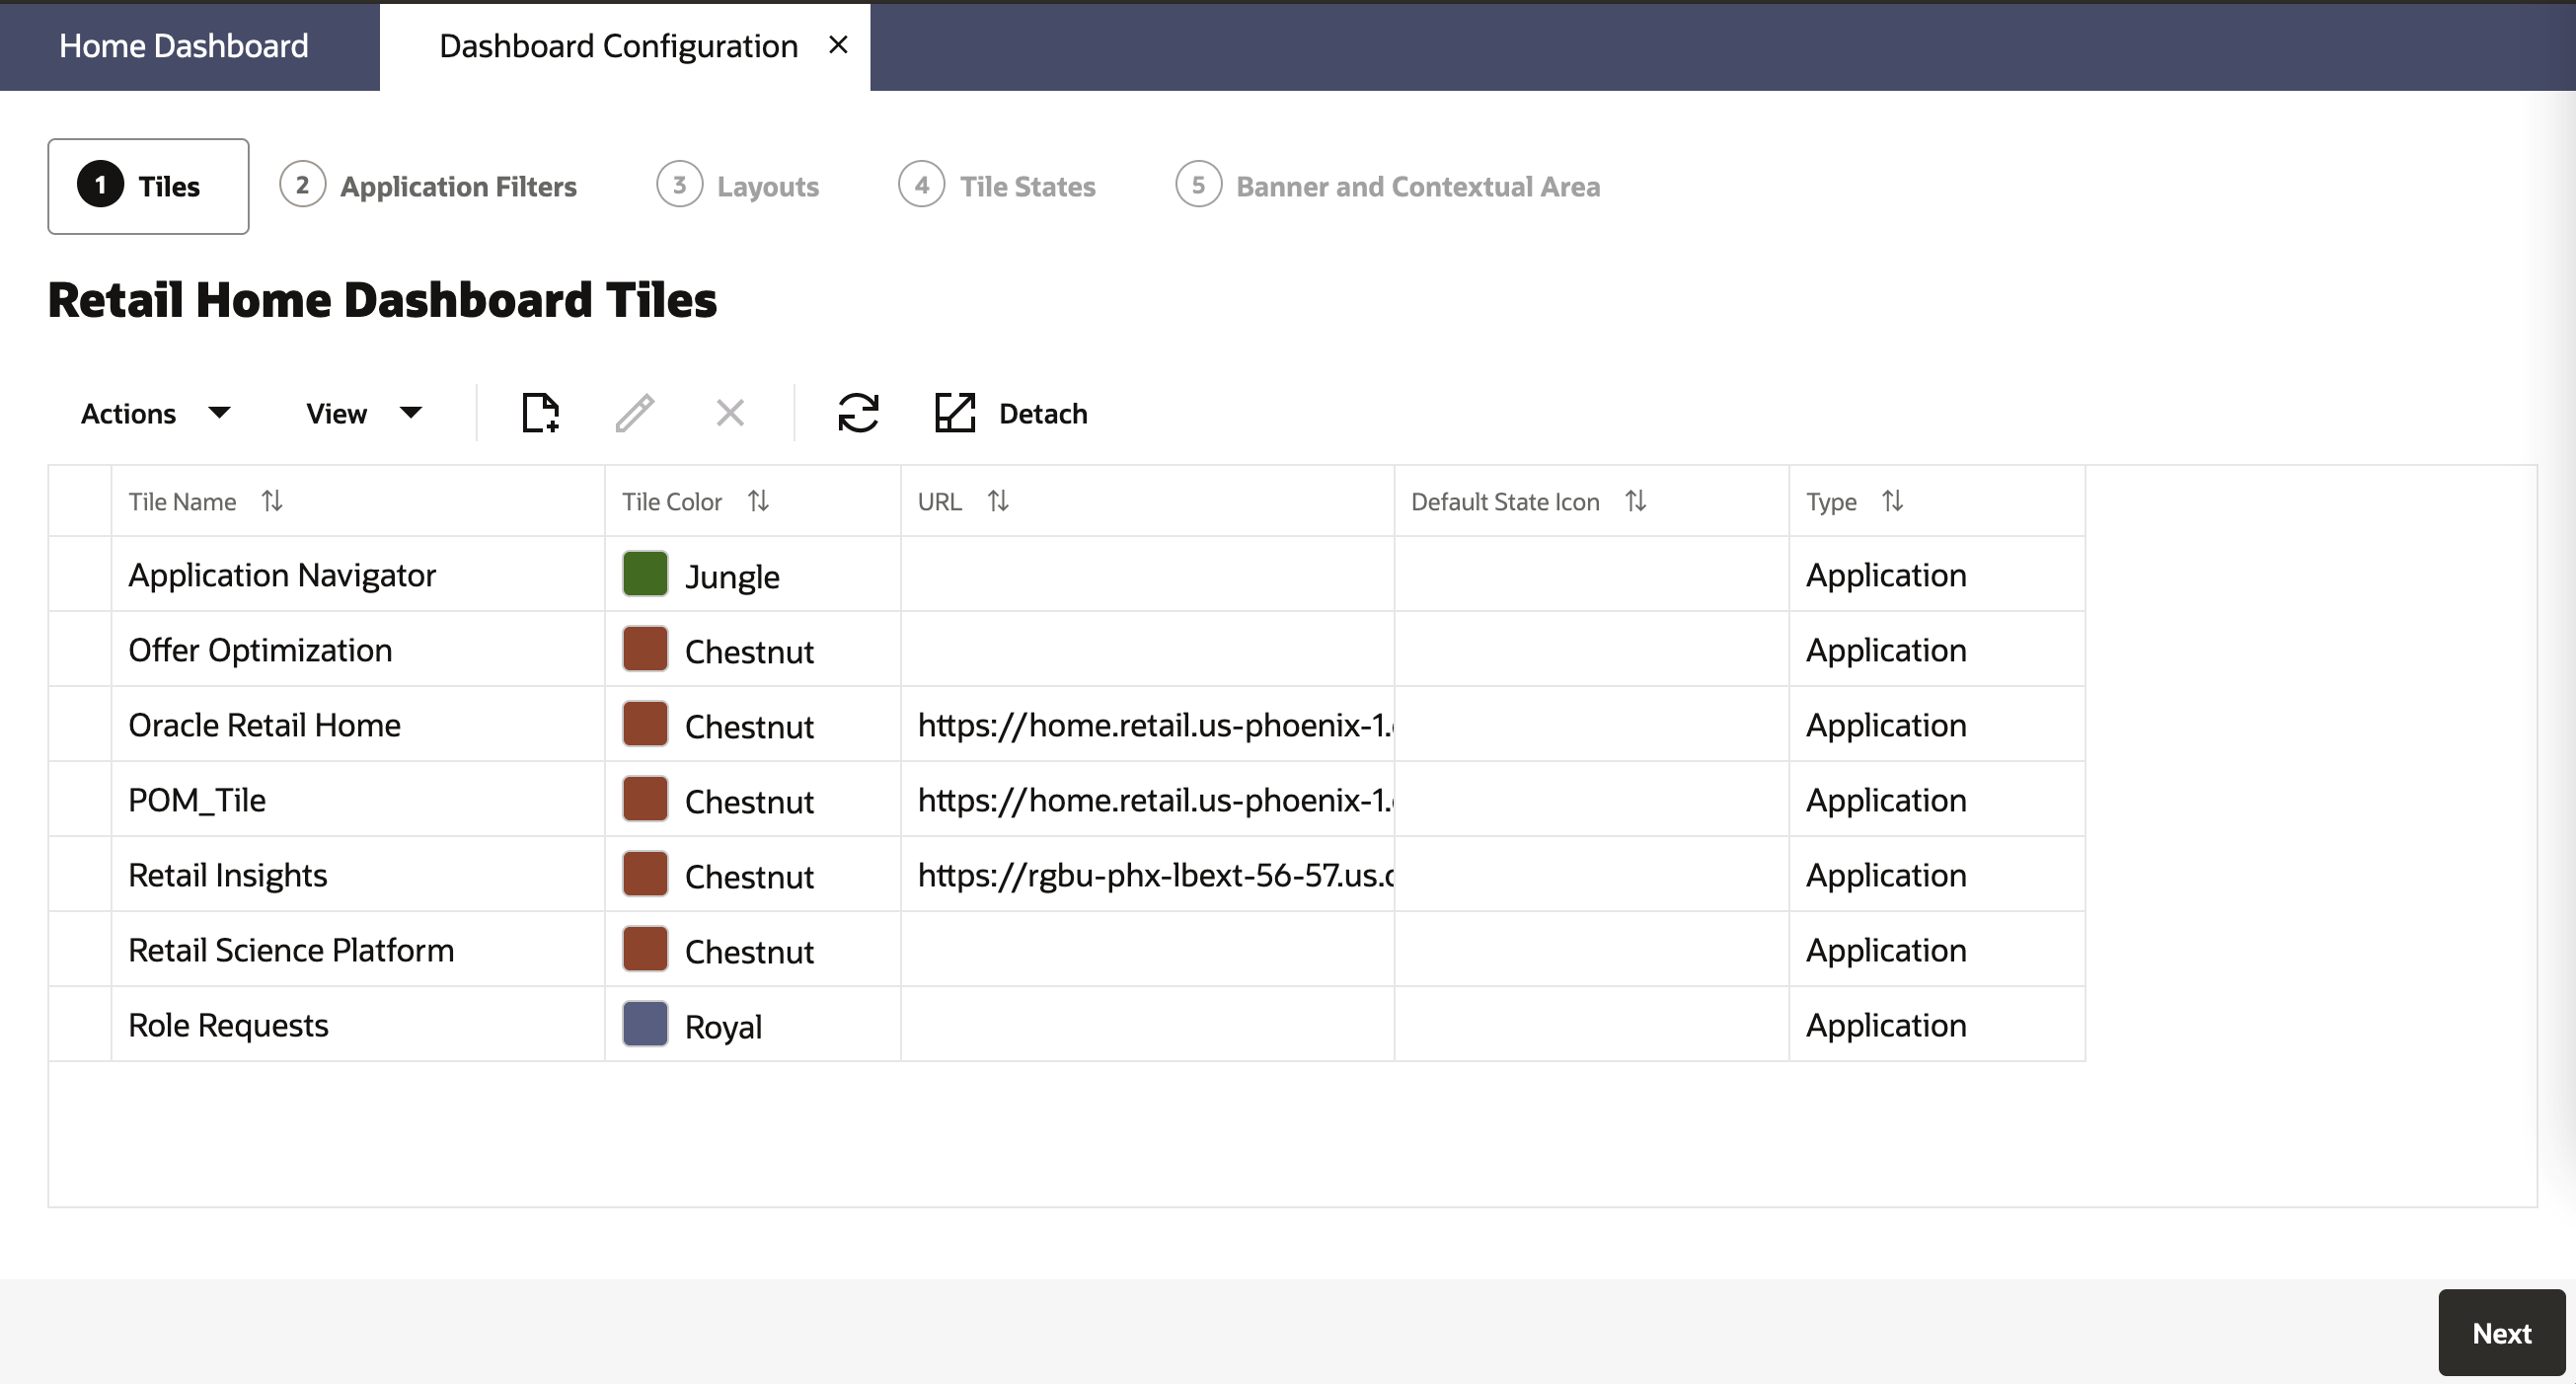
In the Dashboard Configuration flow, select the Tiles tab if it is not already selected.
Figure 2-8 Creating Dashboard Tiles
-
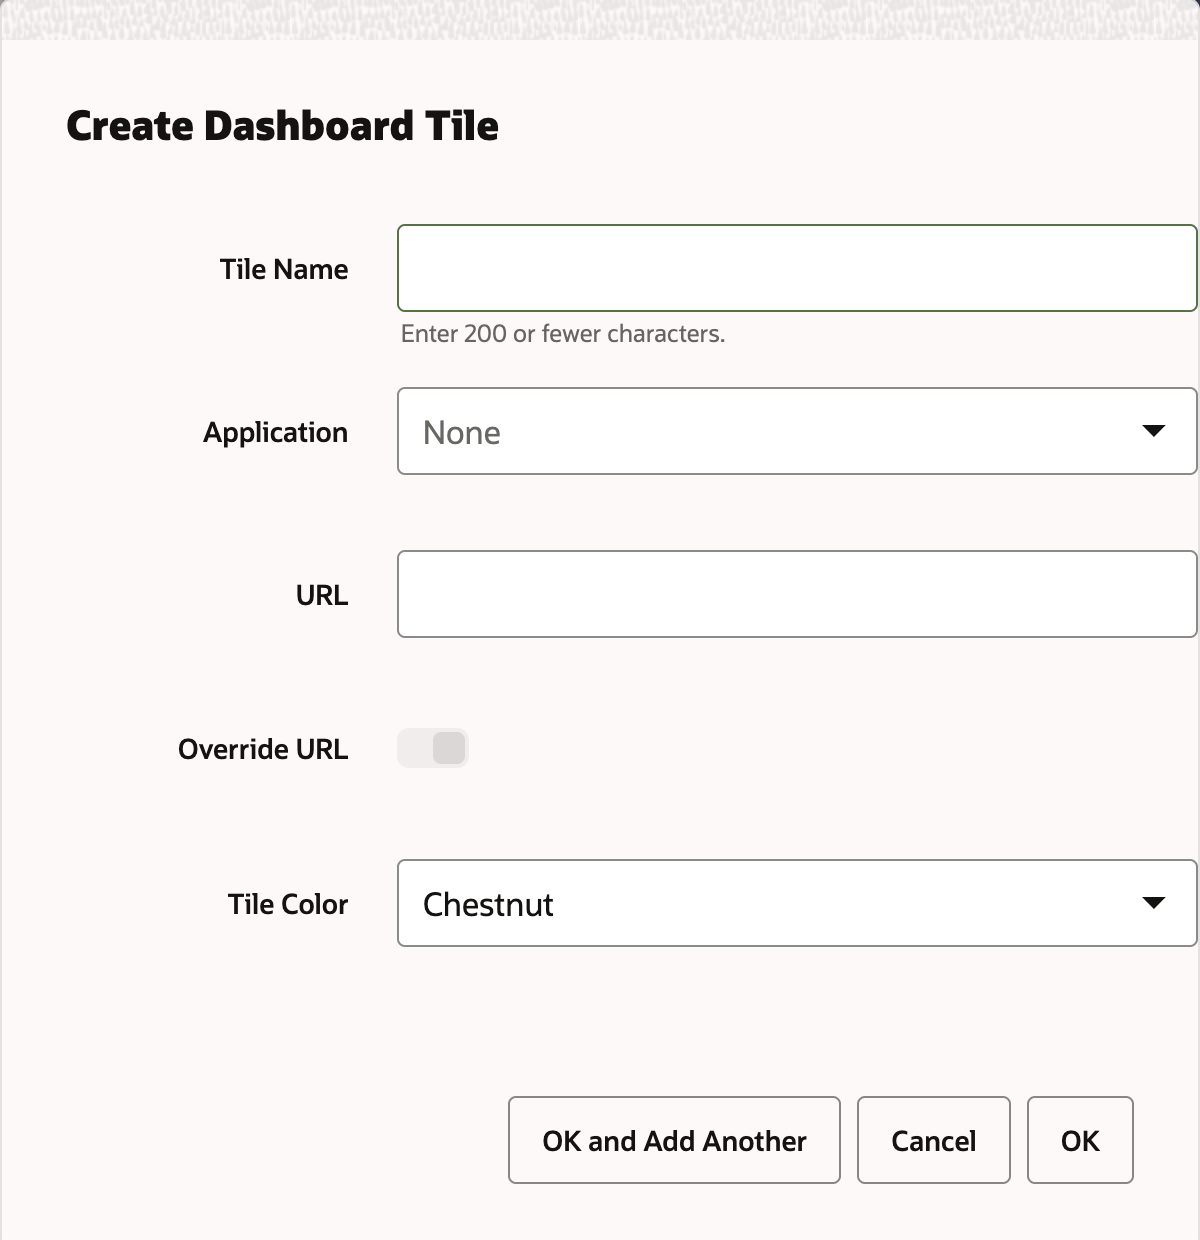
Click on the Add icon to open the Create Tile Dialog Box.
Figure 2-9 Create Tile
-
Enter text in the Tile Name text box.
-
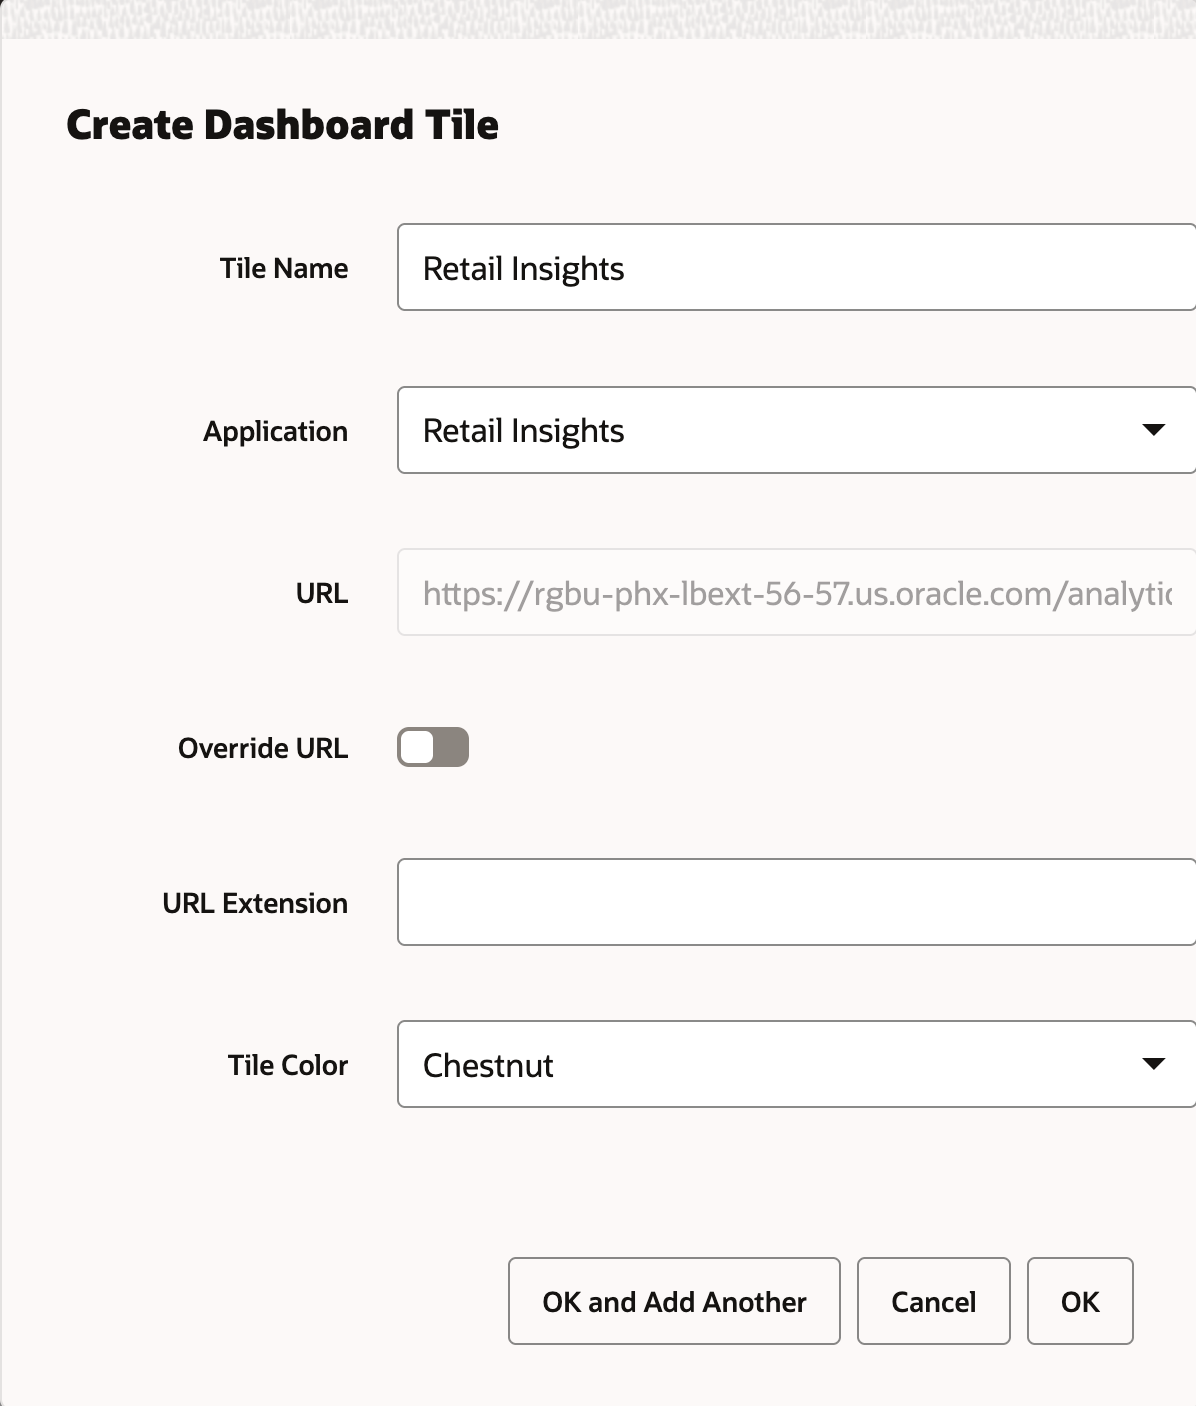
Select the appropriate Application from the drop down. The URL, URL Extension, and Tile Color fields will be populated with corresponding values. The URL field gets the application URL automatically, but the user has the ability to override the value using the Override URL switch.
Figure 2-10 URL Extension & Override URL Switch
-
The URL field is editable if Override URL is enabled. Clicking OK when the URL field is editable saves the value entered in the text area. Clicking OK when the URL field is disabled will override the value with the application URL.
-
Enter URL Extension. The URL Extension is appended to the URL when the OK button is clicked.
-
Select the appropriate Tile Color in the drop down.
-
Click OK to save your changes and close the dialog box. Click OK and Add Another to save your changes. Click Cancel to close the dialog box without saving your changes.
Editing a Tile
-
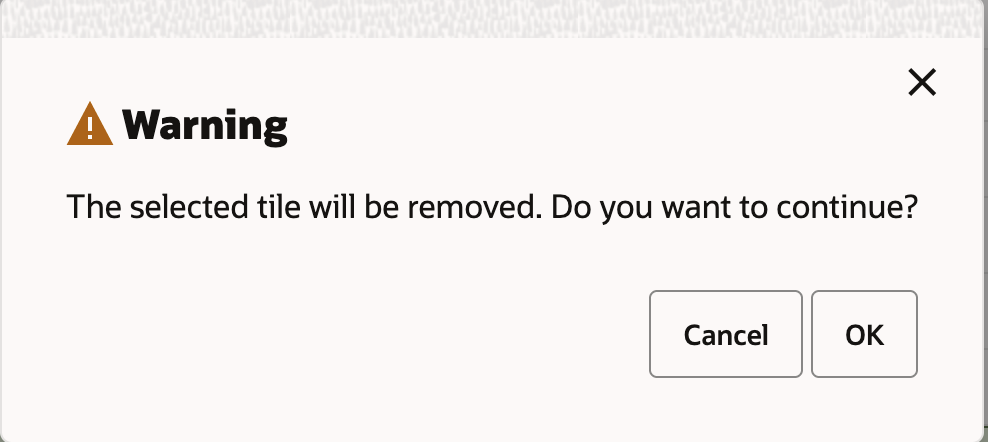
In the Tile tab, select a row containing tile information. This will make the Edit icon clickable.
-
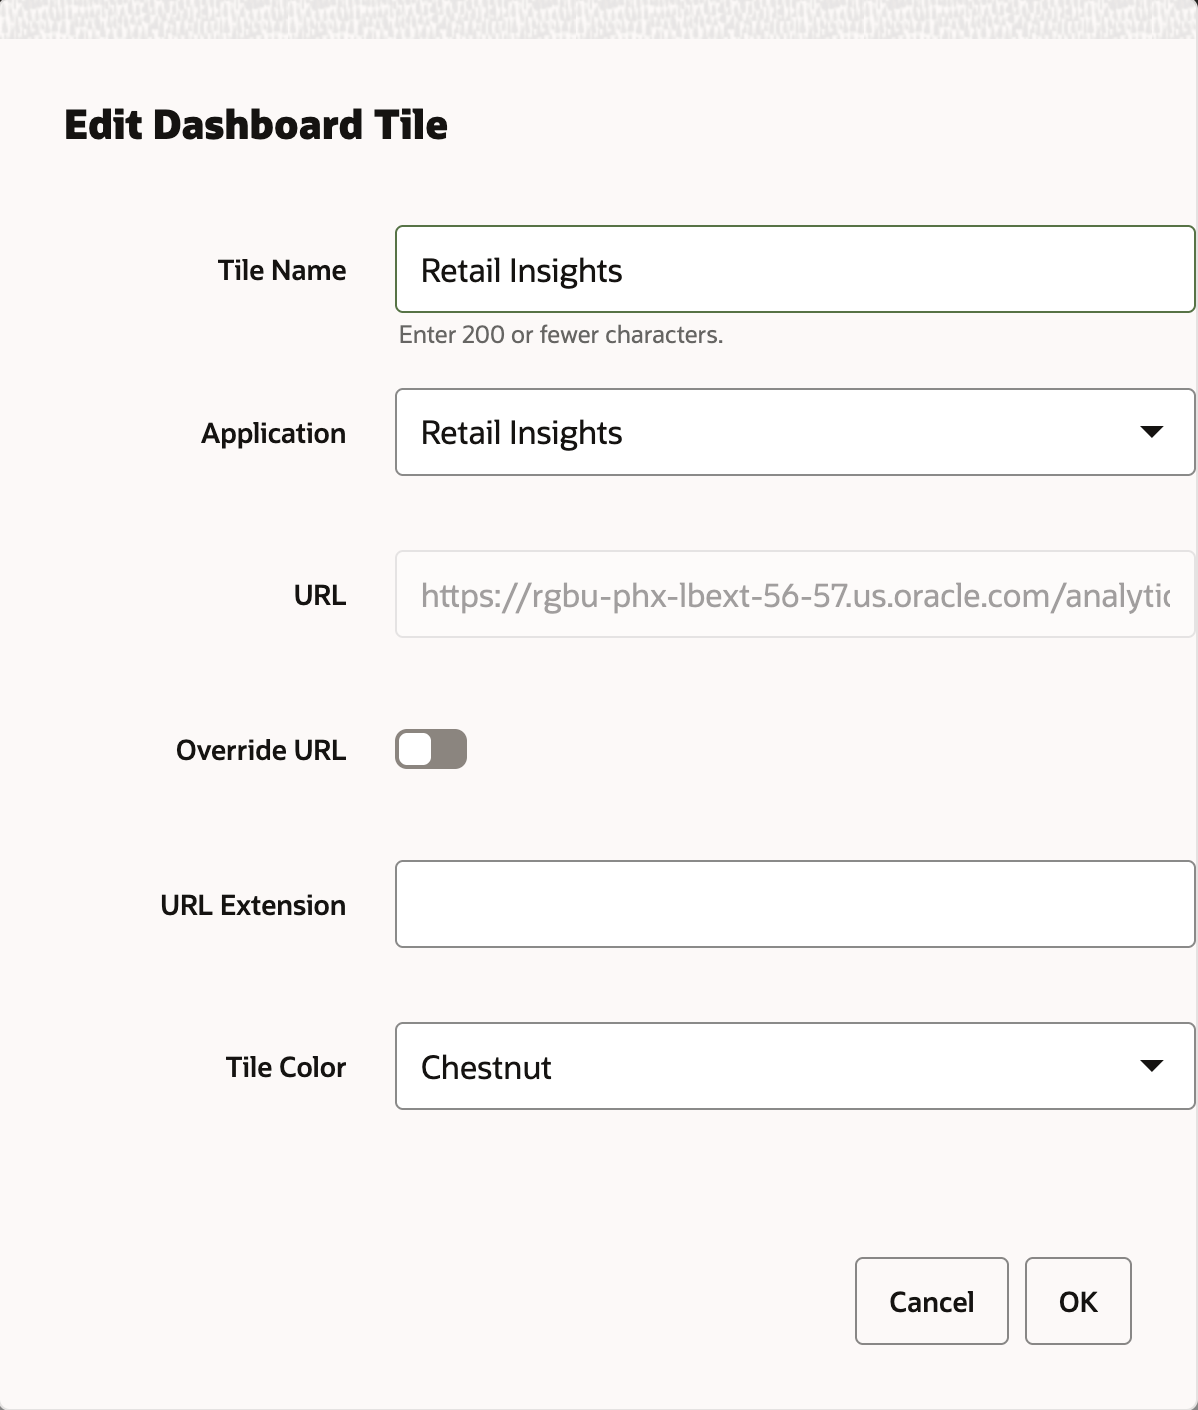
Click the Edit icon to open the Edit Tile Dialog Box. Make edits in the dialog box as shown in Figure 2-11. Click OK to save the edits. Click Cancel to not save the edits.
Figure 2-11 Edit Tile
