Attach Cash Drawer
To attach a cash drawer till:
-
Select Till from the Main Menu.
-
Select Till Maintenance from the Till menu.
-
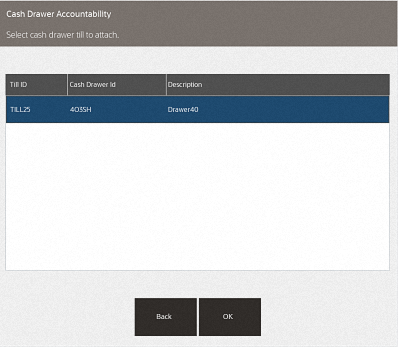
Select Attach Cash Drawer Till from the Till Maintenance menu. A list of cash drawer tills is shown.
Figure 13-12 Cash Drawer Accountability
-
Select the till you had selected during the open cash drawer process. The system prompts you to scan the cash drawer barcode. This is the cash drawer the till will be placed inside.
Figure 13-13 Scan Cash Drawer Barcode
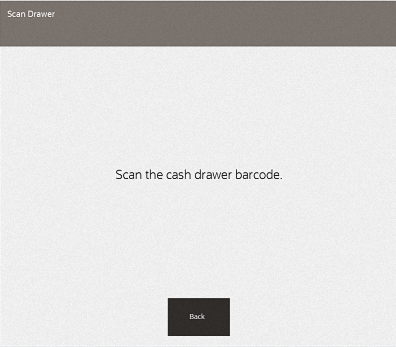
Using the scanner, scan the barcode on the cash drawer.
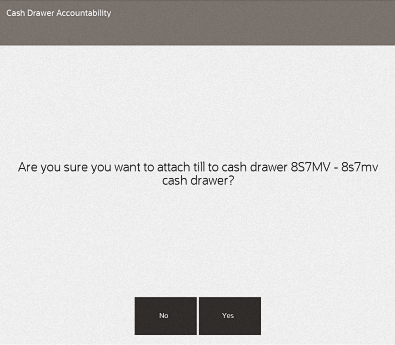
After you scan the barcode the system prompts, "Are you sure you want to attach till to cash drawer ### (listing the specific cash drawer).
Figure 13-14 Attach Till Prompt
-
Select Yes to attach the till to that networked cash drawer.
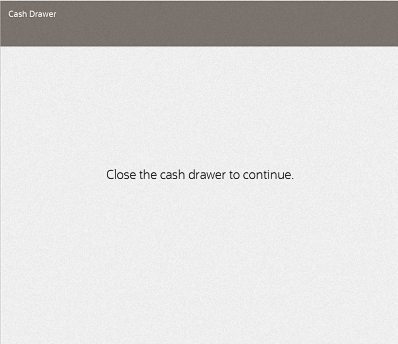
The networked cash drawer will open. Insert the till into the networked cash drawer. The system prompts to close the cash drawer.
Figure 13-15 Close Cash Drawer Prompt
-
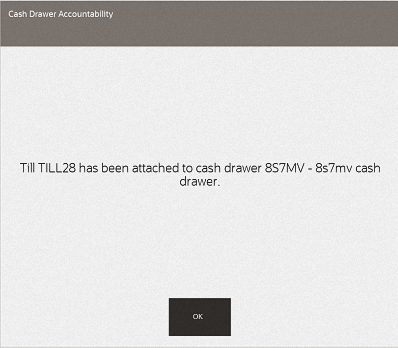
Close the cash drawer. A final prompt displays stating which till has been attached to which networked cash drawer.
Figure 13-16 Till Attached Message
You can now perform sales. At the end of the day/shift remove the cash drawer till, followed by closing the cash drawer (which includes the counting of the till contents).