Cancel Layaway - When the Customer Is Present
-
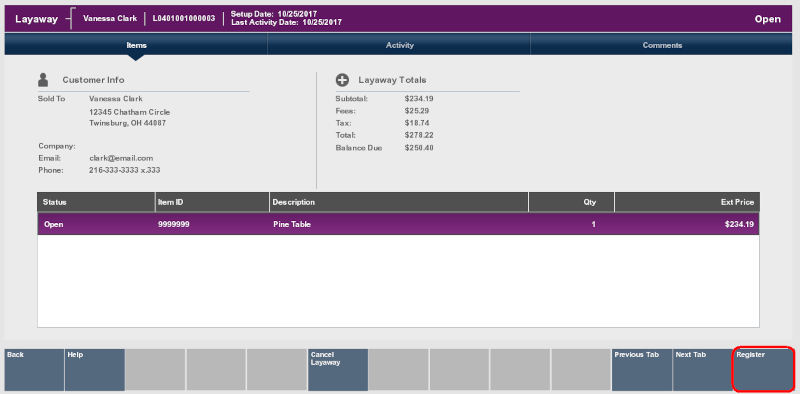
Select the Register option from the menu.
Figure 17-11 Register Option

-
At the Register Pre-Sale screen, assign an associate to the transaction, if your system's configuration requires an associate, and press Enter.
-
The Customer Lookup form displays. Enter search criteria in the form for the customer whose layaway account must be canceled and select Process.
-
Select the correct customer from the list and choose Select & Continue.
-
The Register Sale screen displays and the customer who owns the layaway account is associated with it. Select the Extended Transaction option from the menu.
-
Select Layaway from the Extended Transaction menu.
-
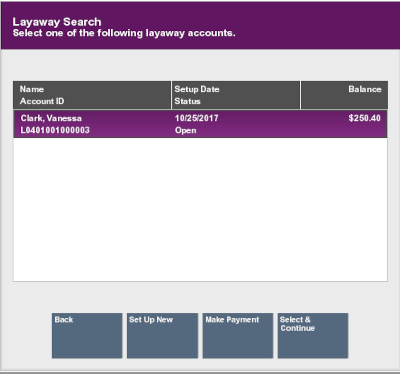
Xstore displays a list of Layaway accounts for the selected customer. Select the Layaway account to be canceled and press Enter to continue.
Figure 17-12 List of Customer's Layaway Accounts

-
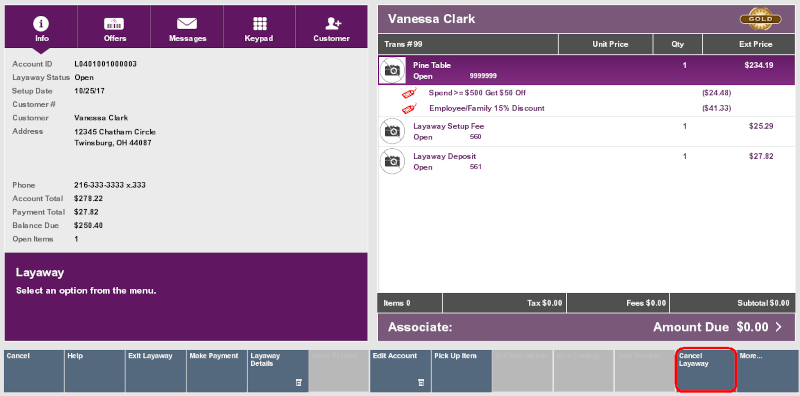
Select the Cancel Layaway option.
Figure 17-13 Layaway Screen - Cancel Layaway Option

Note:
See the Oracle Retail Xstore Point of Service User Guide for further instructions on cancelling the layaway.