46 Inventory Adjustment
Use this function to adjust an item's inventory count outside of the actual physical inventory process. You can categorize the relative location of merchandise within the retail environment by selecting the location that is impacted by adding or removing an item from inventory.
-
After logging in by entering your employee ID and password, select the Inventory option from the Main Menu.
-
At the Inventory menu, select the Inventory Adjustment option.
-
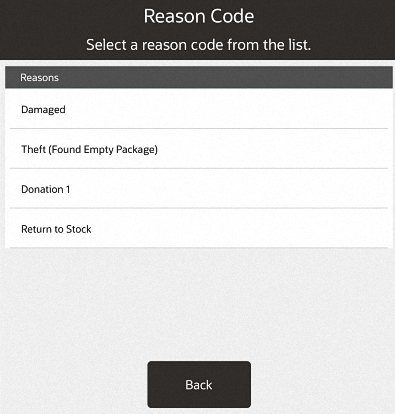
The system prompts you to select the reason for the inventory adjustment. Select a reason from the list to continue.
Figure 46-1 Inventory Adjustment Reason List
-
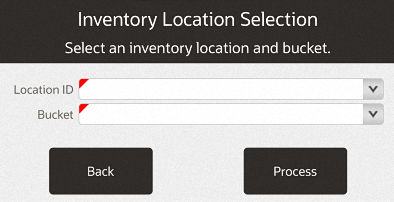
The system prompts you to select the Location ID and bucket for the item. Choose an option from the drop-down lists for each field, then select Process.
A Location ID generally refers to a physical location where items are found, and it includes specific inventory buckets that are associated with it.
A bucket is a descriptive term that usually relates to the status of an item in a particular location. For example, the On Hand bucket is a very inclusive category relating to currently available items.
Figure 46-2 Inventory Location Selection Form
-
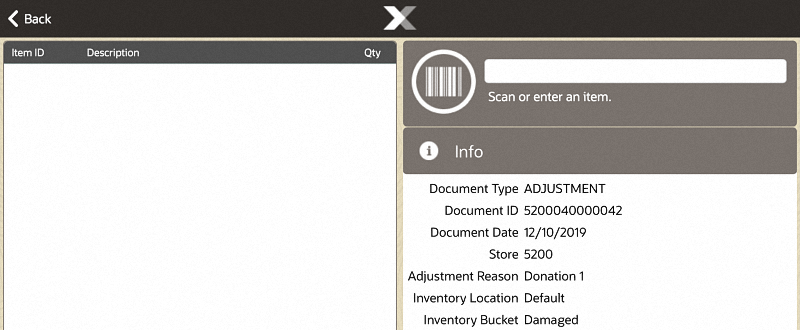
The system displays the adjustment information that you have entered and prompts you to scan or enter the item ID. Scan the item ID or enter the item ID.
Figure 46-3 Prompt to Scan or Enter an Item
-
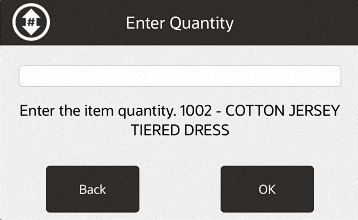
Select the row for the item. Select Change Qty from the Options menu to adjust the quantity. Enter the item's quantity at the prompt.
Figure 46-4 Inventory Count Options Menu

Figure 46-5 Item Quantity Prompt
-
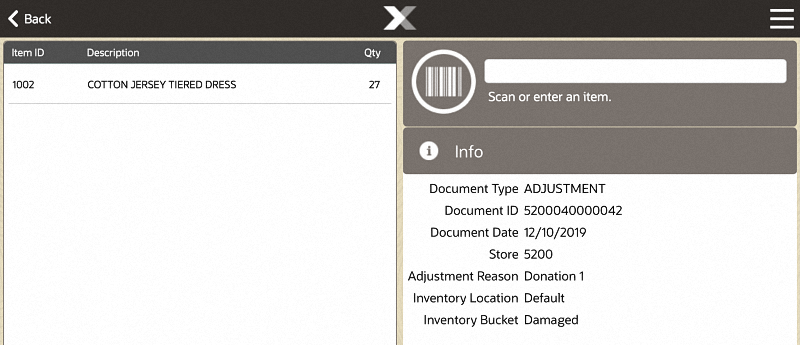
The system displays the item's information and adjustment quantity in the view port area of the screen.
Figure 46-6 Inventory Adjustment Screen
-
Select the item row to display the Options menu before saving the adjustment record.
Figure 46-7 Inventory Adjustment Options Menu

The following options are available:
-
Change Quantity: Select this option to edit the item's quantity to be adjusted.
-
Void Item: Select this option to remove an item from the list of adjusted items.
-
-
Select Save & Exit from the Context Menu to retain the inventory adjustment.
-
The system displays a prompt asking you to confirm that you want to keep the changes. Select Yes to continue or No to return to the Adjustment screen.
-
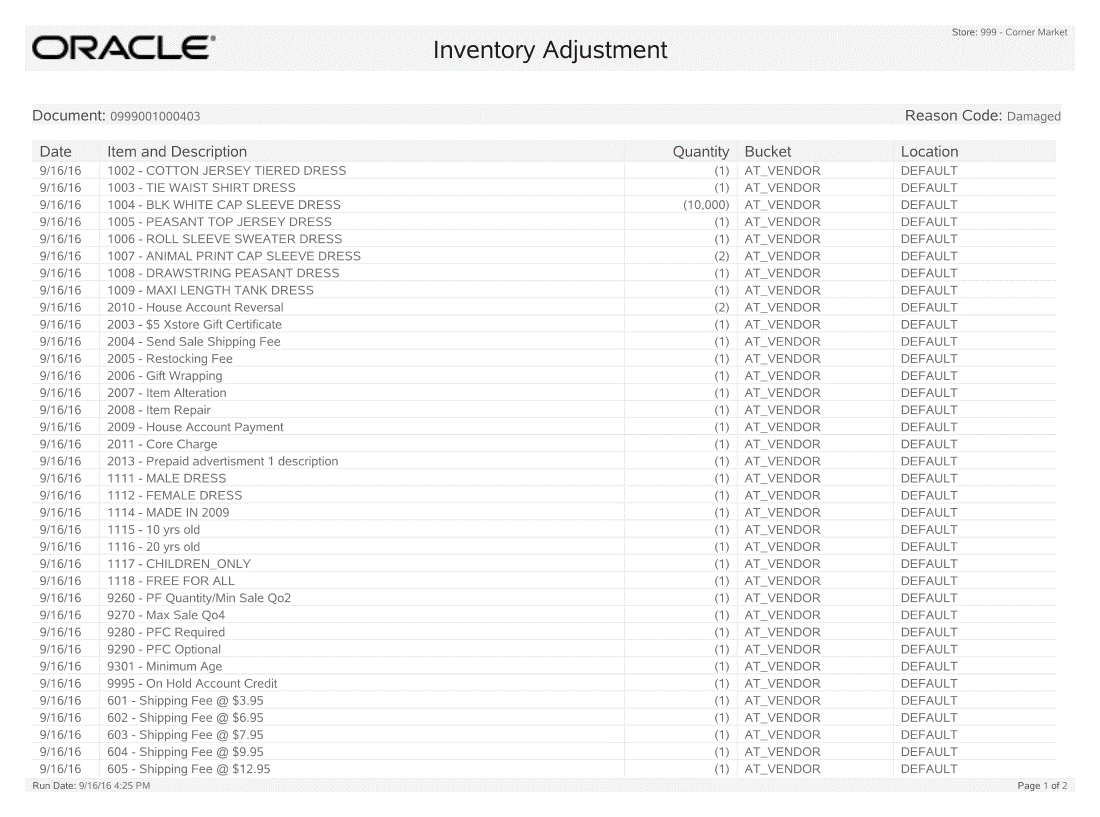
The system automatically prints an Inventory Adjustment report for your records.
Figure 46-8 Inventory Adjustment Report Example
