47 Item Transfer
This chapter describes the procedures for transferring items from one inventory bucket to another.
About This Chapter
This chapter contains the following procedures:
-
Start Item Transfer - Describes how to start an item transfer.
-
Perform Transfer - Describes the procedure for the item transfer.
-
Adjust Item - Describes procedures for adjusting items in the transfer.
-
Additional Options - Describes additional options available in the item transfer screen.
Start Item Transfer
To start the item transfer process:
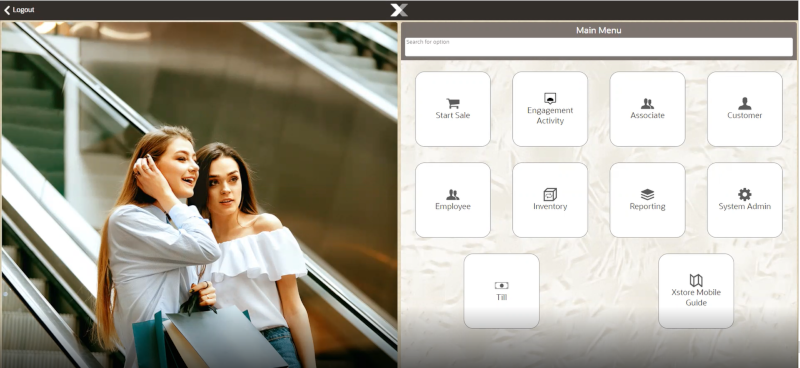
Figure 47-1 Main Menu - Inventory
-
Select Inventory in the Main Menu.
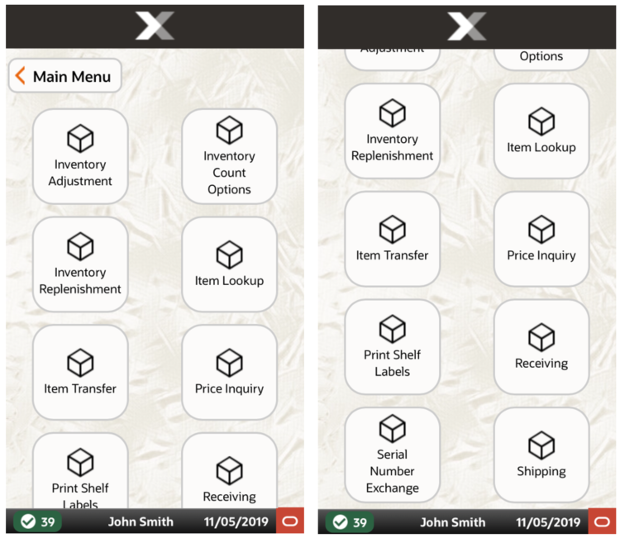
Figure 47-2 Handheld Inventory Menu
-
Select Item Transfer from the Inventory menu.
Continue with Perform Transfer.
Perform Transfer
To perform an item transfer:
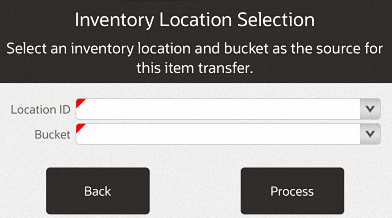
Select the location from which the item will be transferred:
Figure 47-3 Inventory Location Selection - From Location
-
Select the source location for the item.
-
Select the source bucket for the item.
-
Select Process.
Select the location to which the item will be transferred:
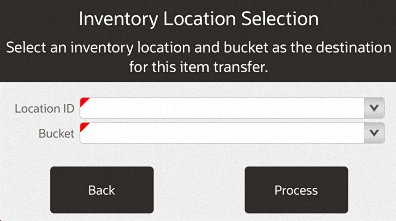
Figure 47-4 Inventory Location Selection - To Location
-
Select the destination location for the item.
-
Select the destination bucket for the item.
-
Select Process.
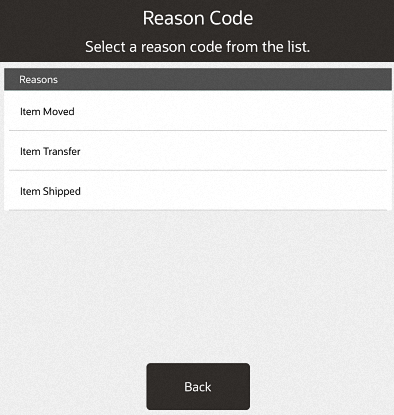
Figure 47-5 List of Reason Codes
-
Select the reason for the transfer.
Figure 47-6 Select an Item

-
Scan an item or enter an item ID.
-
Use the Context Menu to:
Figure 47-7 Item Transfer Context Menu

Adjust Item
This section describes how to adjust an item. Select an item to open the Options menu.
Figure 47-8 Item Transfer Options Menu

Two options are available:
-
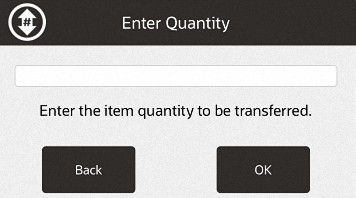
Change Qty - See Change Item Quantity.
-
Void Item - See Void Item.
Additional Options
This section describes additional item transfer options.
Save & Exit
To save the transfer and return to the inventory screen:
-
Select the Context Menu button.
-
Select Save & Exit.
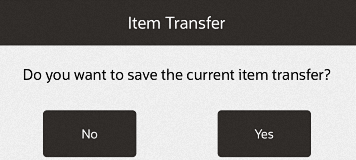
Figure 47-10 Confirm Save Transfer
-
Select Yes.
The item transfer completes. Return to the inventory menu.
Transfer All Items
To include all the items in the list, setting each item to the maximum quantity:
-
Select the Context Menu button.
-
Select Transfer All.
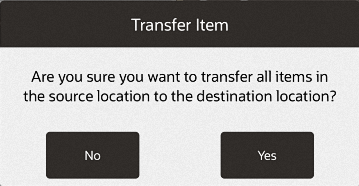
Figure 47-11 Confirm Transfer All Items
-
Select Yes.
The quantity of every item in the list is set to its maximum value.
Return to the item transfer list screen.
