Creating a New Local Inventory Order
...continued from Local Inventory Order Transactions step 3 above.
-
Select Setup New.
-
Scan or enter the item ID.
Figure 16-2 Items Added to Local Inventory Order
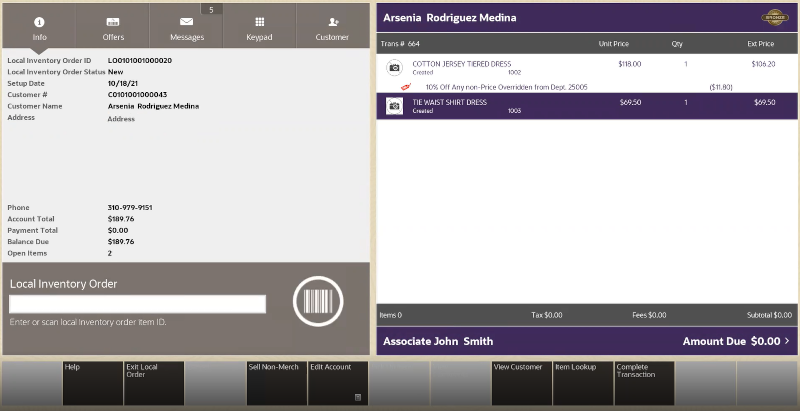
Depending on your store policy, you may be prompted for an originating inventory location.
If prompted, select the inventory location from which the item originated, or leave the inventory location blank to leave the location pending. Select the Process option.
You have the following options at the Local Inventory Order screen before payment is made.
You can:
-
scan or enter another item
-
sell a Non-Merch item
-
perform an item lookup
-
edit the account by:
-
adding a coupon
Figure 16-3 Add Coupon Prompt
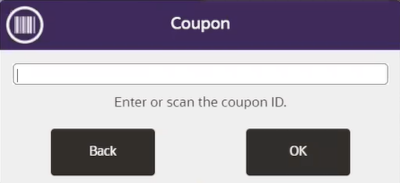
Enter or scan the coupon ID and select OK.
-
adding a comment
Figure 16-4 Add Comment Prompt
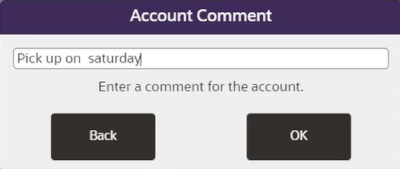
Enter a comment and select OK.
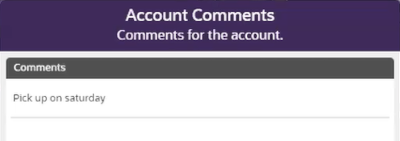
Once a comment is added, it can subsequently be viewed.
Figure 16-5 View Comment
-
-
view customer detail
-
-
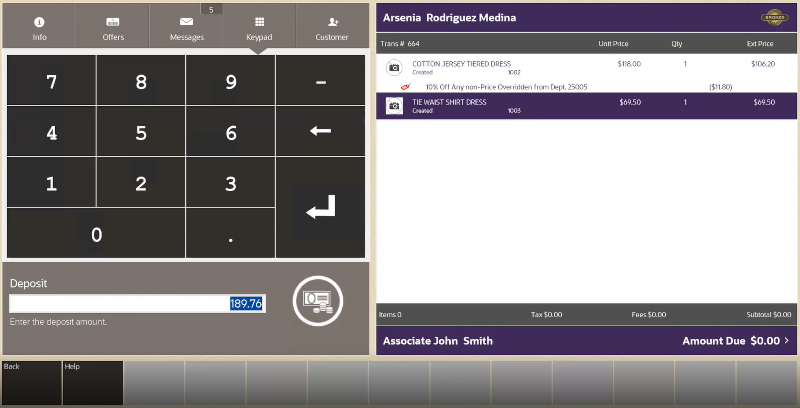
Select Amount Due to make payment. All local inventory orders must be paid in full before picking up is allowed.
Figure 16-6 Enter Deposit Amount for Local Inventory Order
-
Enter the Deposit amount and select OK. Partial deposits are not allowed. Ensure the full amount is deposited.
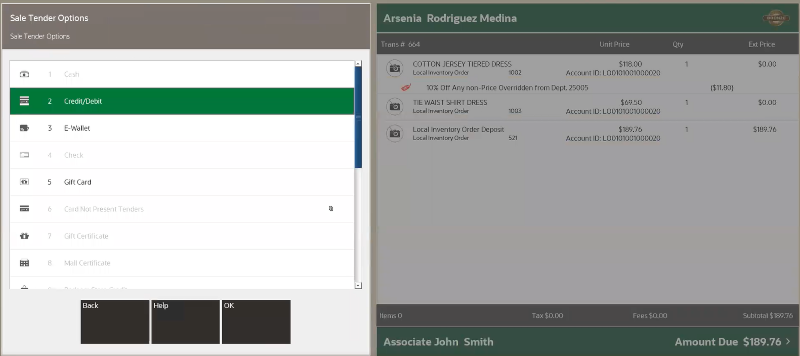
Figure 16-7 Select Tender Type for Local Inventory Order
-
Select the tender type to complete the transaction. Only certain sale tenders are possible as the customer is not present.
-
Continue with the tendering process and select a receipt method.