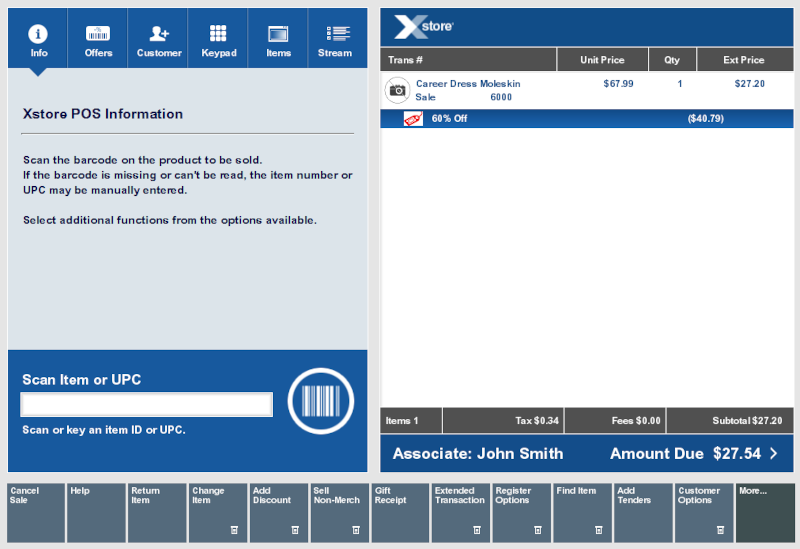
Item Lookup
Item Lookup searches for an item based on any of several criteria (for example, SKU, style, or department) and retrieves detailed information about the item. For kits, Item Lookup finds the component items that make up the kit.
Item lookups can be performed while Xstore Classic POS is at a Register or Back Office login prompt without the need to login.
If item lookup is initiated from a sale, you can add the item to the sale directly from the lookup screen if all eligibility parameters have been met.
If your system has the Scan Items Prior to Adding to Transaction setting configured, the item is scanned to confirm it is the correct item being added to the transaction.
-
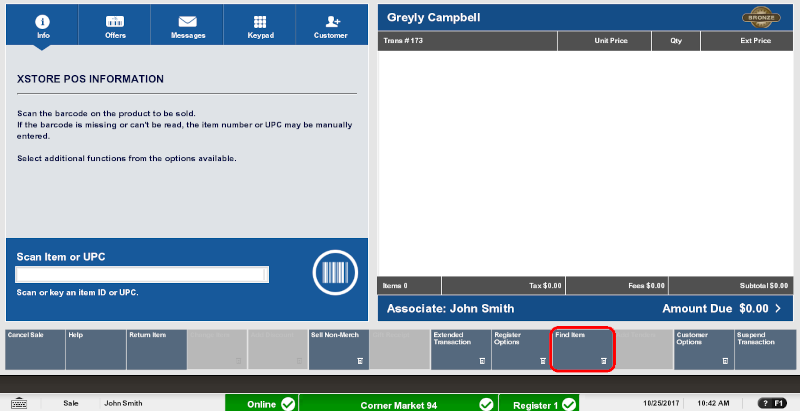
Click Find Item in the Register Sale screen.
Figure 6-1 Register Sale Screen
-
Click Item Lookup.
Figure 6-2 Item Lookup Form
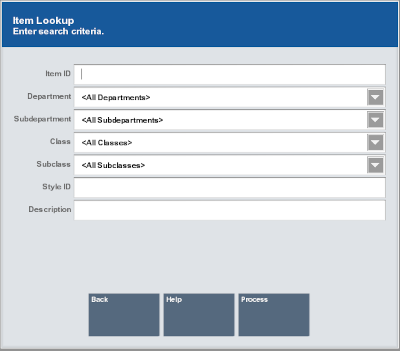
The Item Lookup window opens.
-
Enter the search criteria for the item:
-
Item ID - ID of the item.
-
Department - Department to which the item belongs.
-
Subdepartment - Subdepartment to which the item belongs.
-
Class - Class to which the item belongs.
-
Subclass - Subclass to which the item belongs.
-
Style ID - ID of the style assigned to the item.
-
Description - Content in the description of the item.
If advanced search options are configured on your systems, use the advanced options to further refine the search:
-
Select the value for any search criteria you are using.
-
Click Exclude for any unused search criteria.
-
-
Click Process.
-
If more than one item matches the search criteria, continue with Step 5.
-
If only one item matches the search criteria, the item opens in the Item Viewer.
-
-
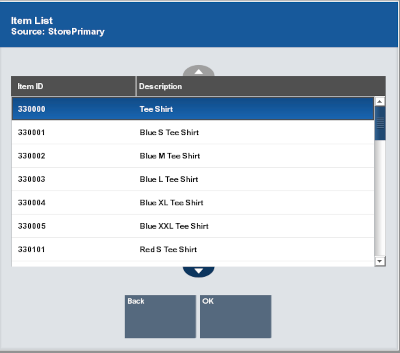
If necessary, select an item in the Item List window:
Figure 6-3 Item Selection
-
Click the item.
-
Use the up and down arrows to highlight the correct item, then press the Spacebar.
-
-
Click OK.
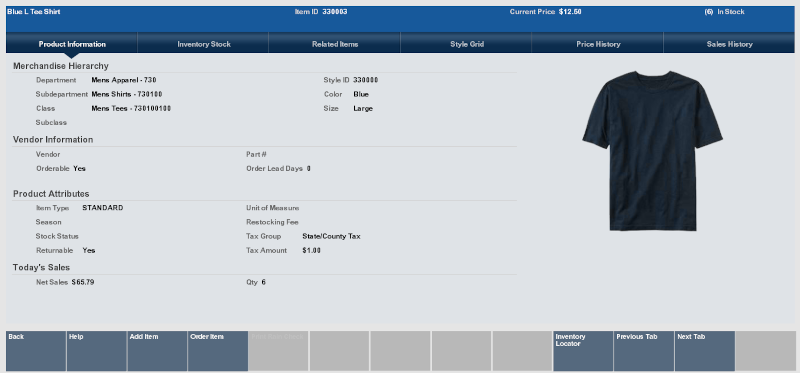
The item opens in the Item Viewer.
Figure 6-4 Item Viewer
-
If your system has the Scan Items Prior to Adding to Transaction setting configured, you need to scan the item to confirm it is the correct item.
Figure 6-5 Item Viewer with Exit to Scan Button Highlighted
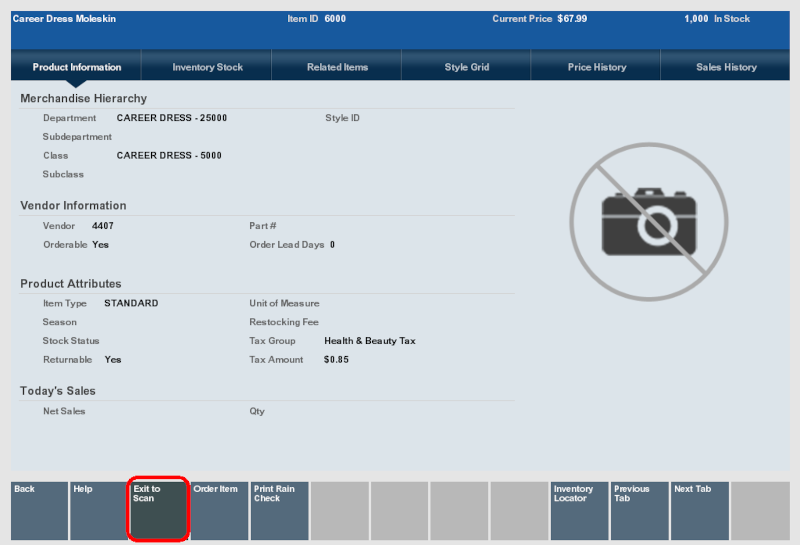
Select Exit to Scan. You are returned to the Sales screen and must scan the item in order to add it to the transaction.
Figure 6-6 Sales Screen Awaiting Item Scan
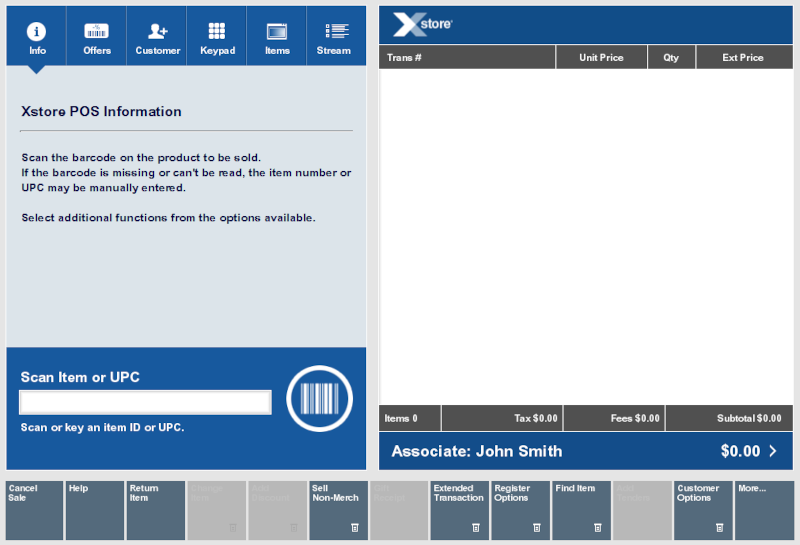
Once an item is scanned it is added to the transaction:
Figure 6-7 Sales Screen After Item Scan
