No Sale
Use the No Sale option to open the cash drawer for a reason other than a normal sale transaction.
To perform a No Sale:
-
Select Till in the Register Login screen.
Figure 22-25 Register Login Employee ID Prompt

-
Do one of the following, depending upon the configuration of your system:
-
Enter your password and press Enter.
Figure 22-26 Register Login Password Prompt

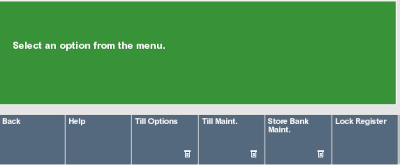
The Till menu opens.
Figure 22-27 Till Menu

-
Select Till Options.
Figure 22-28 Till Options Menu

-
Select No Sale.
Xstore Point of Service prompts for the reason for the no sale.
-
Select the reason:
-
Click the reason.
-
Use the up and down arrow to highlight the reason, then press the Spacebar.
-
-
Select OK.
The following prompts depend upon the configuration of your system.
-
If necessary, scan the cash drawer with which to perform the no sale.
-
If necessary, enter additional information about the reason for the no sale:
-
Enter the additional information.
-
Click OK.
The cash drawer opens.
-