3 Setting Up Development Tools for the Android Platform
This chapter includes the following sections:
Installing the Android SDK
Install the Android SDK to deploy a MAF application to Android devices.
Android Studio, Google’s IDE for Android development, includes the Android SDK in its installation and provides wizard options that simplify the management of the SDK platforms and tools that you need.
Install Android Studio, and the Android SDK that it includes, by downloading the installation file from https://developer.android.com/studio/index.html. The Android Developer’s website provides installation instructions for Windows, Mac, and Linux. See https://developer.android.com/studio/install.html.
-
Tools that build and package your application into an .APK file (the file type that installs applications on Android devices)
-
An emulator to create Android Virtual Devices (AVD) where you can test your application if you do not have access to a physical Android device
-
An OEM USB driver to connect your development machine to a physical Android device through a USB cable if you do have a device (enables you to deploy an application from your development machine to the Android device)
Specifying the Android Settings in MAF
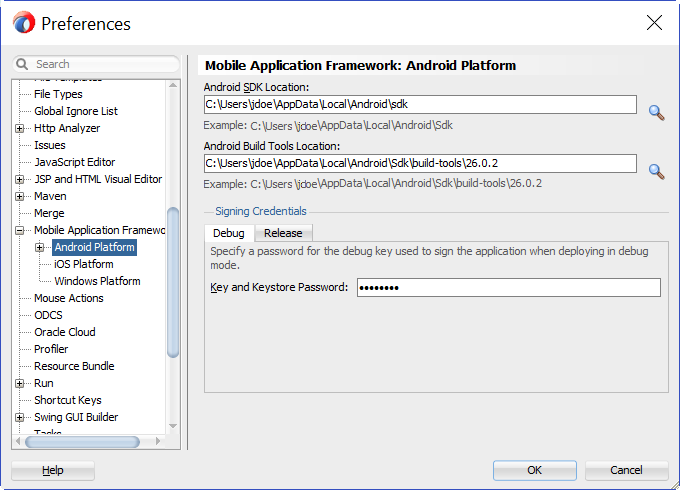
Configure the Android-specific settings, such as Android SDK, build tools location, and signing information to package and deploy applications to the Android platform.
For the Android platform, you can specify preferences using the GUI or command line.
Using the Command Line
You can set MAF preferences required to develop MAF applications, such as the Android SDK location, by specifying startup parameters when you start JDeveloper.
To launch JDeveloper from the command line with startup parameters, use the -J-D options. All strings must be enclosed in double-quotes, as shown in the examples.
The following example shows how to override the location of the Android SDK:
jdeveloper.exe -J-Doracle.adfmf.framework.dt.preferences.PlatformSDKsPrefs.androidPlatformDir="C:\<my_Android_SDK_path>"
These are the startup parameters you can use to set Android preferences from the command line:
-
oracle.adfmf.framework.dt.preferences.PlatformSDKsPrefs.androidSdkDir -
oracle.adfmf.framework.dt.preferences.PlatformSDKsPrefs.androidBuildToolsDir -
oracle.adfmf.framework.dt.preferences.PlatformSDKsPrefs.androidReleaseSigningKeystorePath -
oracle.adfmf.framework.dt.preferences.PlatformSDKsPrefs.androidReleaseSigningKeystorePath
Installing an Emulator Accelerator
You can accelerate the performance of the emulator that renders AVDs by installing an emulator accelerator.
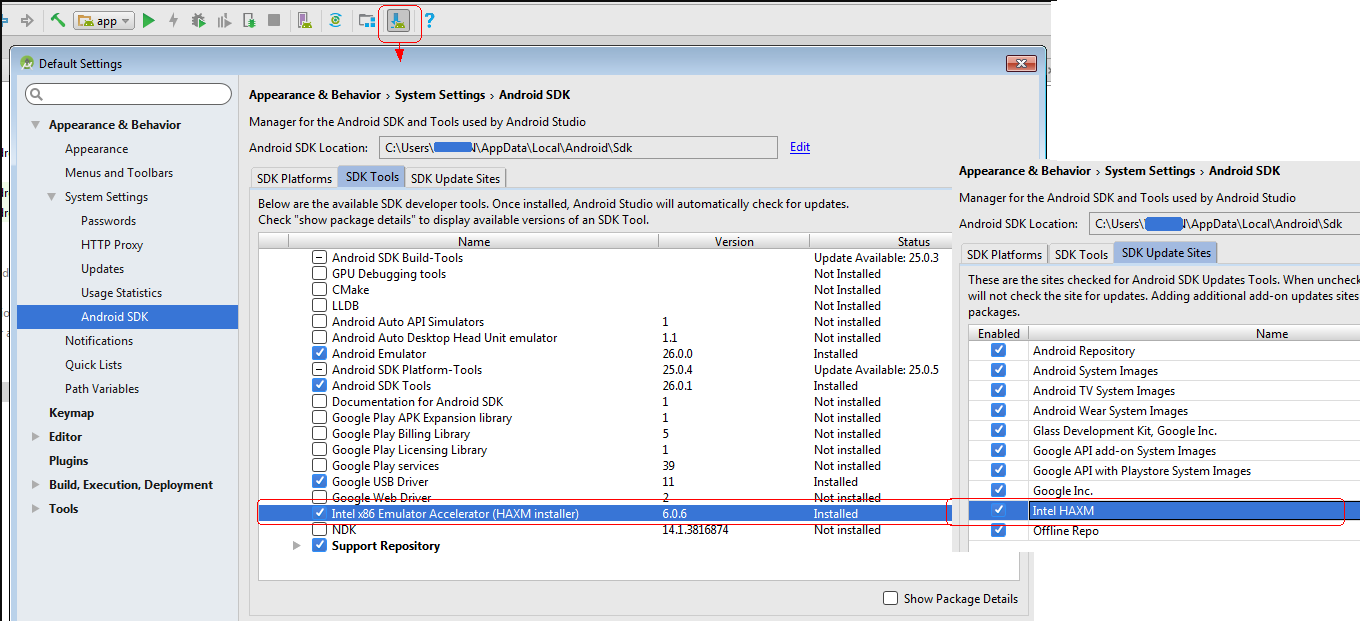
Once installed, the emulator accelerator speeds up the performance of the emulator and the AVDs that it emulates by allocating additional resources from your development machine. You specify the amount during installation of the accelerator. Once installed, the accelerator appears in the SDK Tools list of the SDK Manager that you can launch from Android Studio, as shown in the following image. The Intel x86 Emulator Accelerator (HAXM) is one type of emulator accelerator that is available.
Make sure that the update site for the emulator accelerator that you want to download is selected in the SDK Update Sites tab shown in the previous image. Once downloaded, execute the installer. See https://developer.android.com/studio/run/emulator-acceleration.html#accel-vm.
Creating an Android Virtual Device
An Android Virtual Device (AVD) replicates an Android device on your development computer. It is a useful option for testing, especially if you only have access to one or a limited range of physical Android devices.
The AVD Manager that you launch from Android Studio by clicking Tools then Android, and then AVD Manager has a range of ready-to-use virtual devices. It includes most of those devices developed by Google itself, such as the Nexus and Pixel XL range. Google maintains documentation describing how to manage AVDs (see https://developer.android.com/studio/run/managing-avds.html).
Other Android device vendors, such as Samsung, provide specifications on their websites that you can use to create the AVD yourself.
To create an AVD:
-
In Android Studio, launch the Android Virtual Device Manager by selecting Tools, then Android, and then AVD Manager.
-
In the Your Virtual Devices screen, click Create Virtual Device.
-
In the Select Hardware screen, select a phone device, such as Pixel, and then click Next.
-
In the System Image screen, click Download for one of the recommended system images. Agree to the terms to complete the download.
-
After the download completes, select the system image from the list and click Next.
-
On the next screen, leave all the configuration settings unchanged and click Finish.
-
In the Your Virtual Devices screen, select the device you just created and click Launch this AVD in the emulator.
Setting Up Your Android Device to Install an App from Your Development Machine
You can install your app directly from your development machine to your Android device by configuring the Android device and connecting it to your development machine using a USB cable.
To set up your Android device:
-
Connect your device to your development machine with a USB cable.
If you are developing on Windows, you might need to install the appropriate USB driver for your device. For help installing drivers, see the OEM USB Drivers document.
-
Enable USB debugging on your device by going to Settings > Developer options.
Note:
Developer options is hidden by default. To make it available, go to Settings > About phone and tap Build number seven times. Return to the previous screen to find Developer options.
Testing the Android Environment Setup
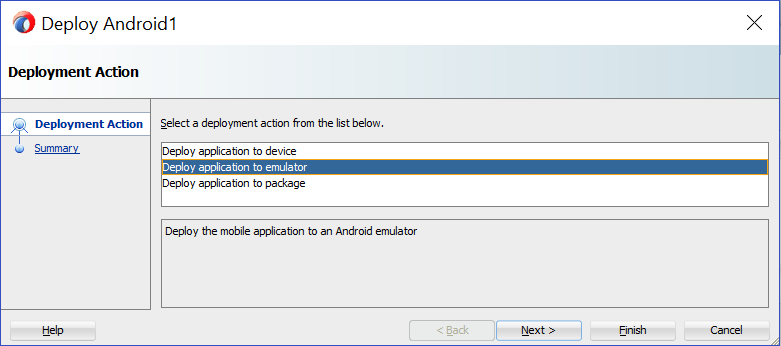
Deploy a MAF sample application to test that you set up your Android environment successfully.
See Deploying Mobile Applications in Developing Mobile Applications with Oracle Mobile Application Framework.
After a successful deployment (which might take a few minutes), the device to which you had deployed the application displays the launch screen of the HelloWorld application, and then displays the default application feature.


