3 Removing the Connector
This chapter describes the procedure to remove the connector installation for release 9.1.0.1 and 9.1.1.x.
3.1 Removing an Existing Installation of Release 9.1.0.1
To remove an existing installation of the release 9.1.0.1 connector:
-
Delete the connector-related registry keys by performing the following steps:
-
Run
regedit.exe. This file is usually located in the Microsoft Windows registry. -
Navigate to the following key:
HKEY_LOCAL_MACHINE\System\CurrentControlSet\Control\Lsa
-
Double-click the Notification Packages key.
-
In the Edit Binary Value dialog box, delete adsync from the list of values, and then click OK.
For example, suppose the original data string displayed in the Data column on the right pane of the Registry Editor application window is as follows:
FPNWCLNT RASSFM KDCSVC scecli adsync
After you delete adsync from the list of values, the data string would appear as follows:
FPNWCLNT RASSFM KDCSVC scecli
-
Navigate to the following key:
HKEY_LOCAL_MACHINE\SYSTEM\CurrentControlSet\Control\Lsa\adsync
-
Delete this key along with all of its properties.
-
-
Delete the Adsync.dll file from the Windows\system32 directory.
-
If you have installed the connector on a 64-bit Microsoft Windows operating system, then delete the Adsync.dll file from the Windows\SysWOW64 directory.
-
Delete the ADSYNC_HOME directory.
-
Restart the computer.
3.2 Removing an Existing Installation of Release 9.1.1.x
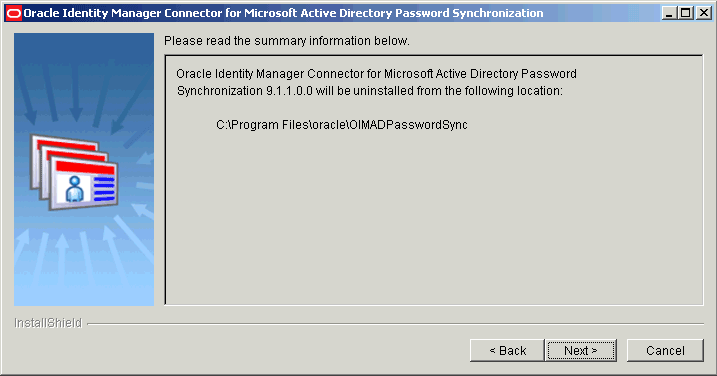
To remove an existing installation of the release 9.1.1.x connector:
3.3 Uninstalling Release 9.1.1.5.x of the Connector
If you want to to cancel an ongoing 9.1.1.5.0 installation or if you want to manually remove an existing installation of the 9.1.1.5.x connector, then perform the following steps before restarting the domain controller:
-
Delete the connector-related registry keys as follows:
-
Run regedit.exe. This file is usually located in the Microsoft Windows registry.
-
Navigate to the following key:
HKEY_LOCAL_MACHINE\System\CurrentControlSet\Control\Lsa
-
Double-click the Notification Packages key.
-
Remove oimadpwdsync10 from the list of values, and click OK.
Note:
Do not remove other existing values in the "Notification Packages" key data.
-
-
Remove oimadpwdsync10 from the list of values in "Notification Packages" key under "HKEY_LOCAL_MACHINE\System\CurrentControlSet\Control\Lsa" .
-
Move the oimadpwdsync10.dll and orclmessages.dll from the C:\WINDOWS\system32 directory to a different location (C:\SomeOtherLocation).
-
Reboot Windows Server by running the following command:
%WINDIR%\System32\shutdown.exe /r /t 0
-
Remove the following registry key including its sub entries under it:
[HKEY_LOCAL_MACHINE\SYSTEM\CurrentControlSet\Control\Lsa\oimpwdsync]
-
Delete the oimadpwdsync10.dll, orclmessages.dll files, and logs directory.
