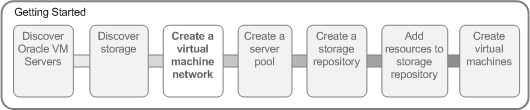
Chapter 4 Create a Virtual Machine Network
Oracle VM has a number of network functions: Server Management, Live Migrate, Cluster Heartbeat, Virtual Machine, and Storage. The Server Management, Live Migrate and Cluster Heartbeat roles are automatically assigned to the management network when you discover Oracle VM Servers. The Virtual Machine and Storage roles are not automatically created, and you must manually create these. The Storage role is only required for iSCSI-based storage, so for the purposes of the NFS-based storage used in this tutorial, is not required. We do, however, need to create a network with the Virtual Machine role. This can be assigned to the existing management network, or a new network can be created and the Virtual Machine role assigned to it. This tutorial shows you how to create a new network and assign the Virtual Machine role to it. See Understanding Networks for information on creating and configuring networks.
4.1 Creating a virtual machine network
This example creates a virtual machine network using network interface cards (NICs) on the Oracle VM Servers discovered earlier. In this example we are using bonded Ethernet ports. Each Oracle VM Server should have a set of Ethernet ports to use for the virtual machine network. Oracle recommends at least two ports per Oracle VM Server, one for the management network, and one for a network with the Virtual Machine role. Replace the information in this example with that of your Oracle VM Servers and environment.
-
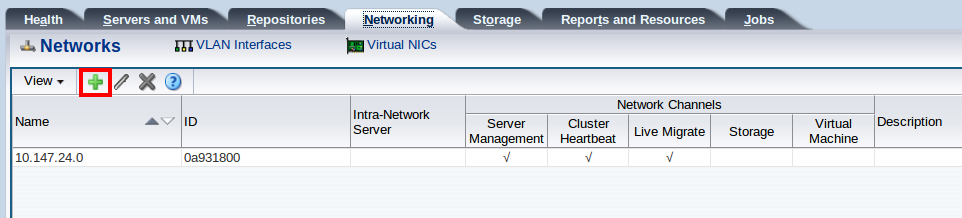
Click the Networking tab, then the Networks subtab.
-
Click Create New Network...
 in the toolbar to start the Create
Network wizard. In this example we use the Ethernet
ports on each Oracle VM Server to create a network for virtual machine
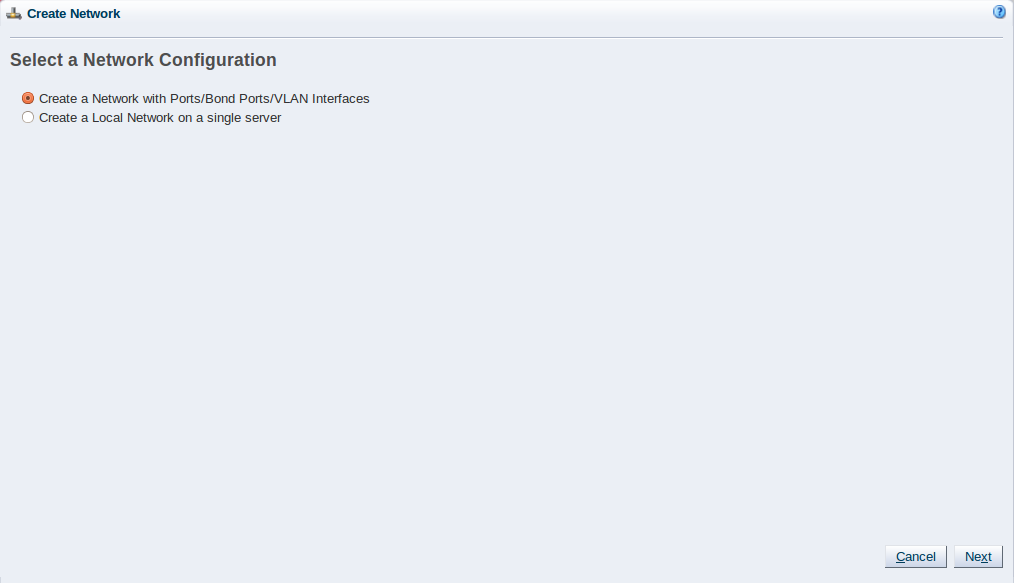
traffic. Select Create a network with
Ports/Bond Ports/VLAN Interfaces and click
Next.
in the toolbar to start the Create
Network wizard. In this example we use the Ethernet
ports on each Oracle VM Server to create a network for virtual machine
traffic. Select Create a network with
Ports/Bond Ports/VLAN Interfaces and click
Next.
-
At the Create Network step of the wizard, enter a name for the network and select the network functions. The Network Uses fields are where you decide which network functions are to be assigned to the network. Select Virtual Machine and click Next.
-
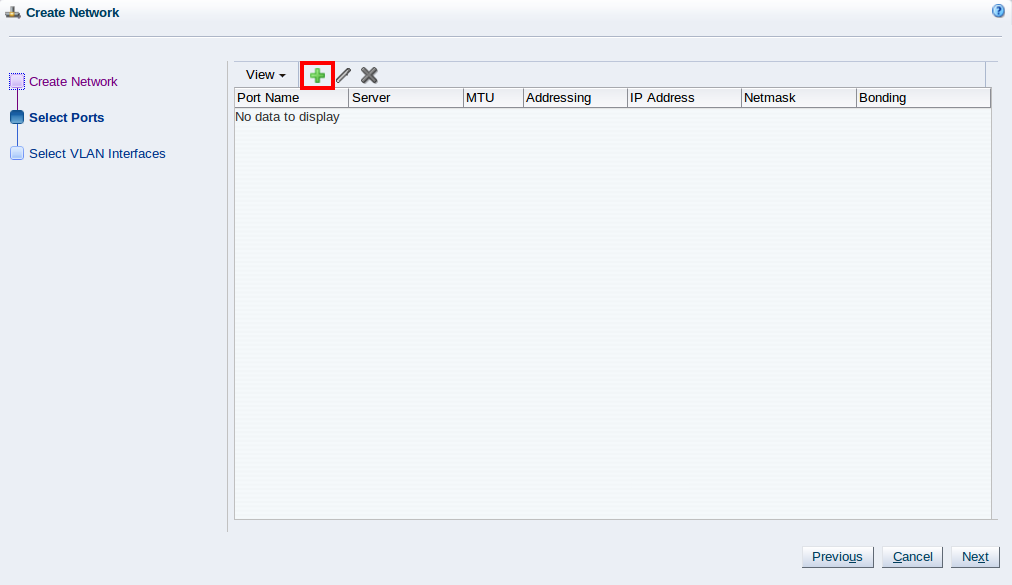
At the Select Ports step of the wizard, we need to add an Ethernet port from each Oracle VM Server and add them to the network. Click Add New Ports...
.
-
The Add Ports to Network dialog box is displayed.
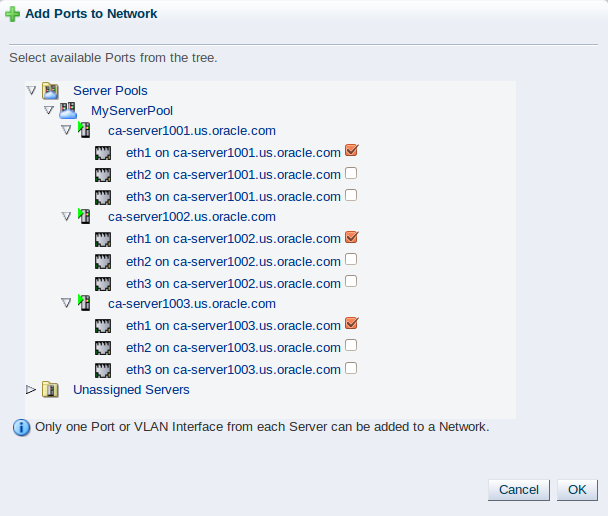
Expand the Unassigned Servers folder until you see all the ports for each Oracle VM Server. Select a free port to use on each Oracle VM Server for the network and click OK.
-
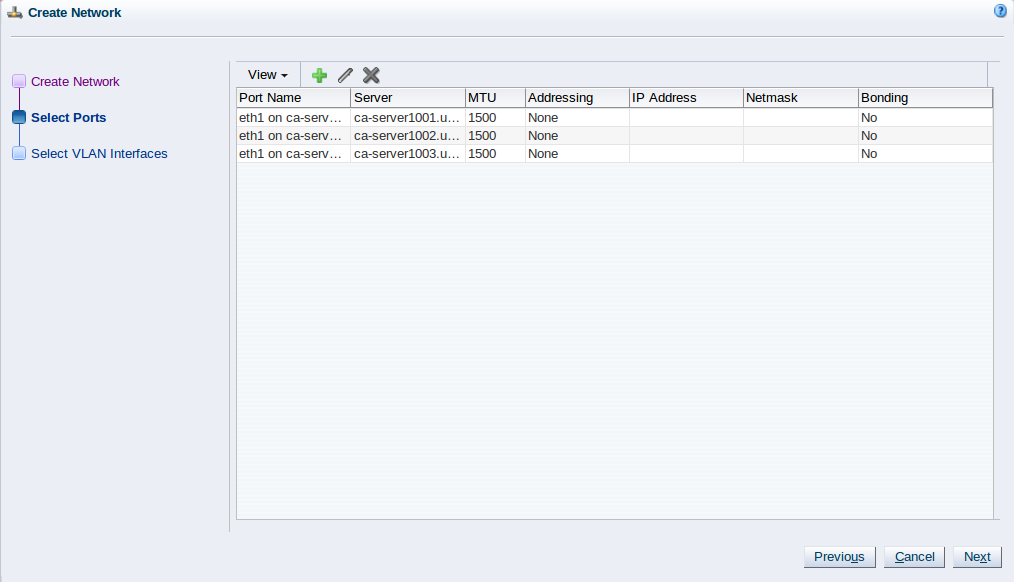
The Select Ports step of the wizard is displayed again. Click Next.
-
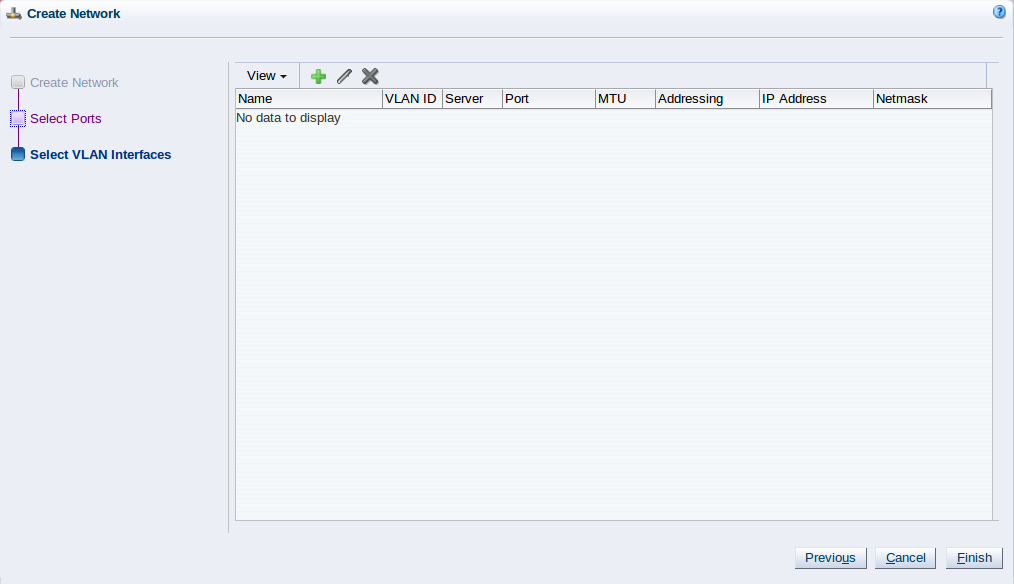
The Select VLAN Interfaces step of the wizard is displayed. In this example we are not using VLAN interfaces, so click Finish to create the network.

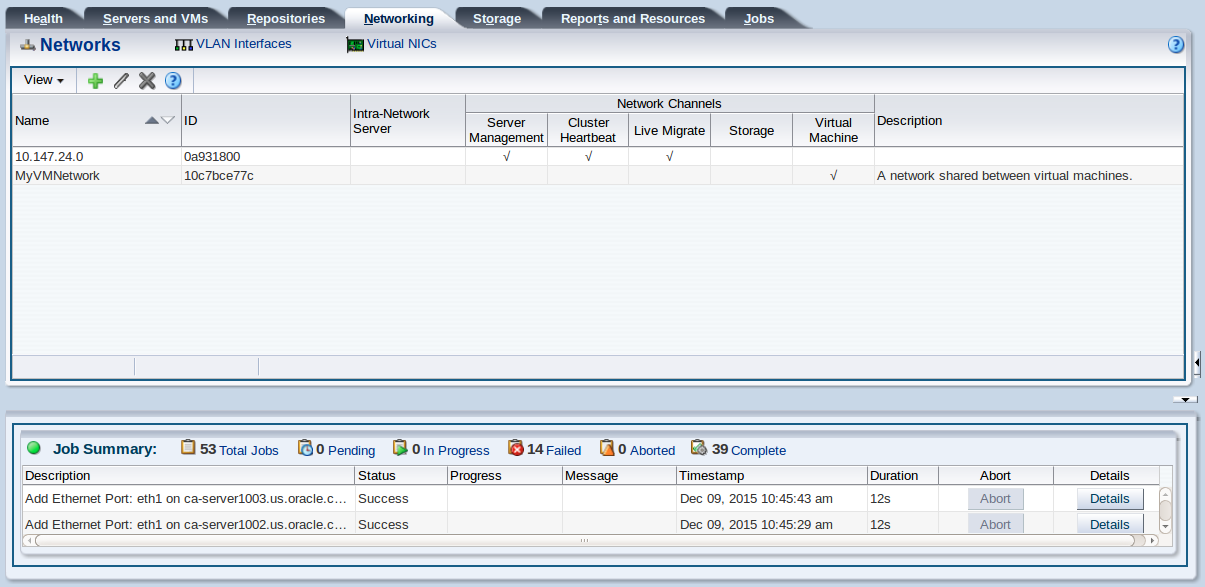
The virtual machine network is created and listed in the table. This virtual machine network is ready to use when creating virtual machines.