1 Installing the Argus Mart Application
This chapter explains how to use the installation wizard to install Argus Mart, including ODI Repository and the Schema Creation Tool.
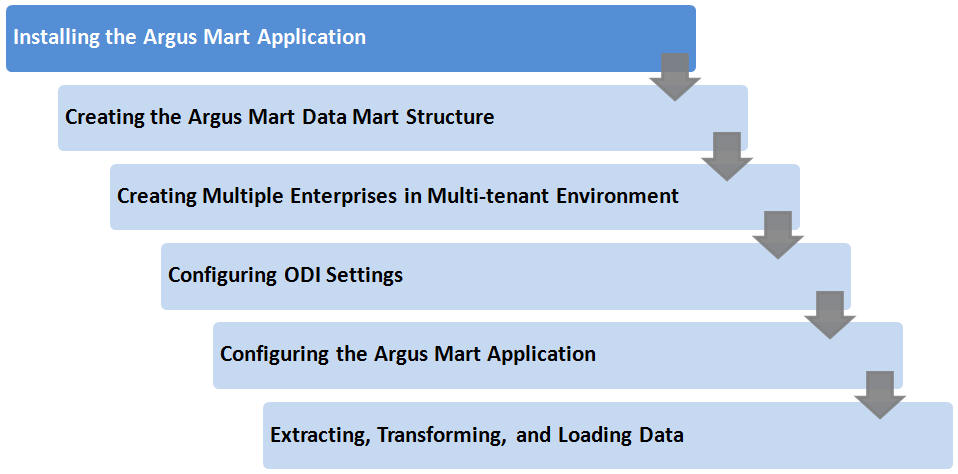
This chapter includes the following topics:
1.1 Before Installing the Argus Mart Application
-
Verify that the Argus Mart database instance has been created and is running. In addition, verify that the database has been created using the character set of your Argus Safety database.
-
You must install the required software components, as mentioned in the following table:
Table 1-1 Argus Mart Software Requirements
Specification Oracle Data Integrator Server Database DBInstaller Client Operating System
As certified by the ODI
As certified by the ODI
(Supports bothCDB-PDB/Non CDB)
Microsoft Windows Server 2012 Standard
Microsoft Windows Server 2012 R2 Standard
Windows 10
Windows 8.1
Windows 7
(Both 32 and 64 bit)
Oracle Database
Oracle RAC
Exadata 12c R1 (with 12.1.0.2)
Oracle 12c R1 (12.1.0.2) (Standard Edition 2 (SE2)/Enterprise Edition)
Note: Oracle database Standard Edition 2 (SE2) is supported for single tenant deployment only.
Oracle Data Integrator (ODI)
12.2.1/12.1.3
Note:
Oracle Client Patch required for the Schema Creation Tool-
Download the patch 19720843: WINDOWS DB BUNDLE PATCH 12.1.0.2.1 from the Oracle Support.
-
Install the patch, and apply the following workaround:
a. Set the oracle_home as your client home location. For example:
SET ORACLE_HOME=C:\app\client32\product\12.1.0\client_1
i. On the client machine, go to %oracle_home%\bin\
ii. From \p19720843_121020_WINNT\19720843\files\bin\, copy the file oranfsodm12.dll, and paste it under %oracle_home%\bin
b. Run sqlldr help=y or sqlldr.exe.
-
-
Make sure that you have installed the following software on the machine where Argus Mart is being installed:
-
Microsoft .NET 3.5 Framework
-
Oracle Client 12.1.0.2 (32 bit) (Administrator Installation type)
Only one version of Oracle Client should be installed on the server. Argus Mart Installer will not work in case there are multiple versions of Oracle Client are installed on the same machine.
-
1.2 Installing Argus Mart Components
To run the installation wizard and install the Argus Mart components:
-
Log in to the Argus Mart Server as a user with administrator privileges.
-
Download the Argus Mart software from Oracle E-delivery and copy the software to the Argus Mart Server.
-
Click setup.exe.
The Welcome screen of the installation wizard appears with the following options:
-
About Oracle Universal Installer—Specifies information about the Oracle Universal Installer.
-
Installed Products—Displays the list of installed products.
-
-
On the Welcome screen, click Next.
The Specify Home Details screen appears.
-
In the Name field, enter the name for the product installation.
-
In the Path field, specify the location of the folder where the Argus Mart will be installed.
-
To install Argus Mart into the default folder, click Next.
-
To install Argus Mart into a different folder, click Browse, select another folder, and click Next.
The Oracle Home Location screen appears.
-
-
Click Browse, and navigate to the location of Oracle Home that identifies the TNSNAMES.ORA file.
Example: C:\app\product\11.2.0\client_1
-
Click Next.
The Database Details screen appears.
-
Enter the following parameters:
-
In the AM Database Server field, enter name or IP address.
-
In the AM Database Instance field, enter the database instance name.
-
In the AM Database Port field, enter the database listener port number.
When the Installation process is complete, you may validate these database inputs by navigating to the TNSNAMES.ORA file, saved at the following path:
<ORACLE_HOME>\NETWORK\ADMIN
-
-
Click Next.
The Summary screen appears.
-
Click Install to start the installation.
A message appears — Argus Mart is configuring your new software.
When installation is complete, the End Of Installation screen appears.
-
To verify the successful installation of Argus Mart, click Installed Products.
The Inventory screen appears.
-
Navigate to Contents > Independent Products.
Oracle Argus Mart appears in the list of products.
-
Click Close.
-
Click Exit.
A confirmation dialog box appears.
-
Click Yes to close the Installer wizard screen.