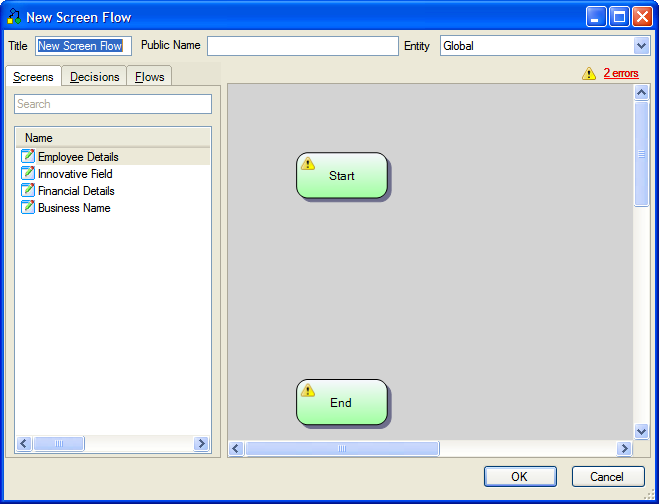
The following dialog will appear:
By default, the screen order in an interview is primarily driven by the question search. There are times, however, when you may want the interview to follow a very precise screen flow (for example, if modeling a claim form). To enable this, you can define a Screen Flow in Oracle Policy Modeling in which you draw the flow diagrams which represent the process or series of steps through your investigation. In this way you can have a screen flow which is completely independent of the rulebase.
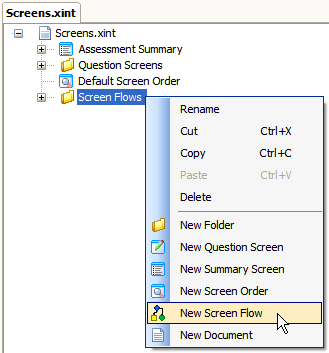
Before you create a screen flow, first create a folder in which to store the flow:
To create a screen flow:
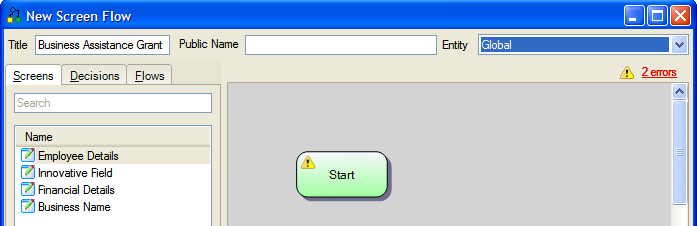
The left hand pane shows the various tabs that you use to select which shapes to add to the flow diagram in the right hand pane.
There are several steps involved in creating a typical flow as follows:
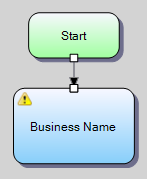
A flow must start with a Start shape and end with an End shape.
Any errors that have been detected in the flow are shown by  . To see a list of all errors, click on the link in the top right hand corner of the Screen Flow dialog.
After completing your flow, the flow needs to be added to the summary screen for the project so that it can be accessed in a Oracle Web Determinations investigation. For details on how to add the flow to the summary screen, see Add a screen flow to the summary screen.
The name of a flow is referenced by the summary screen and other flows. To change the flow name, enter a new name in the Title text field of the New Screen Flow dialog box.
NOTE: Flow names must be unique across all flows to allow references to subflows.
Add a public name for the flow if appropriate, in the Public Name field.
Interview screens can only be created using the standard interface within Oracle Policy Modeling. In your screen flow you can reference these screens.
To add an existing screen from Oracle Policy Modeling to your flow, follow these steps:
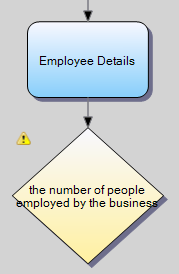
You can add conditions in your screen flow that control whether or not a path in the flow is taken. A condition is an attribute and the attribute value controls which path is taken. Each condition is called a decision point and is represented in the flow with a decision shape.
To add a decision point to your flow:
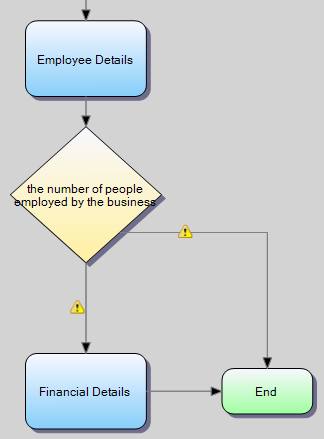
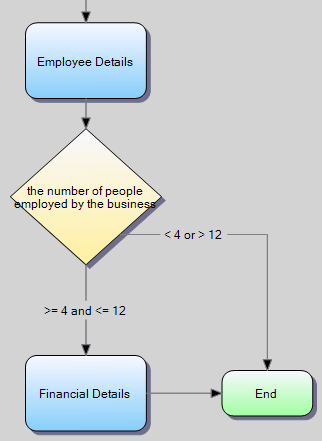
A condition can just be a straight value (eg true|false|"cat"). For number, date, date and time and time of day attributes, a condition can also be preceded by a comparison. For more information on what value conditions can be applied to different attribute types, see Value conditions for screen flow connections.
If no conditions are provided for a decision point, the attribute will be investigated and then the flow will continue on from that point.
NOTES:
Screen flows all belong to a specific entity, and all screens in the flow must belong to that entity. The entity for the flow is shown in the top right hand corner of the Screen Flow dialog box. 
If you want to show a screen for another entity, you must call a subflow (see below) and specify the relationship for that flow. When the (primary) flow is executed, the sub-flow will be executed once for each target of the relationship.
Subflows are separate flows that can be added to the primary screen flow. A subflow is created in exactly the same way as a normal screen flow.
If you want to have a different entity in your screen flow you must use a subflow to access that entity. When the (primary) flow is executed, the subflow will be executed once for each target of the relationship.
To include a subflow in the screen flow:
NOTE: There can be no cyclical references in shapes, ie A requires B and B requires A.
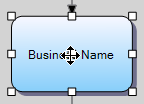
Once you have started creating a screen flow you will want to move and change the appearance of shapes (screens, decisions, connections etc) in the editing pane to make the flow easier to understand.
To move a shape in a screen flow:

To change the size of a shape in a screen flow:
To delete a shape in a screen flow: