5 Application Lifecycle
This chapter describes how you can use Oracle Stream Analytics Visualizer to deploy, suspend, update, and uninstall Oracle Stream Analytics applications.
This chapter includes the following sections:
For more information, see:
5.1 Deploy an Application
Deploying an application refers to uploading to the server the JAR file that contains the application and then installing it, which makes it available to clients.
Oracle Stream Analytics internally deploys an application as a two step processes. The first step involves starting the application bundle inside the OSGi container. The second step involves starting and initializing the application. Because the second step is asynchronous in nature, Oracle Stream Analytics Visualizer does not wait for the completion of the second operation. As soon as the application has successfully started, the Oracle Stream Analytics Visualizer navigation tree is updated automatically with the new deployment and a successful message will be sent to the dashboard. However, if the application fails to start, you must check for errors on the server side because no messages/updates will occur on the Oracle Stream Analytics Visualizer.
When you deploy an application, the Oracle Stream Analytics server starts a new configuration history for it. See Configuration History Management.
Note:
You may only deploy to a group if the target Oracle Stream Analytics server is part of a multiserver domain (that is, if clustering is enabled). You may not deploy to a group if the target Oracle Stream Analytics server is part of a standalone-server domain (that is, if clustering is disabled).
This section describes:
5.1.1 Deploy an Application in a Standalone-Server Domain
This section describes how to deploy an application to a standalone-server domain. For information on deploying an application in a multiserver domain, see Deploy an Application in a Multiserver Domain.
Note:
Uploading an application JAR file via Oracle Stream Analytics Visualizer running in the Firefox browser over HTTPS is not supported. For uploading over HTTPS, use Internet Explorer.
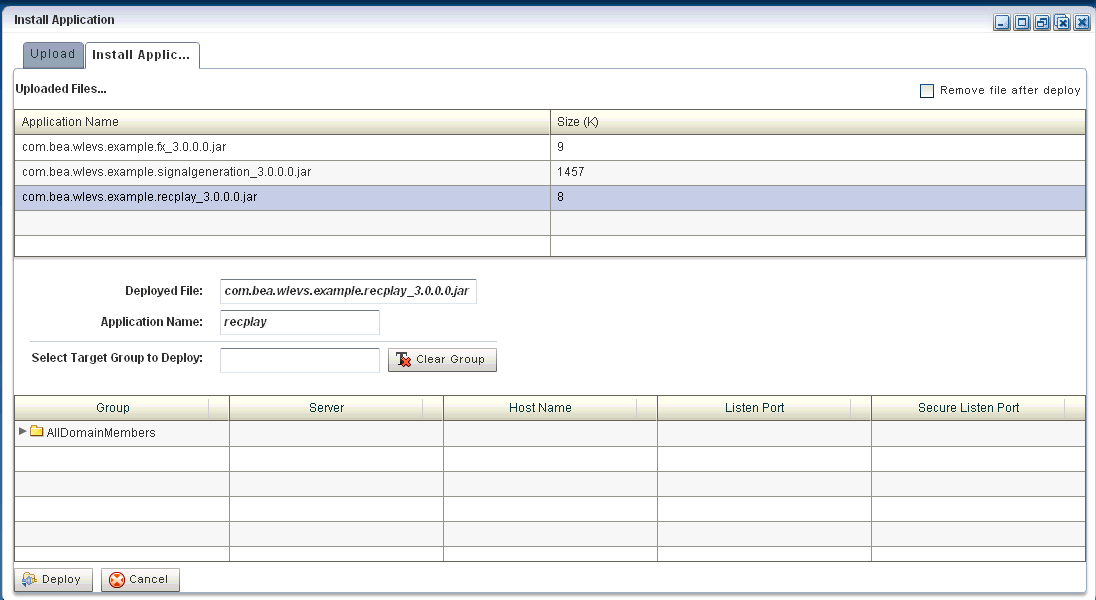
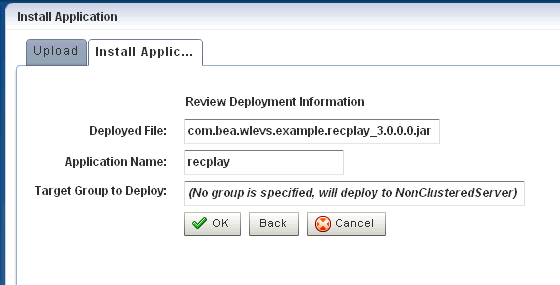
Deploy an Application in a Standalone Server Domain
5.1.2 Deploy an Application in a Multiserver Domain
This section describes how to deploy an application to a multiserver domain. For information on deploying an application in a standalone-server domain, see Deploy an Application in a Standalone-Server Domain.
For more information, see Multiserver Domains.
Note:
Uploading an application JAR file via Oracle Stream Analytics Visualizer running in the Firefox browser over HTTPS is not supported. For uploading over HTTPS, use Internet Explorer.
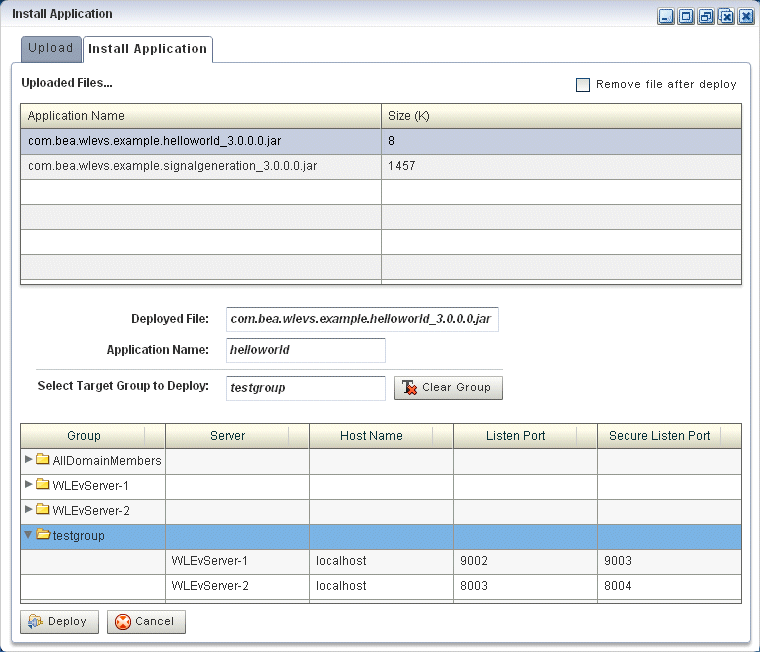
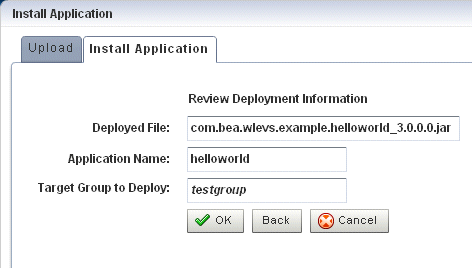
Deploy an Application in a Multiserver Domain
5.2 Suspend or Resume an Application
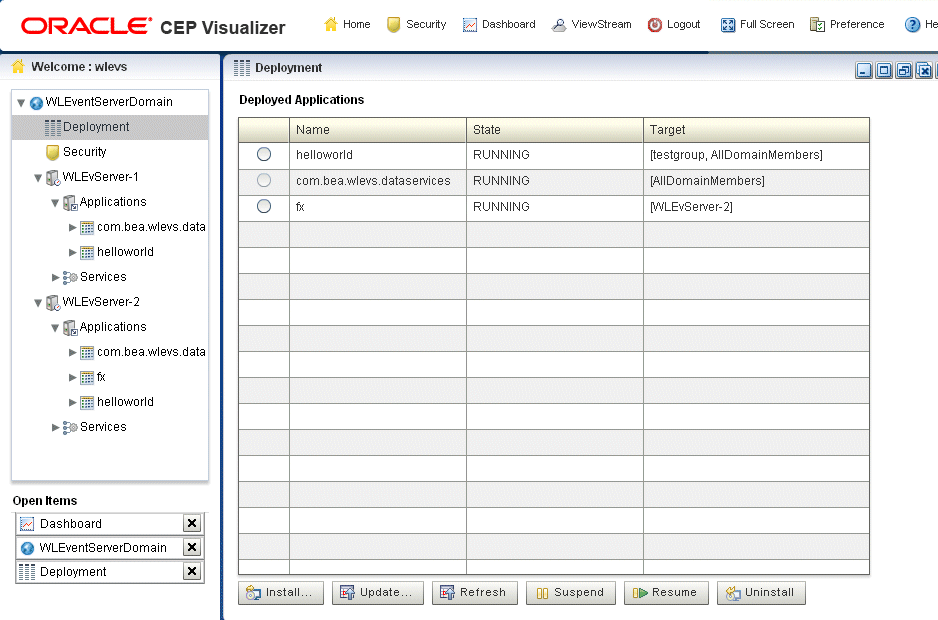
You can temporarily suspend an application from running and resume the operation using the Suspend and Resume operations in the Deployment screen.
Note:
Suspend and resume apply to installed applications only.
Suspend or Resume an Application
- In the left pane, navigate to Deployment node. The Deployed Applications table is displayed in the Deployment screen on the right pane.
- Select the application you want to suspend or resume by checking the box to the left of its name.
- Click Suspend to suspend the application or Resume to resume a suspended application.
5.3 Update an Application
You can update your currently existing application with your latest application using the Update operation in the Deployment screen.
When you update an application, the Oracle Stream Analytics server erases the application's existing configuration history and starts a new configuration history for it. See Configuration History Management.
Note:
Uploading an application JAR file via Oracle Stream Analytics Visualizer running in the Firefox browser over HTTPS is not supported. For uploading over HTTPS, use Internet Explorer.
Update an Application
5.4 Uninstall an Application
When you uninstall an application, you completely remove it from the server so that you can no longer access it.
When you uninstall an application, the Oracle Stream Analytics server erases the application's existing configuration history. See Configuration History Management.
Uninstall an Application
