|
|
This section contains the following sections:
Once the necessary application resources, identities, application roles, and actions are defined, you can make use of them in authorization policies. An authorization policy specifies who can access a resource and what rights (actions) they have when they do so.
This tutorial shows how to define two authorization policies that secure access to the patient roster. The policy details are provided in Table 5-1.
This policy will allow any user in the AdmissionsOperators group to view and edit the patient roster. Since Harry Hopkins is a member of this group, he will be able to manage the roster.
ParkerIdentities displays in the Identity Directories field. Then select AdmissionsOperators in the Available Subjects list and transfer it to the Selected Subjects list.
This policy will allow the HealthProviders role to view the patient roster.
| Tip: | Note that, by itself, authorization policy 2 does not allow any particular users, because as yet the HealthProviders roles is not assigned to any users or groups. In the next tutorial, this will be accomplished using a role policy. |
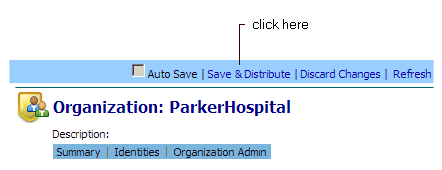
If autosave is not enabled, save your work as follows:
| Note: | In an actual deployment, you could select the Yes, save changes and distribute option to both save the role policy and distribute it to the SSM for immediate enforcement in the secured application. |
In this tutorial we defined two authorization policies that restrict access to the patient roster.


|