|
|
This topic introduces the trading partner integration tutorials and describes the setup steps required before starting the tutorials. It contains the following sections:
This document provides the following tutorials:
These are standalone tutorials. You can complete both tutorials, if you want, but you can also complete just the ebXML tutorial without the RosettaNet tutorial, and vice versa.
Before you begin using the trading partner integration tutorials:
tptutorial domain and install the tutorial files, as described in Setting Up the Tutorials.
Before you start using the trading partner integration tutorials, you need to complete the following steps:
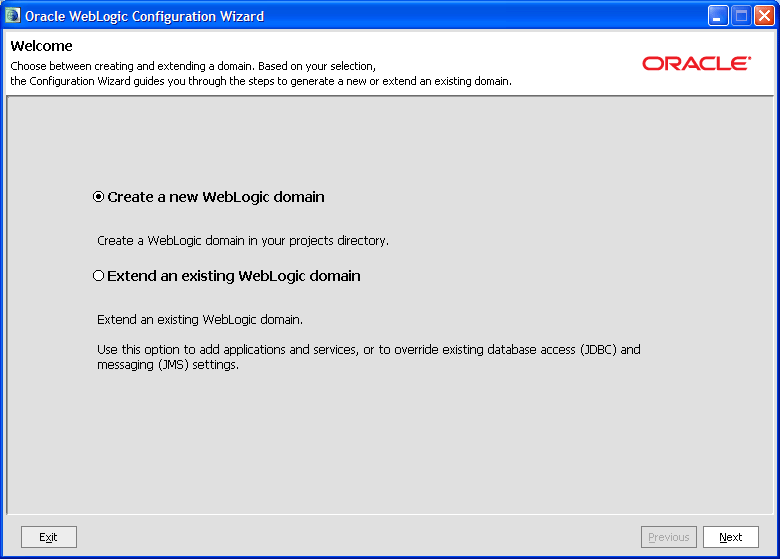
The trading partner integration tutorials require a Oracle WebLogic Integration domain that you must create using the Oracle WebLogic Configuration Wizard. The domain name used in this document is tptutorial, but you can use any valid domain name you want.
| Note: | You can also use an existing Oracle WebLogic Integration for these tutorials. However, creating a new, separate domain ensures that the required default trading partner configuration is available for use with the tutorials. |
To create a new Oracle WebLogic Integration domain:
As you proceed through the Oracle WebLogic Configuration Wizard, several pages will appear in a sequence. You need to specify your settings on each page and click Next to proceed to the subsequent page. Table 1-2 lists the pages and the options that you need to select to create the domain successfully.
| Note: | These instructions assume mostly default selections. For more information about advanced configuration options, see Creating WebLogic Domains Using the Configuration Wizard. |
When you create a new Oracle WebLogic Integration domain using the Oracle WebLogic Configuration Wizard, the Configuration Wizard automatically populates the Trading Partner Management (TPM) repository with default trading partners and protocol bindings. The trading partner integration tutorials use this default configuration. To learn more about the TPM repository, see Trading Partner Management in Using The Oracle WebLogic Integration Administration Console.
By default, Oracle WebLogic Integration runs in Test (development) mode, which allows you to use the default protocol bindings and to run business processes from separate trading partners on the same machine (collocated). In a production environment, each trading partner would run its respective business process on its own separate Oracle WebLogic Integration server, service profiles would need to be explicitly configured, both trading partners would need to be enabled, and the service profile would need to be enabled. For more information about the Test and Production modes, see “Configuring the Mode and Message Tracking” in Trading Partner Management in Using The Oracle WebLogic Integration Administration Console.
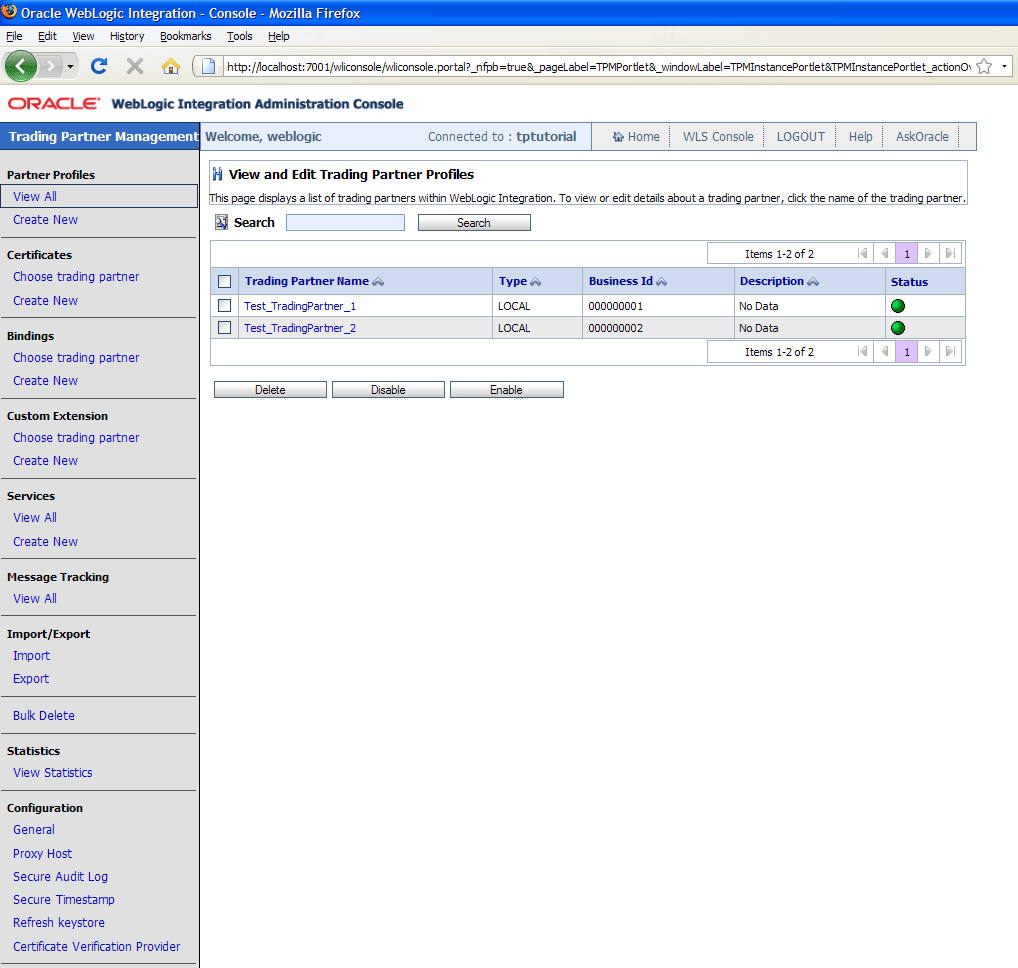
The Oracle WebLogic Integration domain provides two preconfigured trading partners for development and testing:
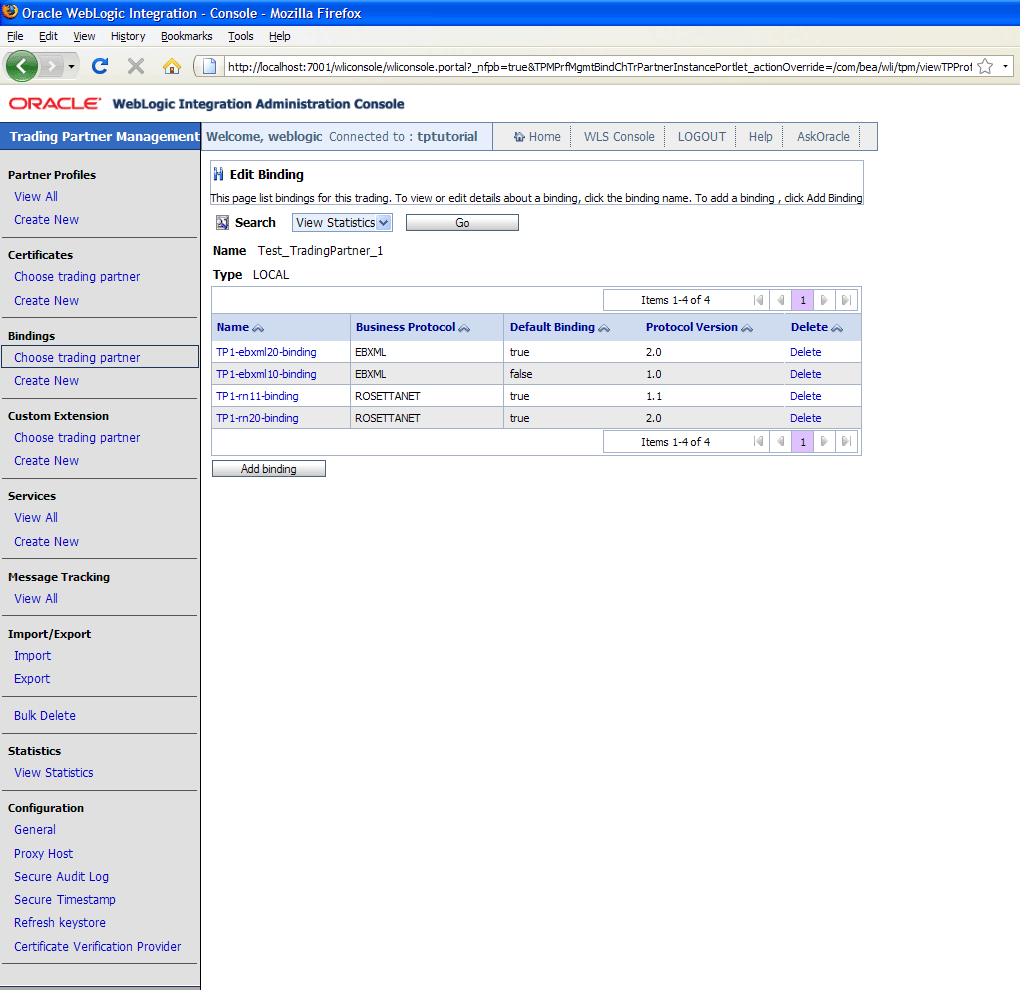
Each default trading partner comes with the following preconfigured protocol bindings:
Each protocol binding (except ebXML 1.0) is marked as default. At run-time, the default binding can be used automatically in the absence of specific protocol information.
You view and update the contents of the TPM repository using the Oracle WebLogic Integration Administration Console. If you want, you can use the Oracle WebLogic Integration Administration Console to browse the preconfigured settings in the TPM repository. The trading partner integration tutorials use the preconfigured settings, so no changes to the TPM repository are required unless otherwise stated in the tutorials.
| Note: | If you make any changes to the preconfigured settings in the TPM repository, you should adjust the instructions in the tutorials accordingly. For configuration instructions, see Trading Partner Management in Using The Oracle WebLogic Integration Administration Console. |
To view the default trading partner information:
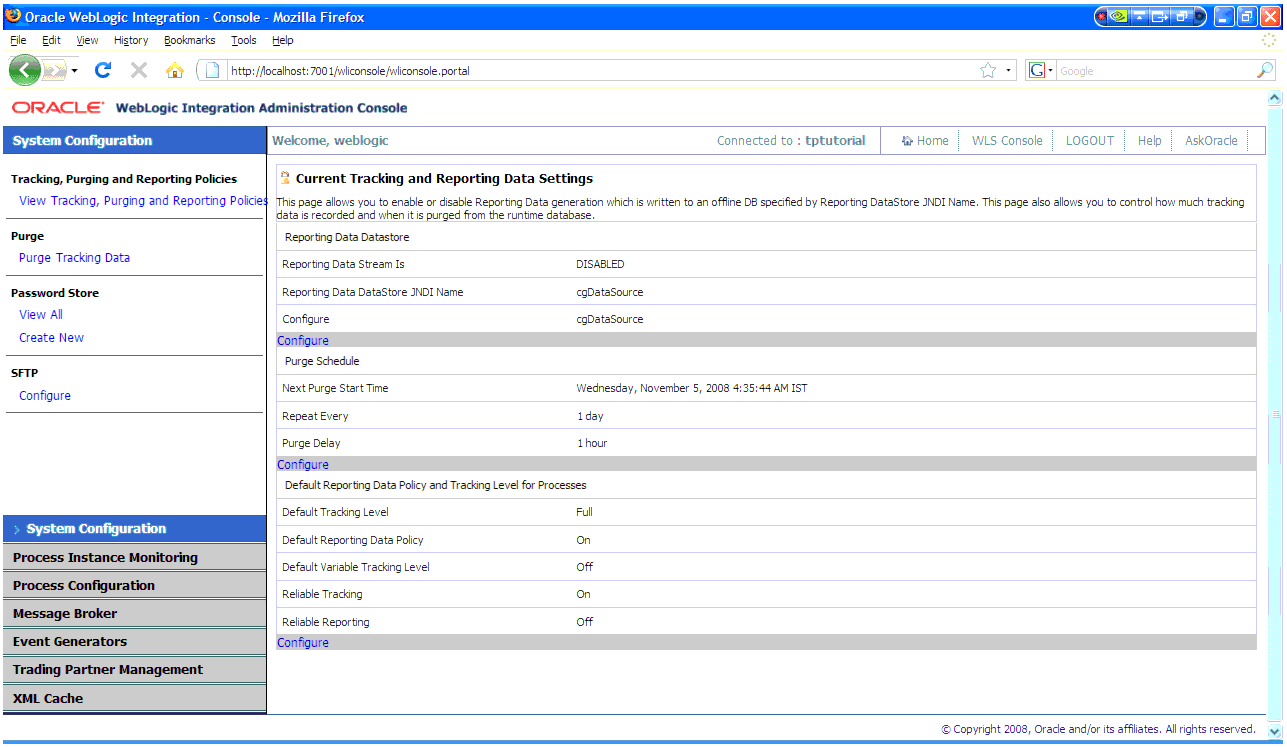
http://localhost:7001/wliconsole.The Oracle WebLogic Integration Administration Console displays the home page (see Figure 1-2).
| Note: | If you want more information about a particular screen in the Oracle WebLogic Integration Administration Console, click Help. |
Test_TradingPartner_1 name from the drop-down menu in the Choose Trading Partner page, and click Go button to see the preconfigured bindings for the default trading partner (see Figure 1-4).| Note: | By default, trading partner endpoints are configured to listen on localhost:7001. If you configured Oracle WebLogic Server to listen on a different port, adjust the trading partner binding information accordingly. |
The documentation and example files for the trading partner integration tutorials are distributed in an archive file (tptutorial.zip). This archive file contains the completed ebXML and RosettaNet applications used in the tutorials, as well as schema files and sample XML files.
To install the files for the trading partner integration tutorials:
tptutorial.zip file from the
Oracle WebLogic Integration web site. tptutorial.zip file (using folder names) to a local directory. The extracted files have the following directory structure:
After you have set up the tutorial domain and extracted the tutorial files, you can begin using the following tutorials:
Both tutorials use the same Oracle WebLogic Integration domain that you created in Setting Up the Tutorials. These are standalone tutorials. You can complete both tutorials, if you want, but you can also complete just the ebXML tutorial without the RosettaNet tutorial, and vice versa.


|