| Skip Navigation Links | |
| Exit Print View | |

|
Sun Fire X2270 M2 Server Installation Guide |
About This Documentation (PDF and HTML)
Download Server System Tools and Drivers
Sun Fire X2270 M2 Server Installation Guide
Installation Overview and Preparation
Safety and Compliance Information
External Features and Components
Installing the Server Into a Rack With Optional Slide Rails
Optional Slide Rail Compatibility
How to Disassemble the Slide Rails Before Installation
How to Install the Mounting Brackets on the Server
How to Install the Server Into the Slide Rail Assemblies
How to Verify the Operation of the Slide Rails
How to Remove the Server from the Rack
About Server Management Tool Options
Communicating With the ILOM and the System Console
Connecting Cables and Powering On to Standby-Power Mode
ILOM SP IP Address and the ILOM Interfaces
Connecting to the System Console
Setting Up Platform Operating System and Driver Software
Configuring the Factory--Installed Oracle Solaris 10 Operating System
The Oracle Solaris OS Installation Worksheet
Configuring the Factory-Installed Oracle Solaris 10 Operating System
Updating Supplemental Drivers and Firmware
Getting Started on the Oracle Solaris OS
Powering On and Powering Off the Server
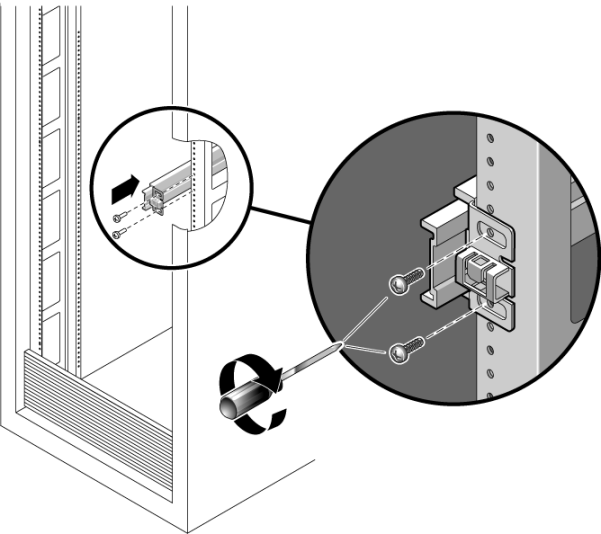
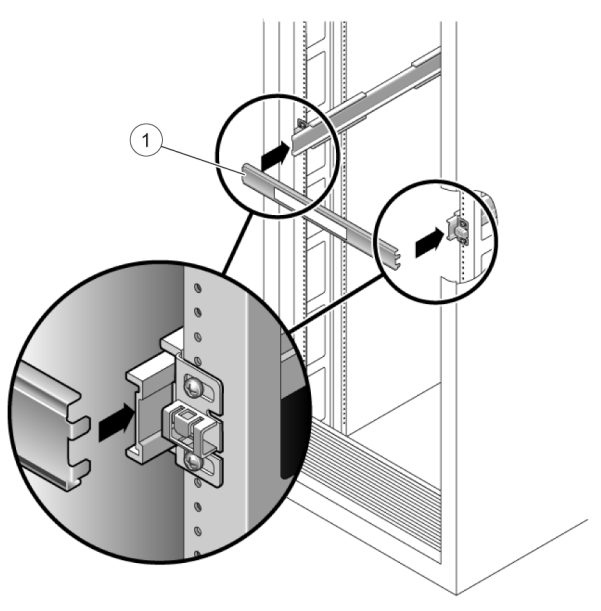
Use this procedure to install the slide rail assemblies in the rack.

The method used to attach the slide rails varies, depending on the type of rack:
If your rack has threaded mounting holes in the rack posts, first determine whether the threads are metric or standard, then insert the correct mounting screws through the slide rail brackets and into the threaded holes.
If your rack does not have threaded mounting holes, insert the mounting screws through both the slide rail brackets and rack posts, then secure them with the caged nuts.
Use the slotted screw holes to provide equal space on both sides.


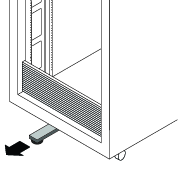
 | Caution - If your rack does not have an anti tilt bar, there is some danger of the rack tipping. |
Next Steps