How to Change the Label of a Workspace
The ability to set workspace labels in Trusted Extensions provides a convenient means of working at different labels within the same multilevel session.
Use this procedure to work in the same workspace at a different label. To create a workspace at a different label, see How to Add a Workspace at Your Minimum Label.
Before You Begin
You must be logged in to a multilevel session.
- Click the window label in the trusted stripe.
You can also click a workspace panel.
- Click Change Workspace Label.

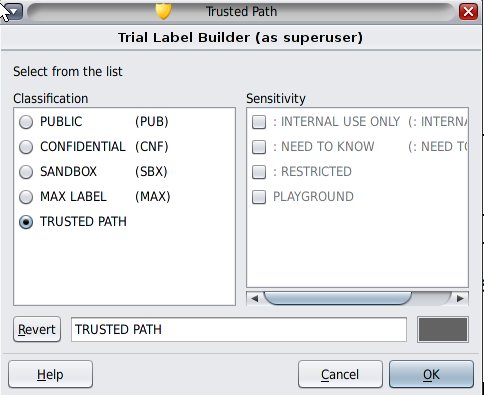
- Choose a label from the label builder.
The following illustration shows the user clicking the Trusted Path button.

After clicking this button, the user can select from the user labels. The workspace label is changed to the new label. On a system where labels are color-coded, new windows are marked with the new color.
- If you are prompted for your password, provide it.
If your site is running a separate naming service per zone, users are prompted for a password when entering a workspace at a new label.