This chapter describes Oracle eMail Server installation and configuration procedures for new installations and upgrades.
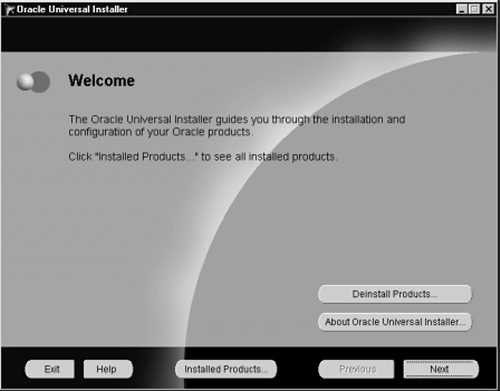
This table provides information about Oracle Universal Installer buttons.
- At the Welcome screen, click Next. The File Locations screen displays.
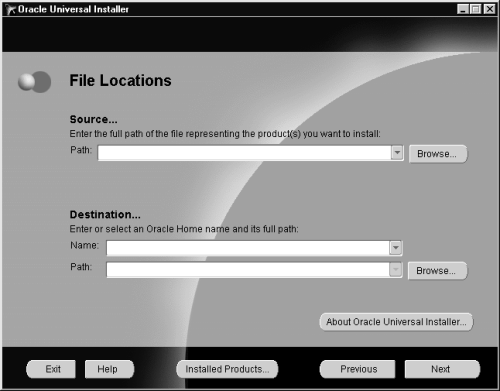
Figure 2-2 OUI File Locations Screen
Text description of the illustration oui2.gif
Enter the locations of the source and destination. The source is where the Oracle eMail Server stage is located (for example, the CD-ROM drive). The destination is the name assigned to the location of the database and its full path. This is where Oracle eMail Server is to be installed.
- Enter the full path or use the Browse button to select the source and destination directories for the installation.
- Click Next. The Available Products screen appears.
Task 3: Selecting Available Products
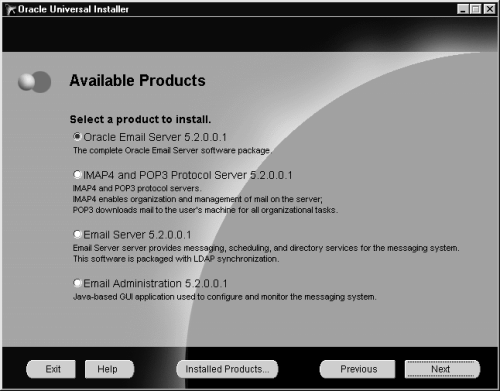
Figure 2-3 OUI Available Products Screen
Text description of the illustration oui3.gif
The Available Products screen lists the Oracle eMail Server products to install, as described in the following table:
Select the product to install and click Next. The Summary screen displays.
Task 4: Verifying Installation Settings
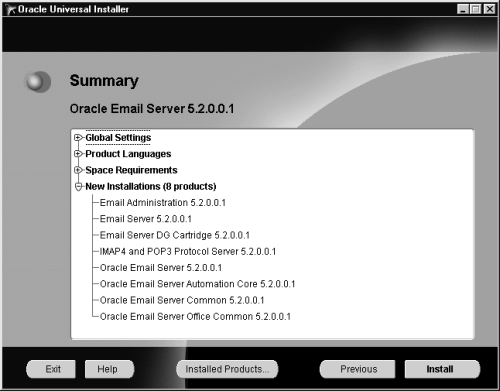
Figure 2-4 OUI Summary Screen
Text description of the illustration oui4.gif
The Summary screen verifies the installation settings. The settings include the specified source and destination locations; the selected installation type; the product language; the space requirement for installation and the space currently available; and the Oracle eMail Server products that will be installed.
To change the source or destination location, or installation type, click Previous to return to the appropriate screen.
Click Install to start the installation. The Install screen appears.
The Install screen shows the installation progress. To stop the installation, click Cancel.
Task 5: Completing the Installation
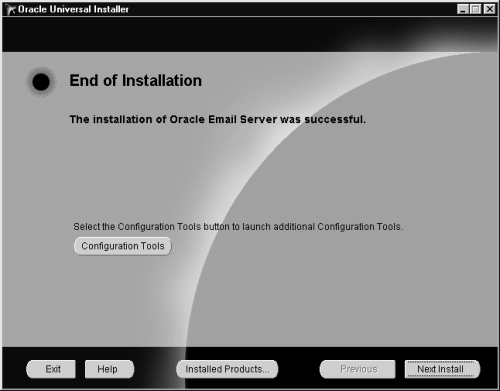
The products are installed in the specified location. When installation is complete, the End of Installation screen appears.
Figure 2-5 OUI End of Installation Screen
Text description of the illustration oui5.gif
Once installation is complete, click the Configuration Tools button and select Setup Wizard to begin configuration. Otherwise, click Exit.
Configuring Oracle eMail Server
This section contains the following tasks:
Task 1: Starting the Configuration Assistant
The Configuration Assistant is designed to aid in configuring Oracle eMail Server and can be launched automatically or manually.
Starting the Configuration Assistant Automatically
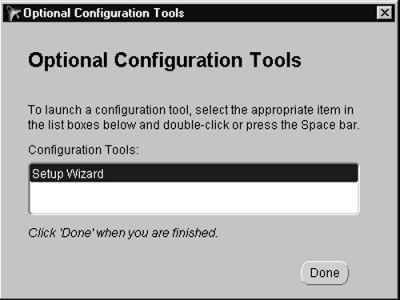
- From the End of Installation screen, select the Configuration Tools button to display the Optional Configuration Tools screen.
Figure 2-6 Optional Configuration Tools Screen
Text description of the illustration opcon1.gif
- Double click Setup Wizard in the Configuration Tools field to display the Configuration Assistant screen.
Starting the Configuration Assistant Manually
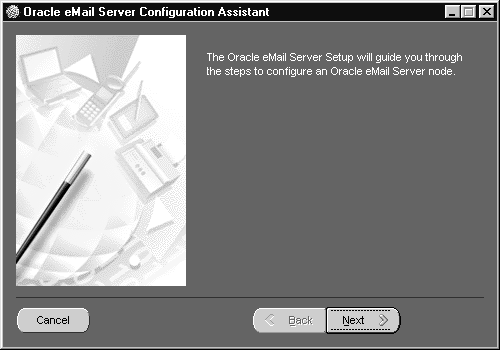
Choose Start > Programs > Oracle-HOME_NAME > Oracle eMail Server > Oracle eMail Server Setup Wizard. The setup Wizard launches and the Welcome screen appears.
Figure 2-7 Configuration Assistant Welcome Screen
Text description of the illustration configas.gif
Configuration Assistant Screen Buttons
This table provides information about the Configuration Assistant screen buttons.
Click Next. The Configuration Type Menu screen displays.
Task 2: Selecting the Configuration Type
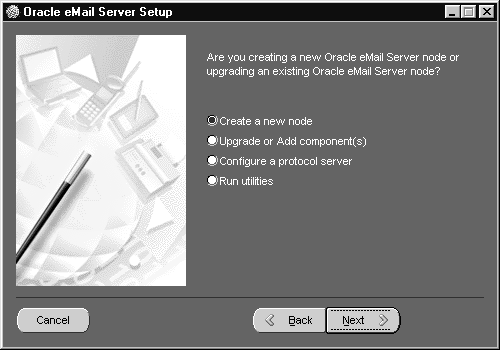
The Configuration Type screen allows the user to select the appropriate configuration for installation. The table below Figure 2-8 summarizes the different configuration types.
Figure 2-8 Configuration Type Screen
Text description of the illustration contype.gif
Select the appropriate configuration type and click Next.
Task 3: Creating a New Node
Instructions in this procedure describe:
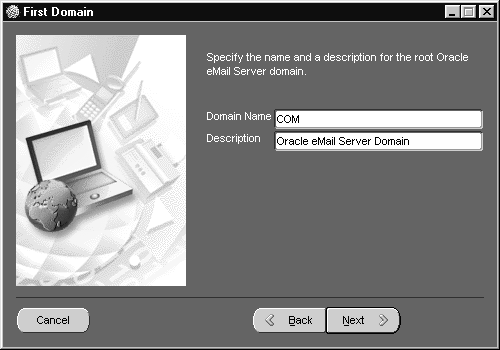
If you selected Create a new node from the Configuration Type screen the First Domain screen displays.
Figure 2-9 First Domain Screen
Text description of the illustration firdom.gif
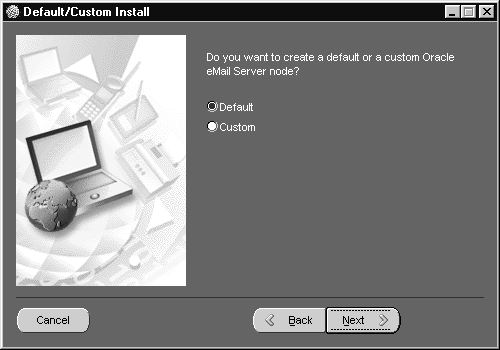
To install a new eMail Server, enter a domain name such as com, gov, org, or edu, and a domain description, and click Next. The Default/Custom Install screen displays.
Note:
The domain name and description shown in Figure 2-9 of COM and Oracle eMail Server Domain, respectively, are default values.
|
Note:
Write down the domain name you choose, because you will need it later.
|
Figure 2-10 Default/Custom Install Screen
Text description of the illustration decust.gif
Configuring a Default Node
To configure a Default Node, select Default in the Default/Custom Install screen, and click Next. Proceed to "Task 11: Completing the Configuration".
Configuring a Custom Node
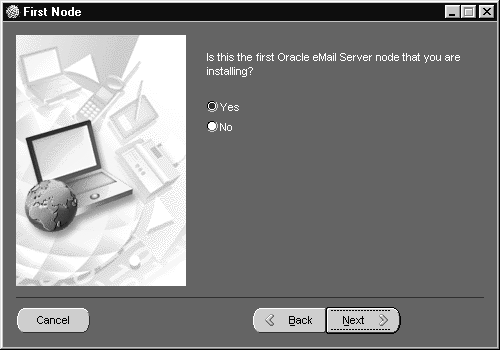
To configure a custom node, select Custom in the Default/Custom Install screen and click Next. The First Node screen displays.
Figure 2-11 First Node Screen
Text description of the illustration firnode.gif
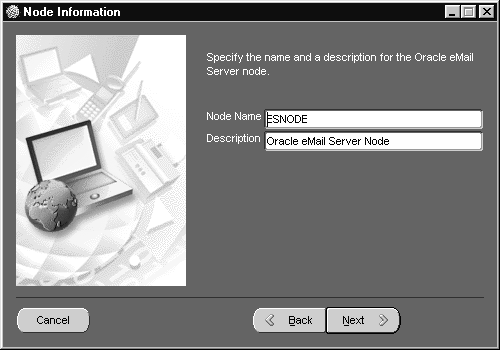
- If this is the first eMail Server node you are installing, select Yes and click Next. The Node Information screen displays.
- If this is not the first eMail Server node you are installing, select No and click Next.
See "Installing Additional Oracle eMail Server Nodes" to continue.
Figure 2-12 Node Information Screen
Text description of the illustration nodeinf.gif
- At the Node Information screen, the default value of the Node Name is ESNODE and the default value of Description is Oracle eMail Server Node. To change the default values, enter a Node Name and a Description, and click Next. The First Community screen displays.
Note:
If you change the node name and description, be sure to note the node name in order to enter it later. You can change the values of these two fields, and the values of subsequent fields, at any time.
|
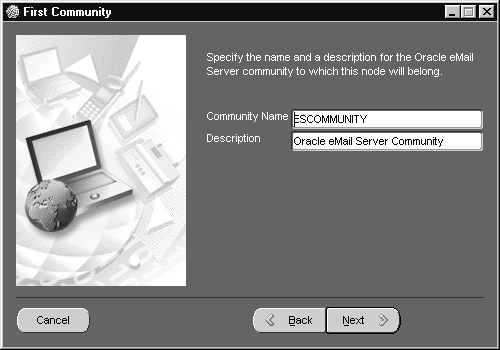
Figure 2-13 First Community Screen
Text description of the illustration fircomm.gif
- At the First Community screen, enter the community name and the description and click Next. The TNS Connection screen displays.
Note:
If you choose not to use the default Community Name and Description, note your choices because you will need that information later.
|
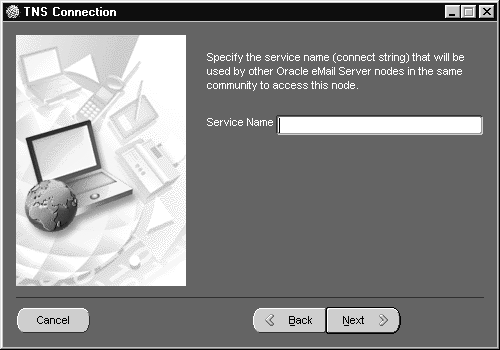
Figure 2-14 TNS Connection Screen
Text description of the illustration tnscon.gif
- At the TNS Connection screen, specify the service name or connect string in the Service Name field. This connect string will be used by other eMail Server nodes in the same community to access this node. Click Next. The Time Zone screen displays.
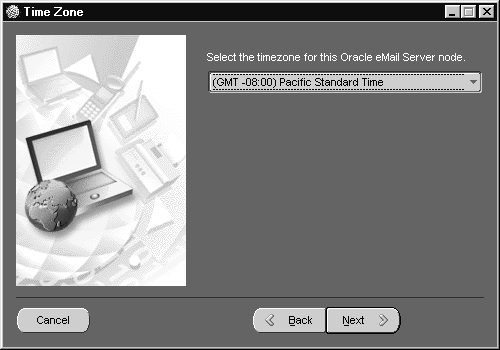
Figure 2-15 Time Zone Screen
Text description of the illustration timez.gif
- At the Time Zone screen, select the local time zone from the dropdown list and click Next. The Admin User screen displays.
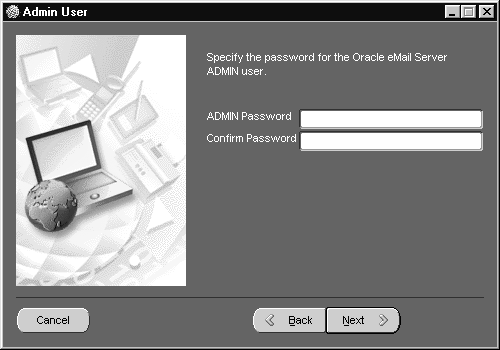
Figure 2-16 Admin User Screen
Text description of the illustration aduser.gif
Note:
Note the password you choose for the following steps.
|
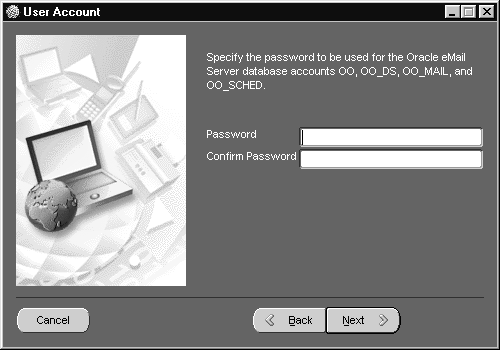
- At the Admin User screen choose and confirm the administrator password and click Next. The User Account screen displays.
Figure 2-17 User Account Screen
Text description of the illustration usacc.gif
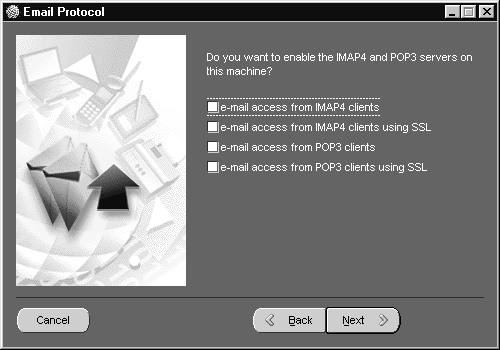
- At the User Account screen, choose and confirm an Oracle eMail Server database password and click Next. The Email Protocol screen displays.
Figure 2-18 Email Protocol Screen
Text description of the illustration eproto.gif
- Proceed to "Task 8: Enabling the IMAP4 and POP3 Servers".
Installing Additional Oracle eMail Server Nodes
Note:
Additional eMail Server nodes must be installed on a different database, with a different ORACLE_HOME, from the initial installation.
|
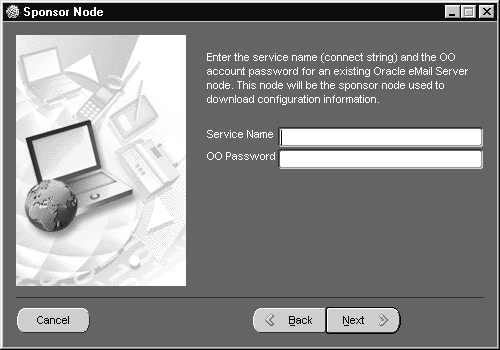
- At the First Node screen (see Figure 2-11), if this is not the first eMail Server node you are installing, select No and click Next. The Sponsor Node screen displays.
Figure 2-19 Sponsor Node
Text description of the illustration sponode.gif
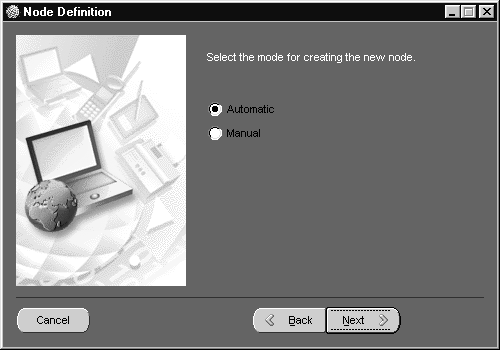
- Enter the service name and OO password and click Next. The Node Definition screen displays.
Figure 2-20 Node Definition Screen
Text description of the illustration nodedef.gif
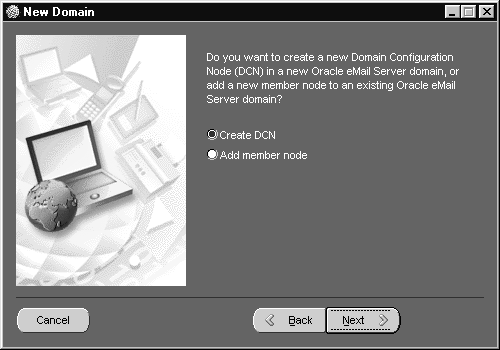
- At the Node Definition screen, select the mode of definition for creating the new Node and click Next. The New Domain screen displays.
Figure 2-21 New Domain Screen
Text description of the illustration newdom.gif
- At the New Domain Screen, choose one of the following:
Creating a New Domain Configuration Node
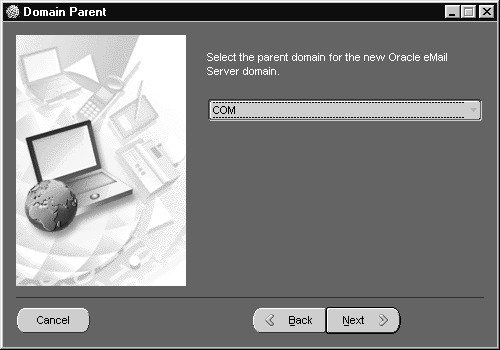
To create a domain configuration node (DCN), select Create DCN from the New Domain screen (see Figure 2-21) and click Next. The Domain Parent screen displays.
Figure 2-22 Domain Parent Screen
Text description of the illustration dompar.gif
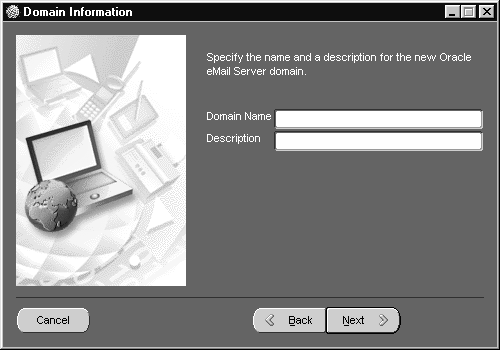
- Click the dropdown list, select the parent domain, and click Next. The Domain Information screen displays.
Figure 2-23 Domain Information Screen
Text description of the illustration dominf.gif
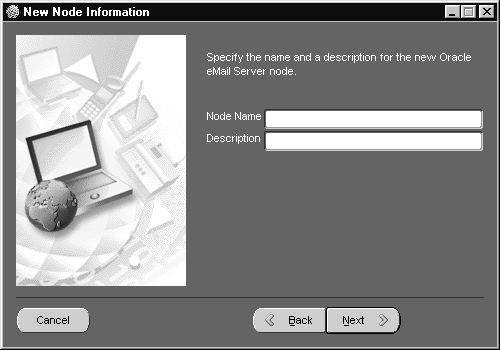
- At the Domain Information screen, enter the domain name and description and click Next. The New Node Information screen displays.
Figure 2-24 New Node Information Screen
Text description of the illustration nenoinf.gif
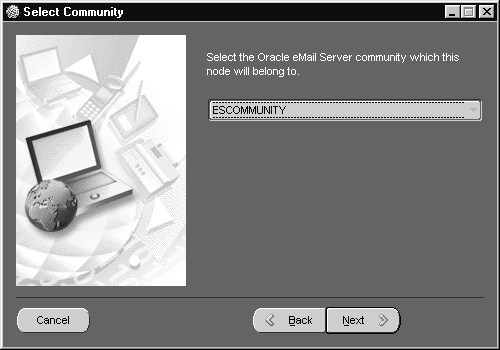
- At the New Node Information screen, enter the node name and description and click Next. The Select Community screen displays.
Figure 2-25 Select Community Screen
Text description of the illustration selcomm.gif
- At the Select Community screen, select the Oracle eMail Server community of the node from the dropdown list and click Next. The TNS Connection screen displays (see Figure 2-14).
- In the Service Name field of the TNS Connection screen, enter the service name and click Next. The Time Zone screen displays (see Figure 2-15).
- At the Time Zone screen, select the local time zone from the dropdown list and click Next. The Admin User screen displays (see Figure 2-16).
- At the Admin User screen choose and confirm an administrator password and click Next. The User Account screen displays. (see Figure 2-17).
- At the User Account screen, choose and confirm an Oracle eMail Server database password and click Next. The Email Protocol screen displays.
- Proceed to "Task 8: Enabling the IMAP4 and POP3 Servers".
Adding a Member Node
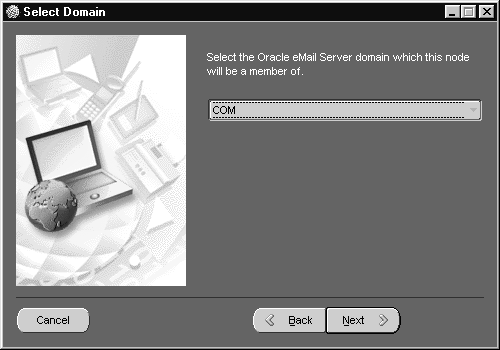
To add a member node to an existing Oracle eMail Server domain, select Add member node form the New Domain screen (see Figure 2-21) and click Next. The Select Domain screen displays.
Figure 2-26 Select Domain Screen
Text description of the illustration seldom.gif
- At the Select Domain screen, click on the dropdown list, select the parent domain, and click Next. The New Node Information screen displays (see Figure 2-24).
- At the New Node Information screen, enter the domain name and the domain description and click Next. The Select Community screen displays (see Figure 2-25).
- At the Select Community screen, select the Oracle eMail Server community of the node from the dropdown list and click Next. The TNS Connection screen displays (see Figure 2-14).
- In the Service Name field of the TNS Connection screen, enter the service name and click Next. The Time Zone screen displays (see Figure 2-15).
- At the Time Zone screen, select the local time zone from the dropdown list and click Next. The Admin User screen displays (see Figure 2-16).
- At the Admin User screen choose and confirm an administrator password and click Next. The User Account screen displays. (see Figure 2-17).
- At the User Account screen, choose and confirm an Oracle eMail Server database password and click Next. The Email Protocol screen displays.
- Proceed to "Task 8: Enabling the IMAP4 and POP3 Servers".
Task 4: Upgrading an Existing eMail Server Node
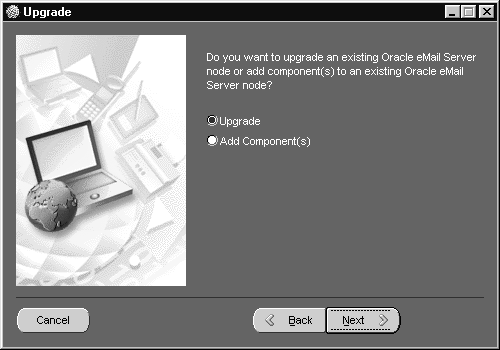
If you select Upgrad or Add Component(s) option in the Configuration Type screen (see Figure 2-8), the Upgrade screen displays.
Figure 2-27 Upgrade Screen
Text description of the illustration upgr.gif
- If the current eMail Server installation does not use default tablespace names for eMail Server objects, create default tablespaces before starting the upgrade.
To create default tablespaces, use SQL*Plus as the SYS user and run the deftblspc.sql script located in the
ORACLE_HOME\office\admin\rsql directory:
C:\>cd ORACLE_HOME\office\admin\rsql
C:\>sqlplus SYS/SYS_password
SQL> @deftblspc.sql
- From the Upgrade screen, select Upgrade and click Next. The Existing Node screen displays.
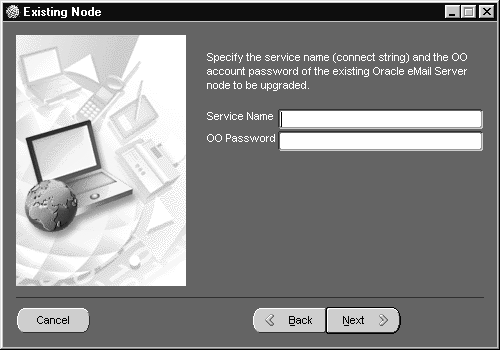
Figure 2-28 Existing Node Screen
Text description of the illustration exnode.gif
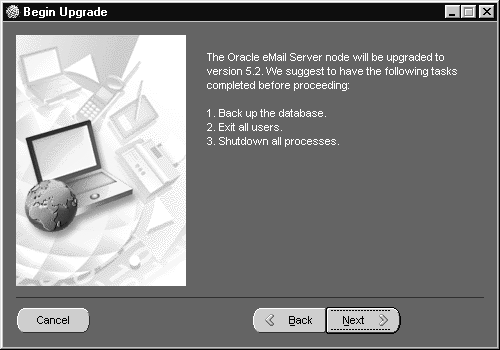
- At the Existing Node screen enter the service name and OO password and click Next. The Begin Upgrade screen displays.
Figure 2-29 Begin Upgrade Screen
Text description of the illustration begup.gif
- Complete the steps listed and click Next. The DCN Version screen displays.
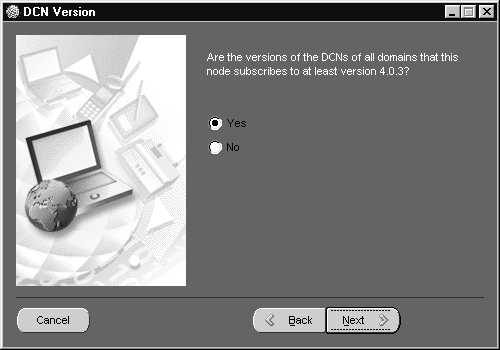
Figure 2-30 DCN Version Screen
Text description of the illustration dcnver.gif
- If the DCN version is 4.03 or greater, select Yes and click Next. Otherwise, select No and click Next (in either case, the following steps and screen displays are the same). The CTXSYS User screen displays.
- To determine the DCN version, enter:
C:\>oomgr
The computer returns the following:
Oracle eMail Server Manager: Release #
The Release # is the DCN version.
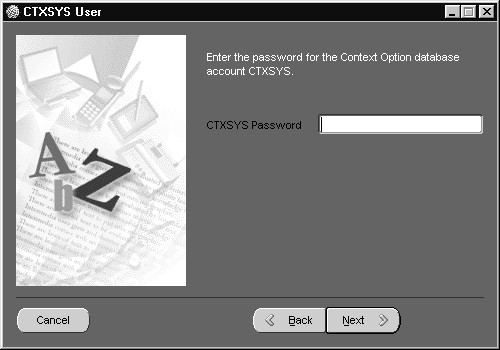
Figure 2-31 CTXSYS User Screen
Text description of the illustration ctxuser.gif
Note:
If you installed Oracle interMedia prior to installing eMail Server, enter in your CTXSYS password as instructed in Step 6. If you did not install Oracle interMedia prior to eMail Server, the Configuration Assistant skips the CTXSYS User screen.
|
- At the CTXSYS User screen, enter in the CTXSYS password (the default password is
CTXSYS) and click Next. The Begin Setup screen displays.
- At the Begin Setup screen, click Next to begin configuration, or click Cancel to exit the Configuration Assistant.
- After the setup wizard is finished, copy the configuration files from
ORACLE_HOME\office\admin to ORACLE_HOME \office\config\SID.
Task 5: Adding Components to an Existing Node
If you selected Upgrade or Add Component(s) from the Configuration Type screen (see Figure 2-8), the Upgrade screen (see Figure 2-27) displays.
- Select Add Component(s) and click Next. The Existing Node screen displays (see Figure 2-28).
- At the Existing Node screen, enter the service name and OO password and click Next. The Email Protocol screen (see Figure 2-18) displays.
- Proceed to "Task 8: Enabling the IMAP4 and POP3 Servers" to complete this procedure.
Task 6: Configuring a Protocol Server
This section describes the procedure for configuring a protocol server.
If you selected Configure a protocol server from the Configuration Type screen (see Figure 2-8), the Existing Node screen displays (see Figure 2-28).
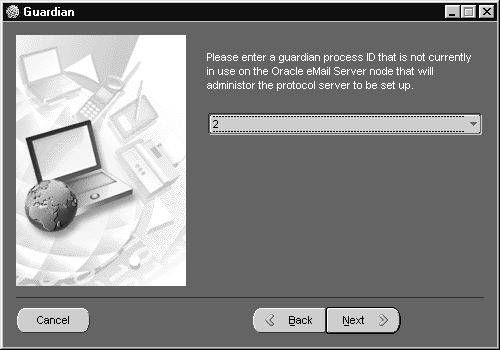
- At the Existing Node screen, enter the service name and OO password and click Next. The Guardian screen displays.
Figure 2-32 Guardian Screen
Text description of the illustration guard.gif
- From the dropdown menu, select a guardian process ID that is not being used by the eMail Server node, and click Next. The Email Protocol screen appears (see Figure 2-18).
- Proceed to "Task 8: Enabling the IMAP4 and POP3 Servers" to complete this procedure.
Task 7: Running Utilities
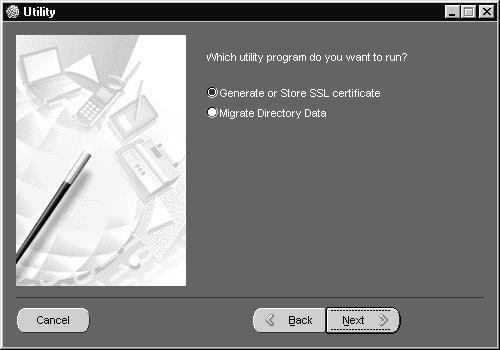
If you selected Run utilities from the Configuration Type screen (see Figure 2-8), the Utility screen displays.
Figure 2-33 Utility Screen
Text description of the illustration utilssl.gif
This section describes the procedures to perform the following functions:
Generating an SSL Certificate
- At the Utility screen, select Generate or Store SSL certificate and click Next. The Generate SSL screen displays.
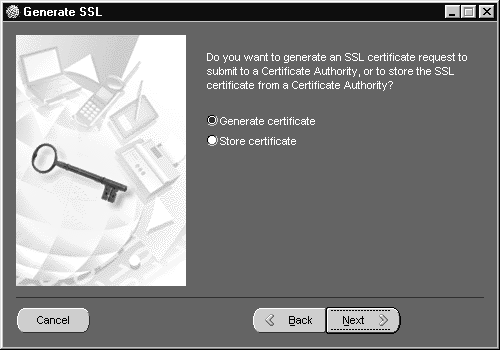
Figure 2-34 Generate SSL Screen
Text description of the illustration genssl.gif
- Select Generate certificate and click Next. The Certify SSL screen displays.
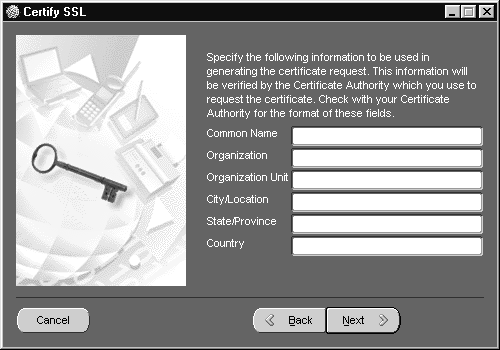
Figure 2-35 Certify SSL Screen
Text description of the illustration certssl.gif
- Enter the Common Name, Organization, Organization Unit, City/Location, State/Province, and Country. See the table below for more information. Click Next to display the SSL Contact screen.
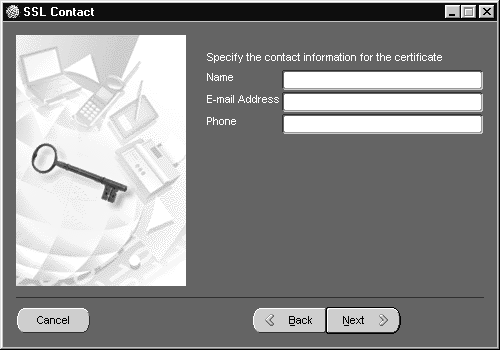
Figure 2-36 SSL Contact Screen
Text description of the illustration sslcont.gif
- Enter the contact information for the certificate and click Next. The SSL Password screen displays.
Figure 2-37 SSL Password Screen
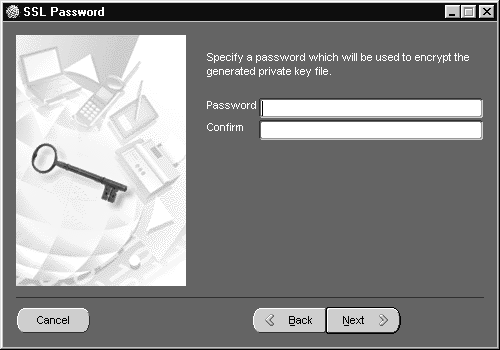
Text description of the illustration sslpass.gif
- Choose and confirm an SSL password and click Next. The SSL Processing screen displays.
- At the SSL Processing screen, click Next to complete the process and generate a certificate.
Storing an SSL Certificate
Use the following procedure to store an SSL certificate.
- At the Utility screen, select Generate or Store SSL certificate and click Next. The Generate SSL screen (see Figure 2-34).
- At the Generate SSL screen, select Store certificate and click Next. The SSL Admin screen displays.
Figure 2-38 SSL Admin Screen
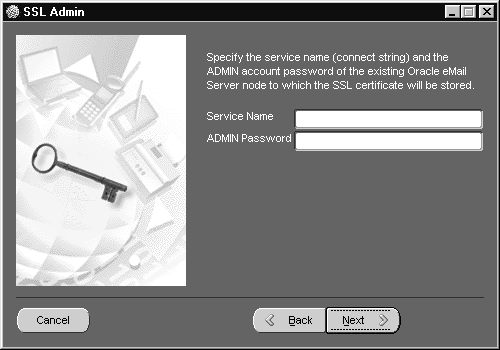
Text description of the illustration ssladm.gif
- At the SSL Admin screen, enter the service name and administrator password and click Next. The SSL/Protocol screen displays.
Figure 2-39 SSL/Protocol Screen
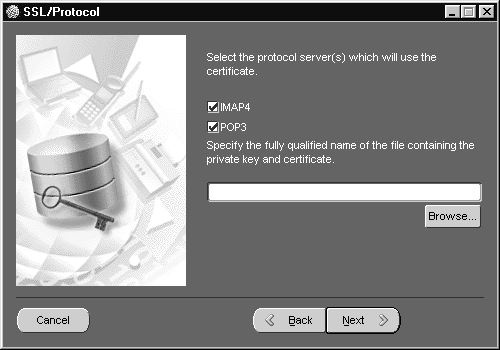
Text description of the illustration sslprot.gif
- At the SSL/Protocol screen, select the protocol server or servers that will be using the SSL certificate. You can select one or both protocol servers. Enter the file location of the private key and certificate. Click Browse to choose a location other than the default.
- Click Next. The Password Specification screen displays.
- At the Password Specification screen, enter the password you want to use to encrypt and decrypt the private key.
- In the Confirm field of the Password Specification screen, enter the password again to confirm the password and click Next. The Generate Certificate Request screen displays.
- Click Next to generate the certificate, or click Cancel to exit the Configuration Assistant.
Migrating Directory Data
Use the following procedure to migrate directory data.
- At the Utility screen (see Figure 2-33), select Migrate Directory Data and click Next. The Existing Node screen displays (see Figure 2-28).
- At the Existing Node screen, enter the service name and OO Password and click Next. The Migration screen displays.
Figure 2-40 Migration Screen
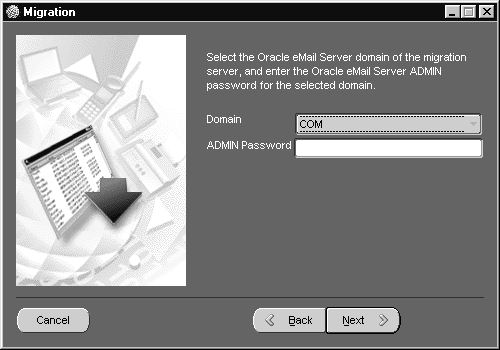
Text description of the illustration migrat.gif
- Select the domain from the dropdown list, enter the admin password, and click Next. The LDAP Migration screen displays.
- Click Next to start directory data migration, or click Cancel to exit the Configuration Assistant.
Task 8: Enabling the IMAP4 and POP3 Servers
Use the following procedure to enable IMAP and/or POP3 servers.
- At the eMail Protocol screen (see Figure 2-18), select the IMAP4 and POP3 servers to enable and click Next (you can select more than one option). The SMTP Gateway screen displays.
Figure 2-41 SMTP Gateway Screen
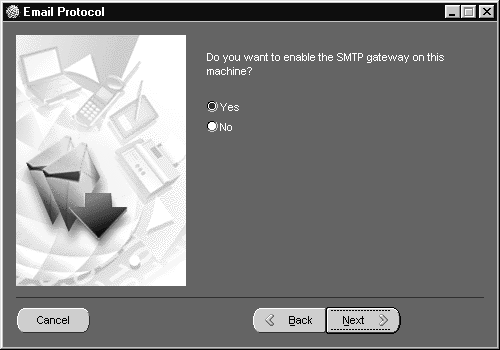
Text description of the illustration smtpgat.gif
- Select Yes and click Next. Proceed to "Task 9: Enabling the SMTP Gateway".
Task 9: Enabling the SMTP Gateway
Use the following procedure to enable SMTP.
- At the SMTP Gateway screen, select Yes and click Next. The Gateway screen displays.
Figure 2-42 Gateway Screen
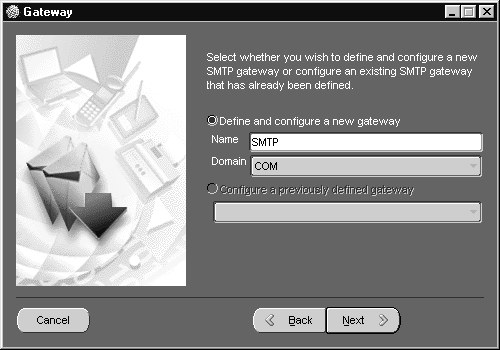
Text description of the illustration gate.gif
- At the Gateway screen, select Define and configure a new gateway or Configure a previously defined gateway, and click Next. The SMTP Information screen displays.
Figure 2-43 SMTP Information Screen
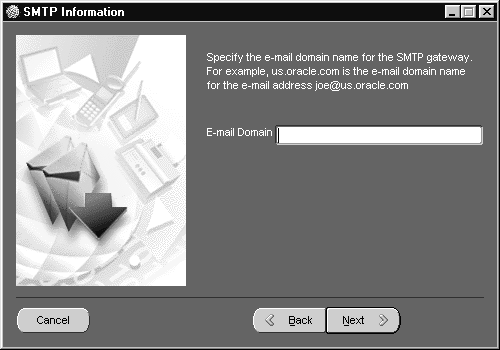
Text description of the illustration smtpinf.gif
- At the SMTP Information screen, enter the e-mail domain for the SMTP gateway and click Next. The LDAP screen displays.
Figure 2-44 LDAP Screen
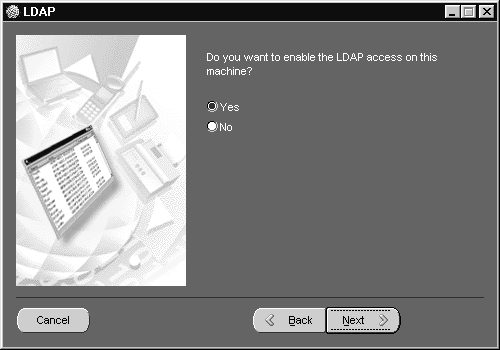
Text description of the illustration ntldap.gif
- If you do not want to enable LDAP, select No and click Next. Go to "Task 11: Completing the Configuration".
Task 10: Enabling LDAP
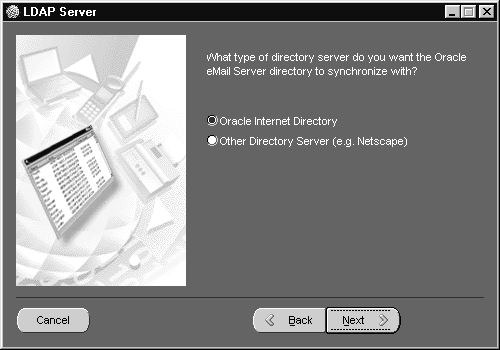
- To enable LDAP, at the LDAP screen, select Yes and click Next. The LDAP Server screen displays.
Figure 2-45 LDAP Server Screen
Text description of the illustration ldapsrv.gif
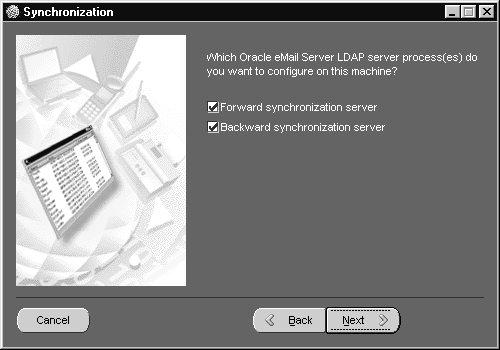
- At the LDAP Server screen, select the directory server to synchronize with the eMail Server directory and click Next. The Synchronization screen displays.
Figure 2-46 Synchronization Screen
Text description of the illustration synchro.gif
- At the Synchronization screen, select the server process or processes to configure. You can select either or both. See the table below for more information.
- Make a selection and click Next.
Forward Synchronization Parameters
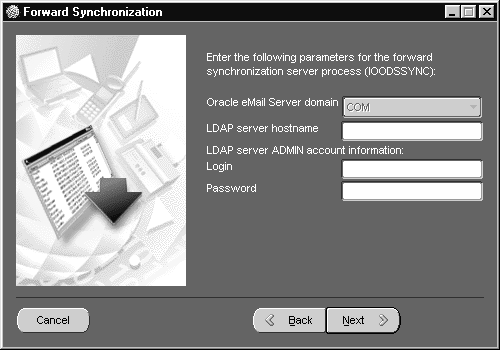
- From the Synchronization screen, select Forward synchronization server (or both Forward and Backward synchronization server) and click Next. The Forward Synchronization screen displays.
Figure 2-47 Forward Synchronization Screen
Text description of the illustration forwsyn.gif
- Enter the LDAP server hostname and the LDAP server ADMIN account login and password, and click Next.
Backward Synchronization Parameters
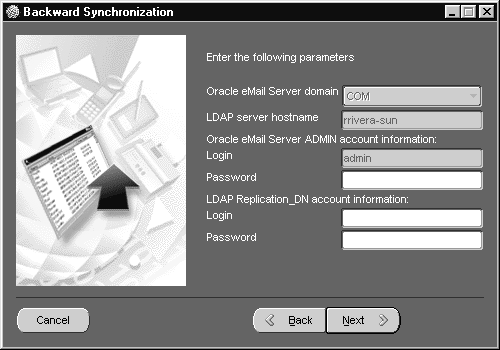
From the Synchronization screen, select Backward synchronization server (or both Forward and Backward synchronization server) and click Next. The Backward Synchronization screen displays.
Figure 2-48 Backward Synchronization Screen
Text description of the illustration backsyn.gif
- Enter the eMail Server Admin account login and password and the LDAP Replication_DN account login and password, and click Next. The Database screen displays.
Figure 2-49 Database Screen
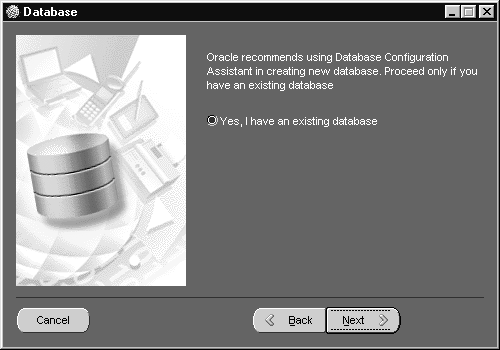
Text description of the illustration exdbase.gif
- Click Next. The Database Connection screen appears.
Figure 2-50 Database Connection Screen
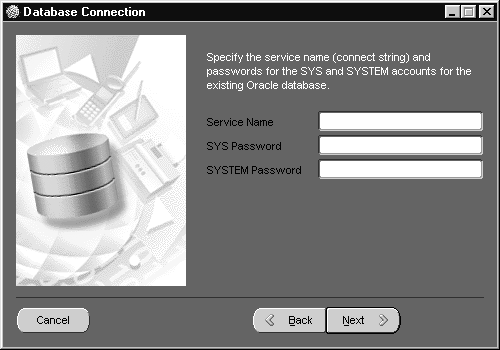
Text description of the illustration dbcon.gif
- At the Database Connection screen, enter the service name, SYS password, and SYSTEM password, and click Next. The CTXSYS User screen displays (see Figure 2-31).
- At the CTXSYS User screen, enter the CTXSYS password (the default CTXSYS Password is
CTXSYS) and click Next. The Begin Setup screen displays. Click Next to complete the configuration.
Task 11: Completing the Configuration
Use the following procedure to complete configuration of the Oracle eMail Server system.
- At the Database screen (see Figure 2-49), click Next. The Database Connection screen displays (see Figure 2-50).
- At the Database Connection screen, enter the service name, SYS password, and SYSTEM password, and click Next. The CTXSYS User screen (see Figure 2-31) displays.
- At the CTXSYS User screen, type in the CTXSYS password (the default password is
CTXSYS) and click Next. The Begin Setup screen displays.
- Click Next to start the configuration, or click Cancel to exit the Configuration Assistant.
