| Oracle® Retail Demand Forecasting User Guide for the RPAS Fusion Client Release 16.0 E91109-03 |
|

 Previous |
 Next |
| Oracle® Retail Demand Forecasting User Guide for the RPAS Fusion Client Release 16.0 E91109-03 |
|
Previous |
Next |
Curve is an optional automated predictive solution that can generate ratio arrays from historical data at user-specified intersections. The profiles generated by Curve can be used for various purposes; for example, to convert the organization-level assortment plans into base-level weekly sales forecasts and to generate seasonal forecasts, daily forecasts, or new product forecasts using lifecycle profiles.
Curve meets the need of operational systems (such as Oracle Retail Demand Forecasting (RDF) and Oracle Retail Merchandising System (RMS)) to have sales unit predictions at a more detailed level than those provided by planning programs. The planning process attempts to establish the correct balance between different products in order to maximize sales opportunities in the available sales space. The planning process is supported by the generation of an assortment plan, which provides details of your anticipated sales volumes and stock requirements at aggregated levels. However, operational systems like RDF require data to be at the lowest level of execution (that is, item/store/week or item/store/day) because these systems are responsible for ensuring that the right quantity of each product is in the right store at the right time.
In the most basic sense, a profile represents the ratio of an aggregate dimension to the dimension for execution. For example, you may have a forecast generated at the item/store/week level, but for execution purposes the data must be spread down to the item/store/day level. It is the point of aggregation (source-level) and the desired destination intersection (final profile) that are the unique identifiers of each profile. Using this example, the point of aggregation of the data (where the data equals 100%) is item/store/week, and the desired destination intersection (where all data ratios sum to 100%) is item/store/day.
There are several parameters within RDF that may take a Curve-generated profile as an input. These are: Causal Aggregation Profile, Causal Spread Profile, Seasonal Profile, and Spreading Profile. The most common input from Curve that is used in RDF is the Spreading Profile. This profile can be manually generated and approved by you. It can also be dynamically generated as part of the RDF batch forecast process when the Curve solution is not necessary. For more information on the different profile parameters in RDF, refer to the section, "Measures: Causal Parameters View - Advanced Settings - Final Level".
The Curve tasks and wizards allow you to manage the promotion events used in the system's promotional forecasting processes and view/edit the system's analysis of the effects of these events on demand.
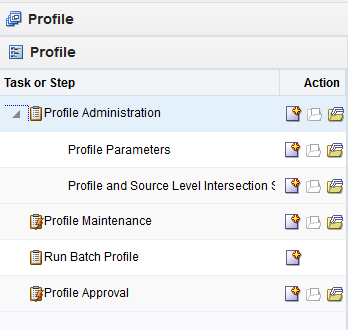
The Curve tasks include:
| Task Workbooks | Description |
|---|---|
| Profile Administration Task |
Allows you to set default parameters for profile generation, which is the first step in profile generation. |
| Profile Approval Task |
Allows you to view, analyze, revise, and approve generated profiles at historic levels. |
| Profile Maintenance Task |
Allows you to set values for any subset of positions in Profile Administration. |
| Run Batch Profile Task |
Allows you to generate batch profiles for all hierarchy positions set in the Profile Intersection. |
The Profile Administration Task allows you to set default parameters for profile generation, which is the first step in profile generation. These parameters are typically set during system implementation and are configured based on your business practices and needs. This configuration can be updated if you need to change certain parameters over time. However, it is not practical to change the configuration on a regular basis. The Profile Administration Task gives you the flexibility to change profiling parameters as the need arises to improve both forecasting accuracy and computational efficiency.
To build the Profile Administration workbook, perform these steps:
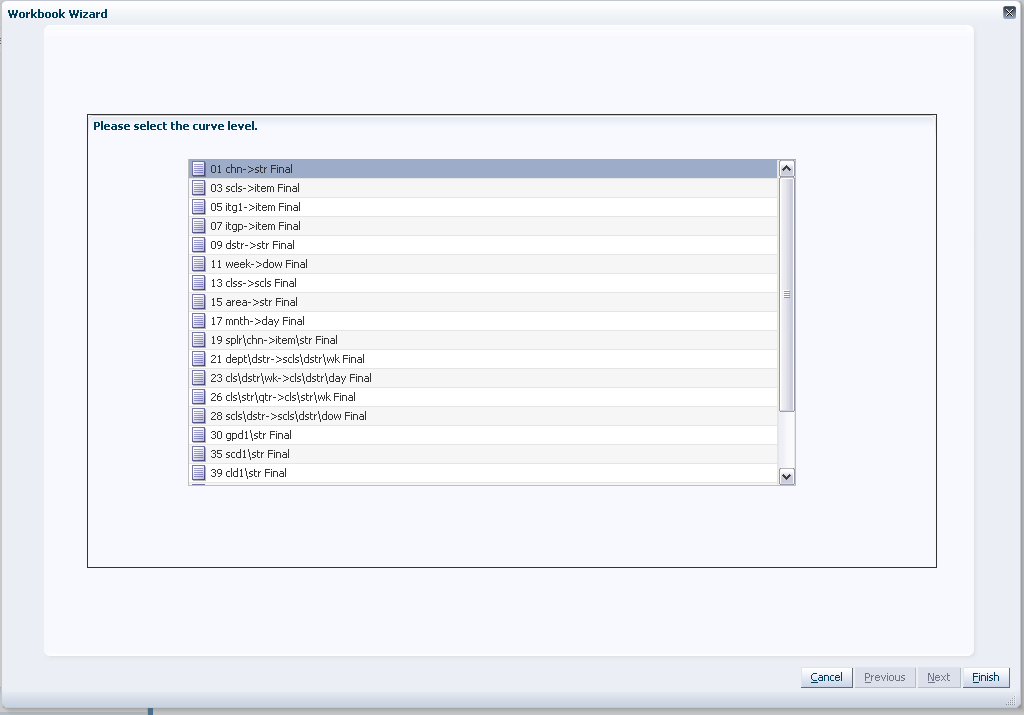
Click the New Workbook icon in the Profile Administration task in the ProfileForecasting Support Process activity.
The Workbook wizard opens. Select the Curve level and click Finish.
The Profile Administration workbook is built.
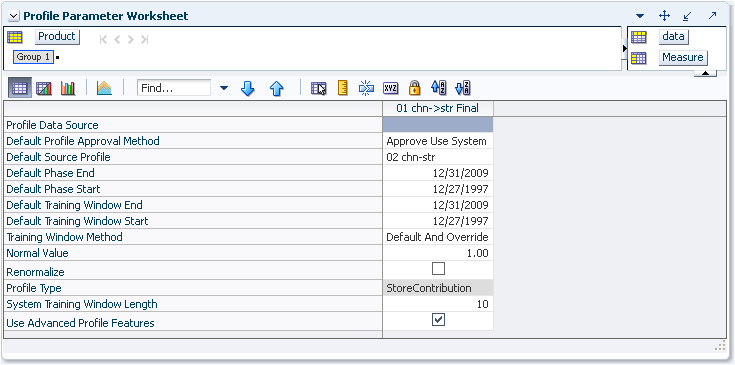
The Profile Parameter View allows you to specify default values for parameters affecting profile generation. Figure 18-3 provides an example of the Profile Parameters view in a Master Domain with three partitions/Local Domains, partitioned on Group.
The following is a description of the measures that are contained in the Profile Parameter View:
Default Phase End
The Default Phase End defines the end date of the period in which profile results will be applied. Click the pop-up calendar to change the value in this field. If phase definitions are unavailable, the default phase end date will be used. When calculating time profiles, default dates are used for intermediate computations. For computational efficiency, use the most common phase definition as the default value.
Default Phase Start
The Default Phase Start defines the first date of the period in which profile results will be applied. Click the pop-up calendar to change the value in this field. If phase definitions are unavailable, the default phase start date will be used. When calculating time profiles, default dates are used for intermediate computations. For computational efficiency, use the most common phase definition as the default value.
Default Profile Approval Method
The Default Profile Approval Method displays the primary approval policy to be used for the profile. Select Approve Use System if the profile results are to be automatically approved during the batch profile generation. Select Do Not Approve if the profile results are to be manually approved by you. If a profile is being generated dynamically (to support Source Level Forecasting) as part of the RDF batch forecast process, the Default Profile Approval Method should be set to Approve Use System.
Default Source Profile
The Default Source Profile determines the primary source-level that will be used to generate the profile. When only a single source is configured for a profile, all profile results will be calculated using the same intersections. When multiple sources are defined for a profile, some profile results will be calculated using different intersections. The Profile Maintenance Task may be used to define exceptions to the Default Source Profile.
Default Training Window End
The Default Training Window End defines the last date in history that will be used to calculate profile results. Click the pop-up calendar to change the value in this field. The default date will be used only if the training window method is set to Defaults and Overrides.
Default Training Window Start
The Default Training Window Start defines the first date in history that will be used to calculate profile results. Click the pop-up calendar to change the value in this field. The default date will only be used if the training window method is set to Defaults and Overrides.
Normal Value
If the profile is aggregated to the Aggregation Intersection, this will be the value in all the cells (or zero outside of the phase window). The desired setting for Normal Value is usually 1.00 (100%); however, there may be instances where it is desired to have the profile normalize to a value different than 1.00. For example, when generating seasonal profiles, such as by Week of Year, the Normal Value needs to be set to 52.
Profile Data Source
The Profile Data Source displays the name of the measure that contains the data to be used to generate the profile.
|
Note: For Dynamic profiles used by RDF, the profile Data Source can be left blank. Curve will use the Interim Forecast generated by RDF as the Data Source for generating the profile, and the value specified here will be ignored. |
Profile Type
The Profile Type is a read-only measure that displays the value for this measure set in the Curve Plug-In. The Profile Type is used to determine the profile algorithm and validation required by the profile level. Profile Types are represented with pre-defined configuration information.
The following Profile Types share the same profile algorithm. The rationale for providing different types that have the same behavior is strictly to remind you of the intent of the profile while using this task:
Store Contribution Profile - The Store Contribution Profile is used to determine the data relationship between stores to aggregate dimensions in the location hierarchy.
Daily Profile - The Daily Profile is used to determine the data relationship between a given day to the week in which it belongs.
Hourly Profile - The Hourly Profile is used to determine the spreading ratios from aggregate dimensions to the hour, hour of day, or hour of week dimensions.
Product Profile - The Product Profile is used to determine the data relationship between any two dimensions along the product hierarchy.
Size Profile - Size profiles are used to determine the data relationship between any size in the product hierarchy and another dimension in the product hierarchy. Note that size can be configured as a dimension along an alternate roll-up along the product hierarchy, such as itemParent-size.
User Defined Profile - The User Defined Profile may be used to support any basic profile configuration.
The following Profile Types have unique behavior:
Diff Profile - Diff Profiles are used to determine spreading ratios from aggregate dimensions in the Product hierarchy to diff dimensions. Used to support the spreading of data in RMS Allocation, Diff Profiles exhibit the same behavior as the previous profile types. However, unique to Diff Profiles is special validation of the relationship between the defined diff dimensions to dimensions along the main branch of the Product hierarchy. Refer to the Oracle Retail Demand Forecasting Implementation Guide for more information on validation criteria.
Daily Seasonal Profile - The Daily Seasonal Profile is used to determine the data relationship between a given day of the week to aggregate dimensions in the calendar hierarchy. This profile type uses training window data to compute the profile. The resulting profile is then clipped to fit within the defined phase window.
Life Cycle Profile - The Life Cycle Profile uses data along a user-defined training window and then stretches or shrinks data to fit a user-defined phase window.
Renormalize
Renormalize is a Boolean measure. When set to True, it automatically renormalizes the calculated profile result at the corresponding final-level. Typically, the renormalization is not necessary. For example, if you have a source profile at week of season and its final profile is at day of season, you would need to renormalize the final-level because going from week to day will do replication. At day level, the profile will sum up to greater than one (1) for a season. Since it was a week to day, it will probably sum up to seven. The renormalize will force the final profile to sum to 1.00 (100%).
System Training Window Length
The System Training Window Length is necessary when Use Training Window is set as the Training Window Method for the profile. This field specifies the number of weeks of the most recent data to use as the training window for calculating the profile. The System Training Window Length defaults to 10 weeks.
Training Window Method
The Training Window Method is used to determine the default method that is used to define the training window. The options are:
Default and Overrides - Uses the default dates as set in the Training Window Start Date and Training Window End Date measures.
Phase Definitions and Overrides - Calculates the Training Window Start Date and Training Window End Date based on the Phase Start Date and Phase End Date measures.
Use Training Window - Used with System Training Window Length to specify the number of weeks of the most recent data to use for calculating the profile.
Use Advanced Profile Features
This parameter is always selected by default.
The Profile and Source Level Intersection View is a read-only view to the different intersections defined for the Profile and Source level configured in the Curve Plug-in. Refer to the Oracle Retail Predictive Application Server Solution Extension Configuration Guide for more information on defining these intersections during configuration of the Curve Solution.
The following is a description of the measures that are contained in the Profile and Source Level Intersection View:
Profile Agg Intersection
The Profile Agg Intersection is the intersection where the profile will sum to one (or 100%). If the profile is being used as the Spreading Profile in RDF, this Aggregation Intersection should be the same as the Source Forecast Level.
Profile Approval Intersection
Assigned only at the Final Profile, the Approval Intersection is the intersection where the profile is approved. Approval Intersection should be higher than or equal to the Aggregation Intersection. If the profile is being used as the Spreading Profile in RDF, this Approval Intersection should be the same as the Aggregation Intersection.
Profile Intersection
The Profile Intersection is the intersection where an intermediate profile is calculated. This intermediate profile is then replicated down or aggregated up to the Stored Intersection. If the Store Intersection is the same as the Profile Intersection, the values in intermediate profile are copied to the Stored Intersection. The Profile Intersection must be lower than the Aggregation Intersection.
If the profile is being used as the Spreading Profile in RDF, this Profile Intersection should be the same as the Final Forecast Level.
Stored Intersection
The Stored Intersection is the destination intersection of the profile. The intermediate profile produce at the Profile Intersection is either replicated down to or aggregated up to the Stored Intersection. If the Store Intersection is the same as the Profile Intersection, the values in intermediate profile are copied to the Stored Intersection. The Stored Intersection should not be greater than the Aggregation Intersection. If the profile is being used as the Spreading Profile in RDF, this Stored Intersection should be the same as the Profile Intersection.
The profiles generated at the historic levels must be viewed, analyzed, revised, and approved using the Profile Approval Task. In the approval process, you select the appropriate source-level for each product/location combination. After you make any necessary changes to the profiles and commit the task, the profiles are normalized to preserve the appropriate ratios. At this time, Curve automatically spreads the source-level profiles to the final-level and combines them. After you commit your changes, you can refresh the data in your task to display the newly generated final-level profiles.
Use the Profile Approval Task to view, analyze, revise, and approve the profiles generated at the historic levels. This task contains three tabs for each view displayed:
To build the Profile Approval workbook, perform these steps:
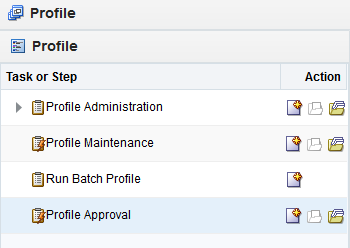
Click the New Workbook icon in the Profile Approval task in the Profile activity.
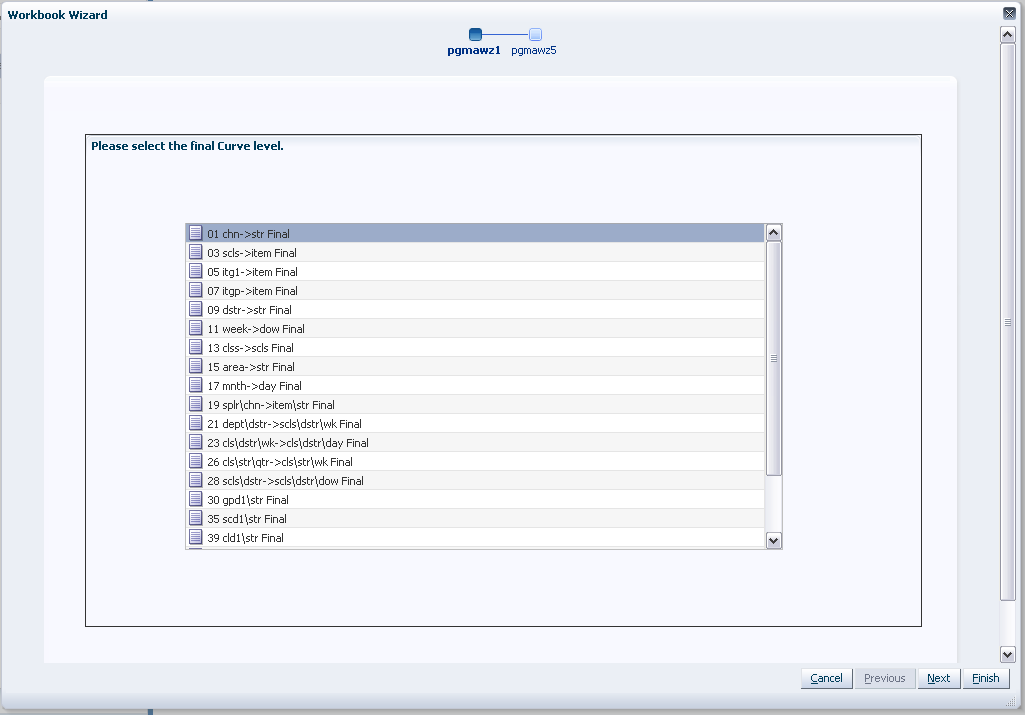
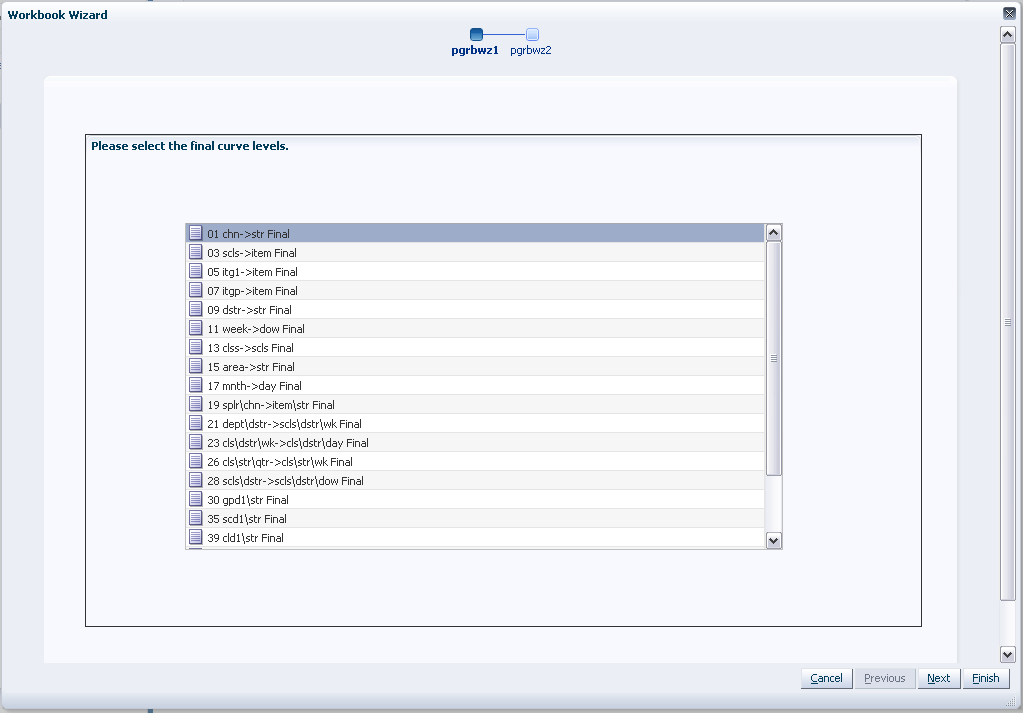
The Workbook wizard opens. Select the Curve level and click Next.
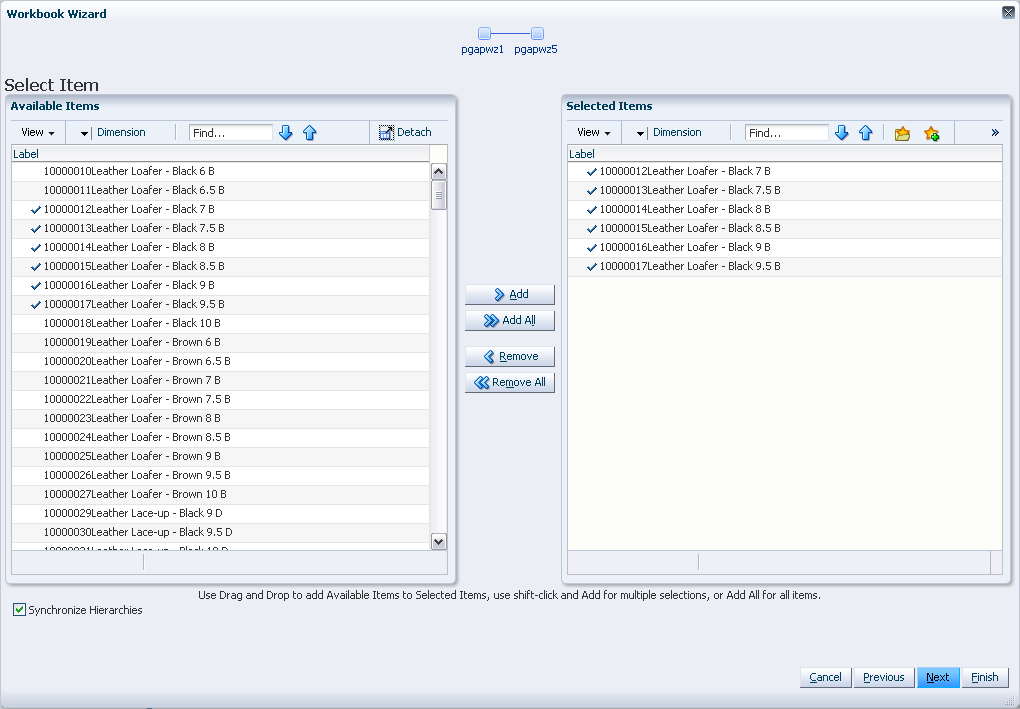
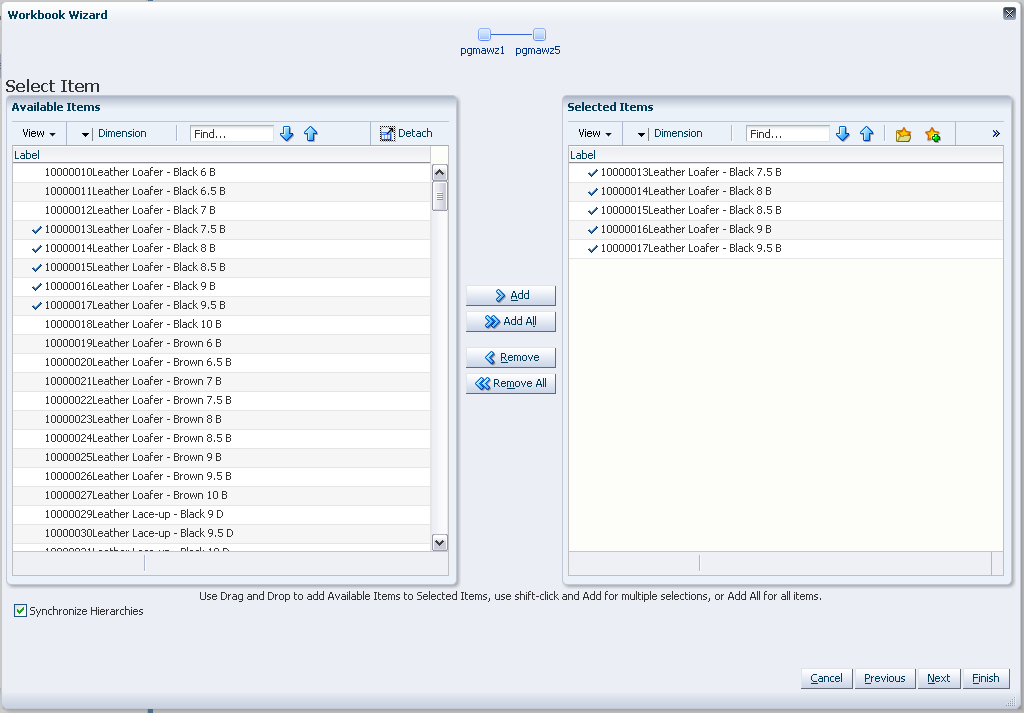
Select the items you want to work with and click Next.
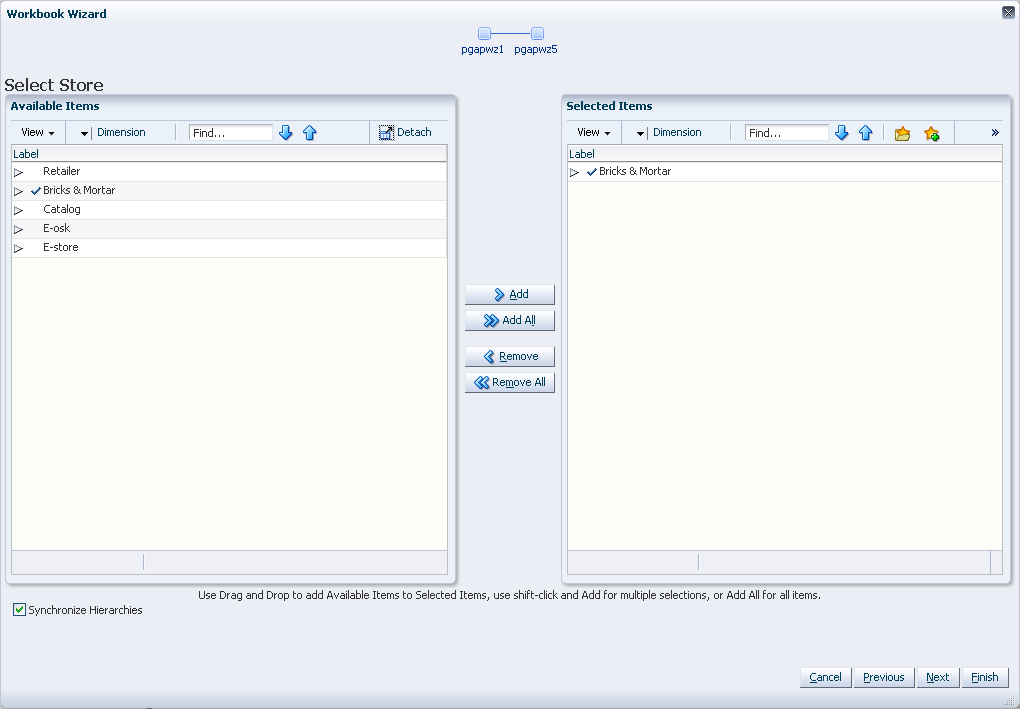
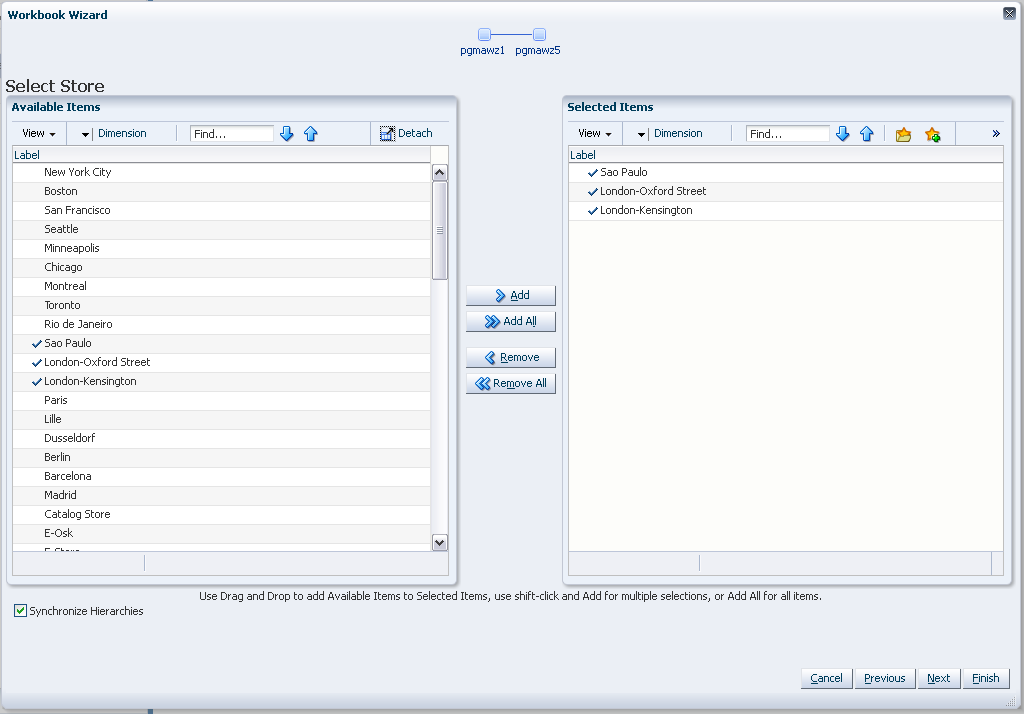
Select the stores you want to work with and click Next.
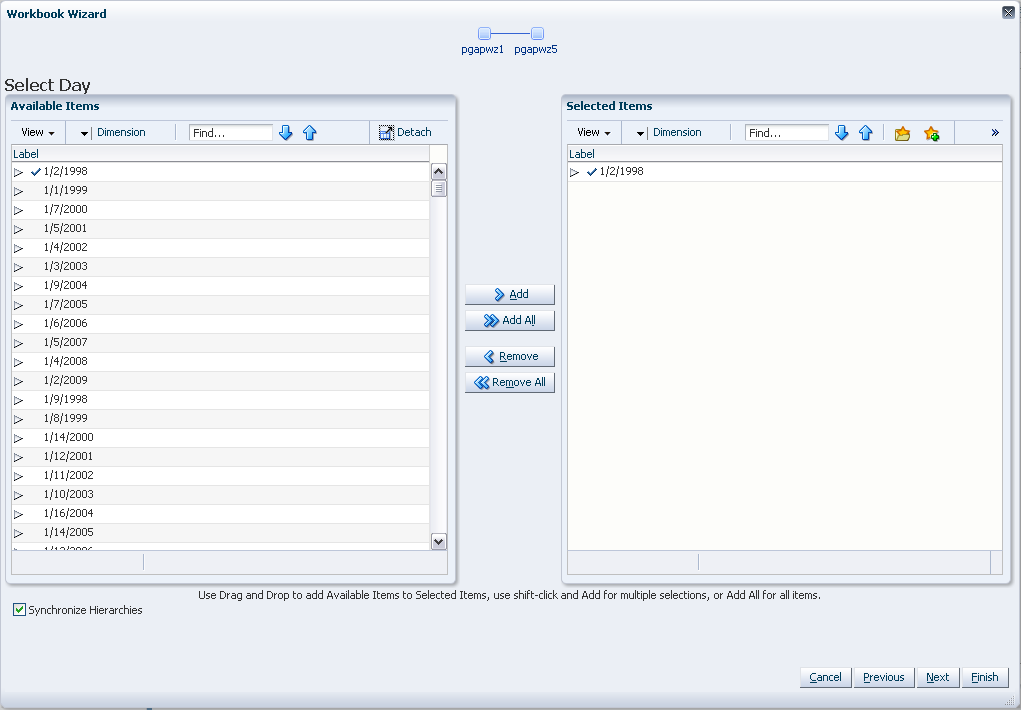
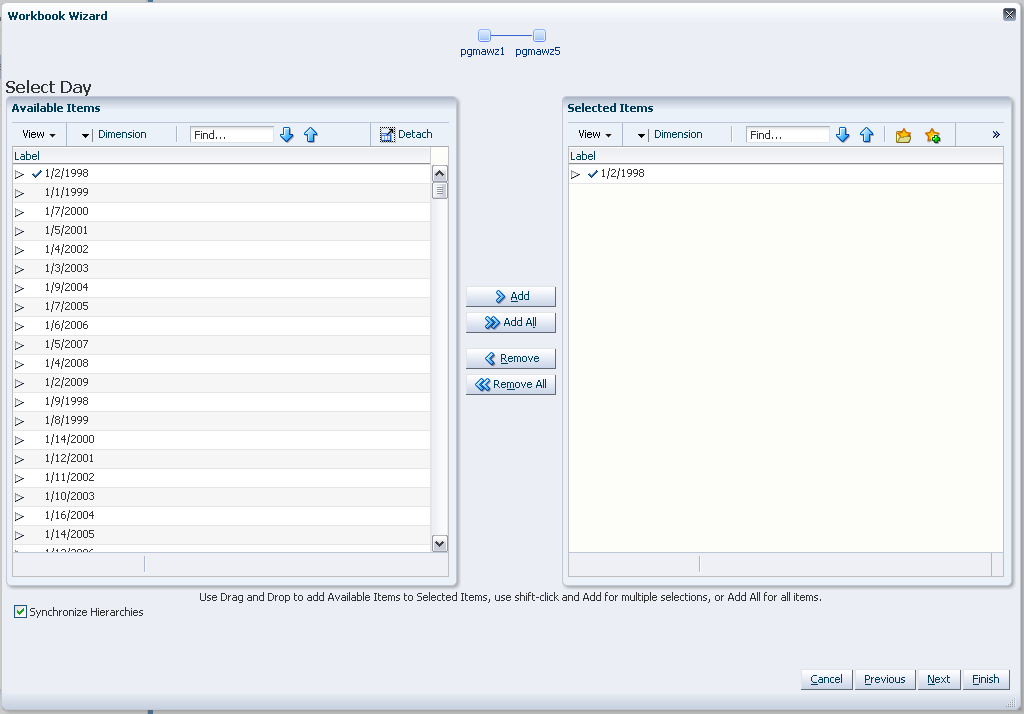
Select the days you want to work with and click Finish.
The Profile Approval workbook is built.
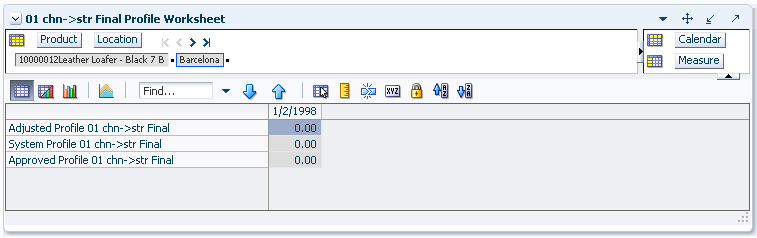
Through this view, you can view the system- calculated final profile and make adjustments to this profile. Figure 18-10 is an example of the Final Profile View.
The Final Profile view contains the following measures:
Adjusted Profile
This is the user-adjusted profile. If edits are necessary to the Adjusted Profile, it is first required to lock the Adjust Profile at the Aggregation Intersection. This prevents the Normal Value from recalculating to a value different than 1.00 (100%) when the adjustments are made. To determine the Aggregation Intersection, view the intersection displayed on the Approval view.
Once adjustments are made to the profile, you must go to the Final Profile View and set the approval method to Do Not Approve for the adjusted profile intersection. The Approved Profile measure updates with these changes.
Approved Profile
The Approve Profile displays the approved profile values. If a profile intersection is set to Do Not Approve, no value will be displayed in this field. The system automatically approves all profile intersections set to Approve Use System. If changes are made to the Adjusted Profile, the values in this measure update once the Manually Approved flag is set to True in the Final Profile View.
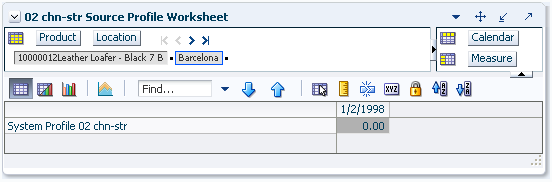
System Profile
A read-only measure that displays the system-generated profiles calculated at the final profile's profile intersection.
The Source Profile View displays the profiles generated at the source-level for all product/location/calendar combinations selected to appear in the task. This view displays the source system profiles (that is, the profiles that are calculated by the system during the profile generation process).
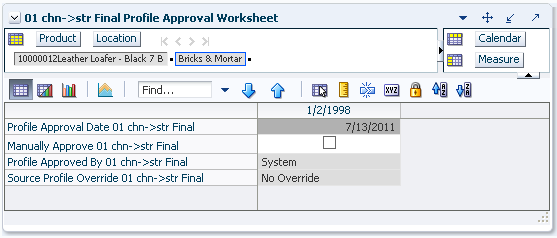
The Profile Approval View allows you to review and approve final profiles.
The Profile Approval View contains the following measures.
Profile Approved By
This measure displays who approved the profile for a given product/location combination. For all profile intersections with an Approval Method set to Approve Use System and no adjustment occurs, the Approved By measure will contain System.
Profile Approval Date
Displays the date on which a profile was approved, whether it is automatically approved by the system or manually approved by you.
Manually Approve
A Boolean measure that must be activated (checked) for all profile intersections that are set to Do Not Approve or for intersections in which you make changes to the Adjusted Profile on the Final Profile view.
Source Profile Override
This field displays the source-level that was used to generate the profile. If the Default Source Level was used, this measure will display No Override.
After setting default parameters for profile generation in the Profile Administration Task, the next step in profile generation is to select any subset of positions for which the values set in Profile Administration differ from the defaults. This step is necessary in those situations where it is not efficient to use the same parameters for all positions in the hierarchy data.
To build the Profile Maintenance workbook, perform these steps:
Click the New Workbook icon in the Profile Maintenance task in the Profile activity.
The Workbook wizard opens. Select the Curve level and click Next.
Select the products you want to work with and click Next.
Select the locations you want to work with and click Next.
Select the days you want to work with and click Finish.
The Profile Maintenance workbook is built.
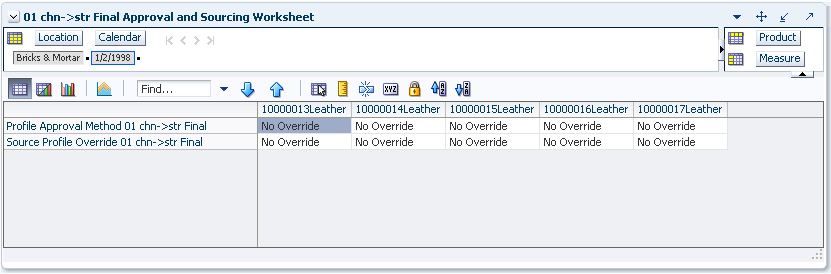
The Final Approval and Sourcing view allows edits to intersections that vary from the default values set in the Profile Administration Task.
Profile Approval Method
The Profile Approval Method displays the primary approval policy that is used for the profile. No Override is displayed in this field if the Default Approval Method is used. Select Approve Use System if profile results are to be automatically approved during the batch profile generation. Select Do Not Approve if profile results are to be manually approved by you. If a profile is being generated dynamically (to support Source Level Forecasting) as part of the RDF batch forecast process, the Default Profile Approval Method should be set to Approve Use System.
Source Profile Override
Make edits to the Source Profile Override if the source-level for an intersection varies from the Default Source Profile. No Override is displayed in this field if the value set in the Default Source Profile is to be used. When only a single source is configured for a profile, all profile results are calculated using the same intersections. Therefore, edits to this parameter are not required. When multiple sources are defined for a profile, some profile results are calculated using different intersections. Select the appropriate source-level for an intersection.
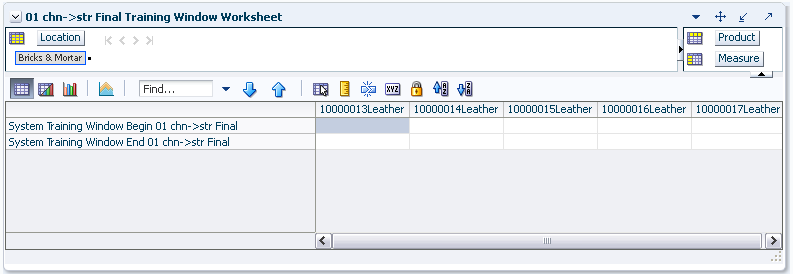
The following is a description of the measures contained in the Final Approval and Sourcing View:
System Training Window Begin
Select a date in this field if this date is different from the default value set in the Training Window Start date in Profile Administration. Click the pop-up calendar to change the value in this field.
System Training Window End
Select a date in this field if this date is different from the default value set in the Training Window End date in Profile Administration. Click the pop-up calendar to change the value in this field.
The batch profile generation process creates profile results for all hierarchy positions set in the Profile Intersection. Profiles may be run from the back-end of the domain using the curvebatch executable or run manually using the Run Batch Profile workbook. For more information on curvebatch, refer to the Oracle Retail Predictive Application Server Administrators Guide.
The Run Batch Profile wizard automatically executes curvebatch within the Simple or Local Domain. If Next is selected from the last wizard window, the wizard will not advance to the completion message until the profiles have been generated. Depending on the data set, this process may take a several minutes before the system advances to the final window.
To run the Run Batch Profile wizard, perform these steps:
Click the New Workbook icon in the Run Batch Profile task in the Profile activity.
The Workbook wizard opens. Select the Curve level and click Next.
Verify the Curve level and click Finish.
The Run Batch Profile workbook is built.