


|
|
This section contains the following sections:
In order to secure an application using ALES, the application’s resources must be defined in the ALES database. In many cases, application resources are defined using a hierarchical tree of Resources.
The Resource tree used to define application resources may be simple or quite detailed. This depends solely on the application being secured and policy model used to secure it.
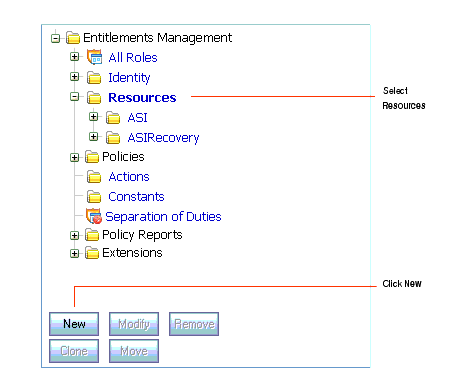
This tutorial leads you through the steps of creating a simple Resource tree to represent the Admission System’s patient roster as described in Scenario on page 1-1.
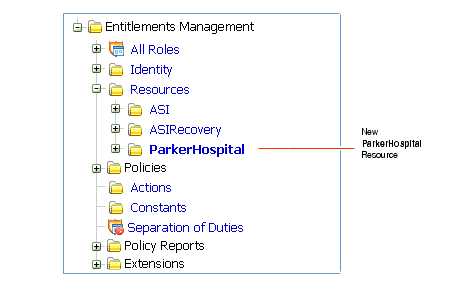
ParkerHospital in the Name field and select the Allow Virtual Resource checkbox. Then click OK.
This returns you to the main window where you’ll see ParkerHospital appearing as a new resource under the Resource node.
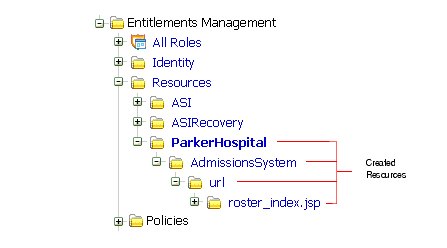
AdmissionsSystem in the Name field and check the Allow Virtual Resource checkbox. Then click OK.url in the Name field and check the Allow Virtual Resource checkbox. Then click OK.roster_index.jsp in the Name field and click OK.
Note that roster_index.jsp would be the actual name of the web page where users access the patient roster.
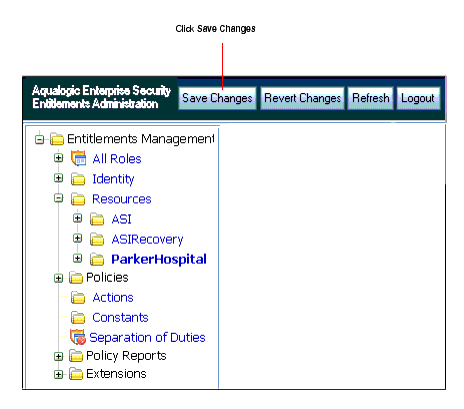
After creating the Resources as described, return to the main window and click Save Changes.
This tutorial showed how to create the Resource tree needed to define the Admissions System’s patient roster. When complete, the Resource tree should look like this:
The next tutorial demonstrates how to create Identities (Groups and Users) to represent the Patient Roster users.


|