The CollabraSuite, BEA Edition software installs as a component inside of the WebLogic install directory.
Install CollabraSuite, BEA Edition
Begin by running the installer. If upgrading from a previous version of CollabraSuite, first uninstall the previous version before installing the new verion of CollabraSuite. The installer should start automatically when the installation CD is placed in a Windows machine. If the installer does not launch or you are running on a different platform, the installer can be started manually:
For Windows, run installer\WebLogic\CollabraSuite-500-windows.exe.
For Solaris, run installer/WebLogic/CollabraSuite-500-solaris.bin.
For Linux, run installer/WebLogic/CollabraSuite-500-linux.bin.
Note: On Linux and Solaris, the installer can also be run in text mode by appending -i console to the command line parameters.
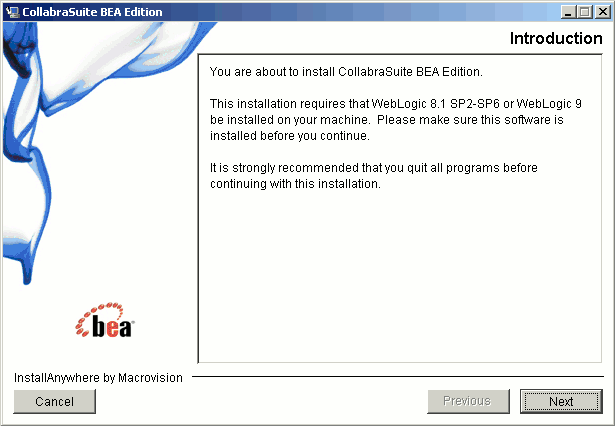
Launch the installer and click Next on the Introduction Page.
Figure 2-1 Introduction
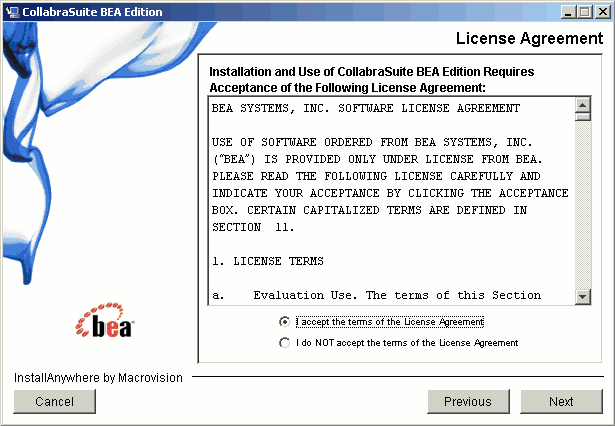
Read and accept the terms of the license agreement and click Next.
Figure 2-2 License Agreement
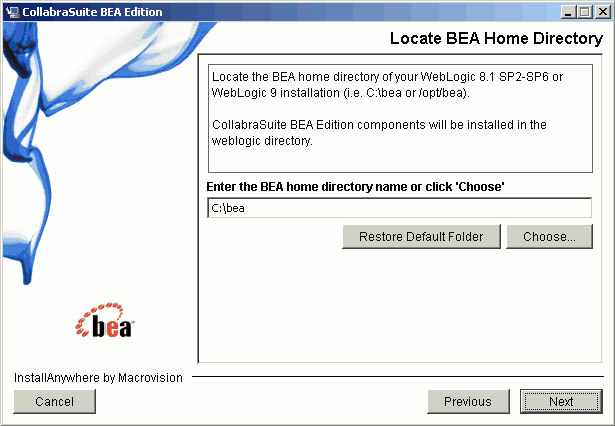
Choose the BEA home directory and click Next. For example: C:\bea or /opt/bea.
Figure 2-3 Locate BEA Home
Review the pre-installation summary and click Install.
Figure 2-4 Pre-Install Summary
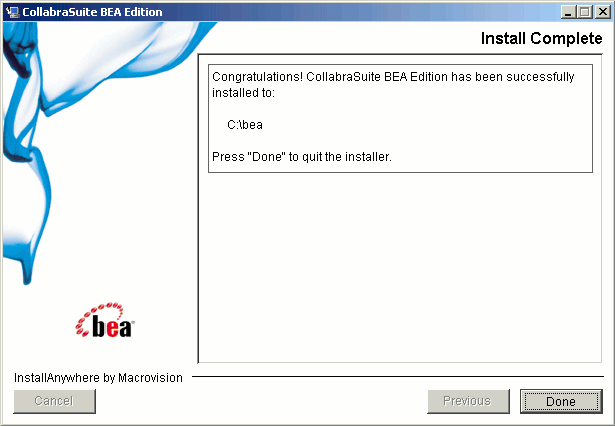
At this point the CollabraSuite, BEA Edition software has been sucessfully installed in the WebLogic home directory. Click Done to exit the installer.
Figure 2-5 Install Complete
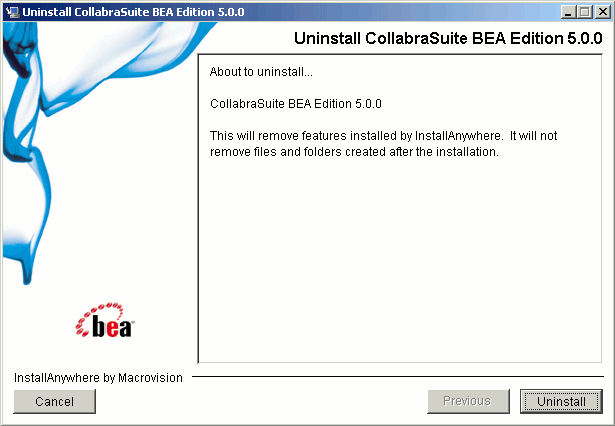
Uninstalling CollabraSuite, BEA Edition
Uninstalling CollabraSuite, BEA Edition removes the software from the WebLogic installation directory. It does not affect any WebLogic domains containing CollabraSuite, BEA Edition. Uninstalling CollabraSuite, BEA Edition can be accomplished by running the following scripts:
For Windows, run WL_HOME\collabrasuite-500\uninstall\Uninstall CollabraSuite 500.exe.
For Solaris, run WL_HOME/collabrasuite.500\uninstall\Uninstall CollabraSuite 500
For Linux, run WL_HOME/collabrasuite.500\uninstall\Uninstall CollabraSuite 500
Note: On Linux and Solaris, the uninstaller can also be run in text mode by appending -i console to the command line parameters.
Launch the uninstaller and click Uninstall on the Confirmation Page.