Installing JRockit
|
|
|
Installing the BEA JRockit 1.4.2 JRE
The BEA JRockit 1.4.2 JVM is a component of Java Runtime Environment (JRE) included in the BEA JRockit 1.4.2 SDK. In instances where you want to exploit the full power of the JVM without dealing with the overhead of the entire SDK, you can install just the JRE as described in this document and run it separately.
This section includes information on the following subjects:
- Important Note on JRE Version Numbering in this Chapter
- Installing the JRE
- Uninstalling the JRE
- Console and Silent Mode Installation and Uninstallation
Important Note on JRE Version Numbering in this Chapter
Intalling BEA JRockit JRE describes how to install BEA JRockit JRE with 1.4.2_08 class libraries. After step 1 in Installing the JRE, below, the JRE version will be referenced throughout this guide as 1.4.2_<version>; for example, instead of jrockit-24.5.0-j2rel.4.2_08, you will see jrockit-24.5.0-j2rel.4.2_<version>. As you use this guide, please assume that <version> refers to 08.
Installing the JRE
To install the JRE, do the following:
- On your local drive, locate the JRE version executable file that matches your machine and operating system:
jrockit-24.5.0-j2re1.4.2_08-win-ia32.exefor Windows 2000 and Windows 2003.jrockit-24.5.0-j2re1.4.2_08-win-ipf.exefor Windows 2003 Server EEjrockit-24.5.0-j2re1.4.2_08-linux-ia32.binfor supported Linux 32-bit versionsjrockit-24.5.0-j2re1.4.2_08-linux-ipf.binfor supported Linux 64-bit versionsThe install process begins and the BEA installer window appears, followed shortly thereafter by the Welcome window.
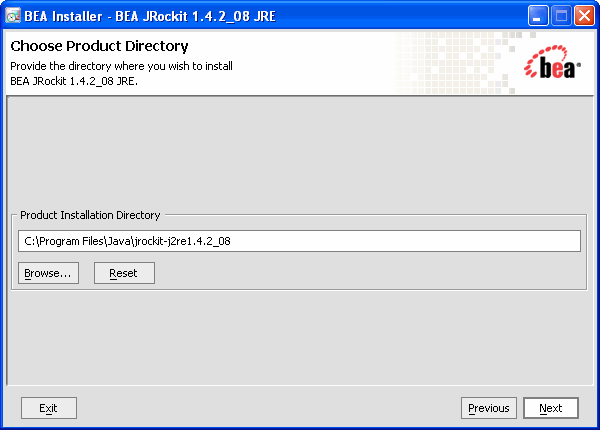
- Select the default directory provided.
- Type a new directory name into the Product Installation Directory field
- Click Browse to open the Product Directory Selection window and select an existing directory.
- Click Next. If you are installing JRockit on other platforms than for Windows 2000 and Windows 2003, please proceed to step 7.
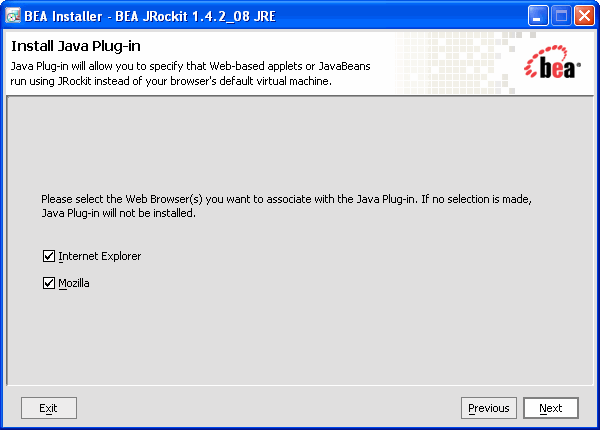
If installing on Windows 2000 or Windows 2003, the Install Java Plug-in window appears (Figure 2-2).The Java Plug-in extends the functionality of a web browser. For more information on the Plug-in, please refer to Using the Java Plug-in.
Figure 2-2 Install Java Plugin Window
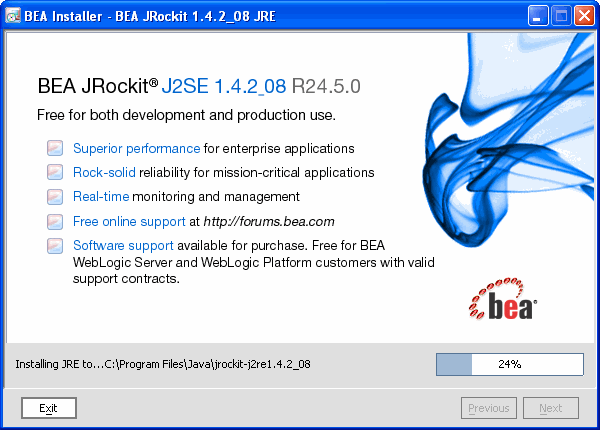
The installation process begins and the installer window appears, showing a progress meter in the lower right corner of the window, as shown in Figure 2-3.
Figure 2-3 Installer Window with Progress Meter
When the installation is successfully completed, the Installation Completer window appears with that message.
Uninstalling the JRE
To uninstall the JRE, see Uninstalling the SDK for instructions on how to perform the unistallation. Replace SDK specifics with JRE.
Console and Silent Mode Installation and Uninstallation
Like the BEA JRockit SDK, the BEA JRockit JRE can be installed and uninstalled in both console mode and silent mode. See Installing and Uninstalling BEA JRockit SDK in Console Mode and Installing and Uninstalling BEA JRockit SDK in Silent Mode.The procedure for these functions is identical to that used to install and uninstall the JDK, except that you need to execute different installation files.


