


|
|
A view is a named collection of charts and graphs that present graphical information of telemetry data. The following sections describe how to work with views:
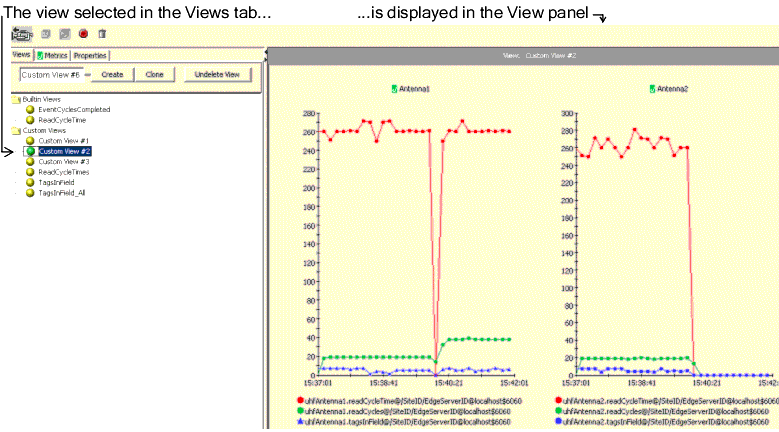
The Views tab in the Tabs panel, on the left side of the page, contains a list of the views configured in the Telemetry Console Extension. It also provides the means to create, select, modify, and delete views. When you select (click) the name of a view in the Views tab on the left, the view is displayed in the View panel on the right, as shown in Figure 3-6. That view remains displayed in the View panel, even when you select different tabs in the Tabs panel.
The Views tab lists both built-in and custom views.
Built-in views are available for every user logged into the Edge Server Administration Console and using the Telemetry Console Extension.
You can modify a built-in view, but the modification is only visible during your current session; it is lost when you switch back to the primary RFID Console view. If you want to modify and save one of the built-in views, you can clone it and save it as a custom view.
The Telemetry Console Extension provides no pre-defined custom views.
The charts and graphs in a view can display telemetry data for any of the Edge Servers configured in the Edge Server Administration Console.
Table 3-1 describes the visual cues that help identify the views in the Views tab.
To display and modify an existing view:
The view appears in the View panel, replacing the view that is currently displayed. (Only one view can be displayed at a time.)
 (Discard All Unsaved Changes) button or right-click on the name of the view and select Discard Changes from the context menu.
 (Save All Modified Views) button on the toolbar.
To create and display a new custom view:
The new, empty view is displayed in the View panel.
(Save All Modified Views) button on the toolbar.
To create and display a view based on an existing view:
The new, cloned view is displayed in the View panel. Until you make changes, the cloned view has the same properties as the view upon which it is based.
(Save All Modified Views) button on the toolbar.
While you can modify any view for the current session, you can save only custom views. To save a custom view:
Alternatively, click the (Save All Modified Views) button on the toolbar.
You can only delete custom views. To delete a custom view:
When you start a view, polling commences for the charts in the view. That is, the client starts polling for data from the Edge Server, so that the data can be represented in one or more graphs. When you stop a view, polling for the view ends.
To stop all active views, click the  (Stop All Active Views) button in the toolbar.


|
 (Delete) button in the toolbar.