|
|
|
|
|
|
Hello Partner Sample
The Hello Partner sample demonstrates communication using the default messaging protocol: XOCP. This section discusses the following topics:
Overview of the Hello Partner Sample
The Hello Partner sample demonstrates business communications between two trading partners using WebLogic Integration.
What the Sample Demonstrates
The Hello Partner sample demonstrates how two trading partners send business messages using the XOCP protocol. For each trading partner, the sample demonstrates the following:
This sample also illustrates the preferred method of handling trading partner message traffic. Public processes are used to manage trading partner message traffic, while private processes are used for message creation, message processing, and links to outside applications.
Hello Partner Sample Scenario Logic
The Hello Partner sample scenario involves two trading partners: one requestor and one replier, as shown in Figure 2-1. The following figure shows the high-level interactions between the different Hello Partner workflows.
Figure 2-1 Interactions Among Hello Partner Workflows
Notes: The public workflows are shaded in gray in the preceding figure. The following sequence summarizes the main events in this scenario: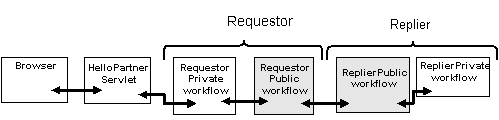
Before Running the Hello Partner Sample
Before running the Hello Partner sample, complete the following steps:
Running the Hello Partner Sample
To run the Hello Partner sample:
Choose Start
a) Make sure your PATH environment variable includes the directory in which the Netscape (netscape) executable resides.
b) Go to the WebLogic Integration home directory (the directory in which you installed WebLogic Integration). For example:
cd /home/me/bea/wlintegration2.1
c) Run the setenv script to set the top-level WebLogic Integration environment variables:
. setenv.sh
d) Run the RunSamples script:
cd samples/bin
RunSamples
Warning: For UNIX systems, the directory in which the netscape executable resides must be included in your PATH environment variable. If it is not included, the samples launcher page cannot be displayed.
The WebLogic Integration repository has already been
created and populated, possibly from a previous run
of this RunSamples script. Do you want to destroy all the
current data in the repository and create and populate the
WebLogic Integration repository, again? Y for Yes, N for No
If you answer N to this question, the RunSamples script skips the steps for creating and populating the repository and runs only the step for booting the sample instance of the WebLogic Server.
If you answer Y to this question, the RunSamples script recreates and repopulates the repository, and then it boots the sample instance of the WebLogic Server. When you answer Y, the RunSamples script destroys all the data currently in the repository and loads an unaltered version of the sample data into the repository. Answer Y only when the current sample data has been altered or removed and you want a fresh or unaltered version of the sample data in the repository.
Now the RunSamples script starts an instance of the WebLogic Server as a background process and the samples launcher page is displayed.
Figure 2-2 Samples Launcher Page
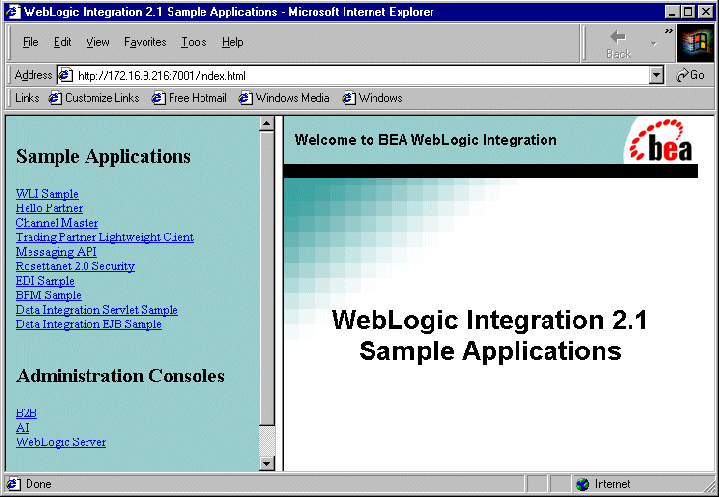
Figure 2-3 Hello Partner Sample Launcher Page
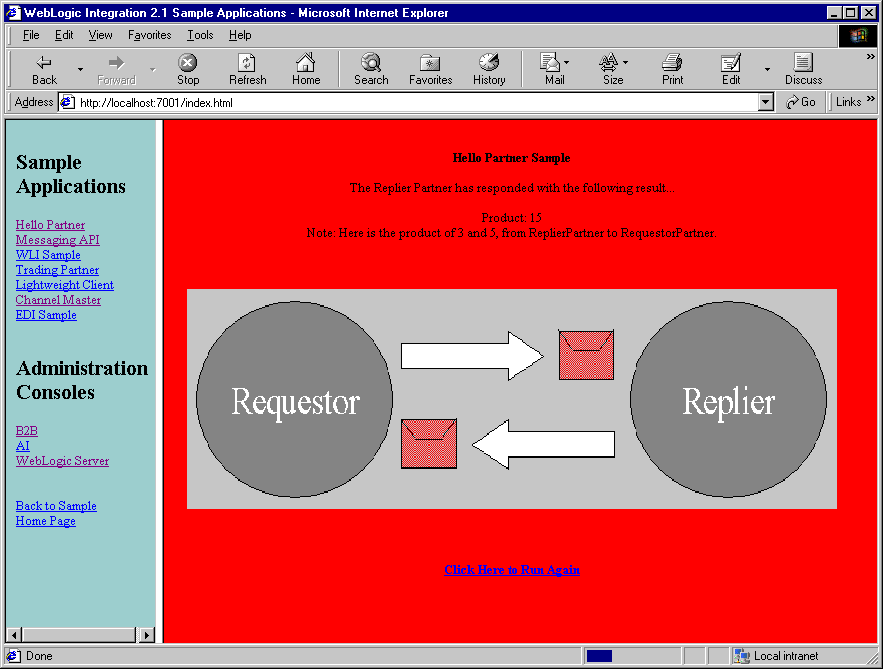
Figure 2-4 Hello Partner Sample Result Page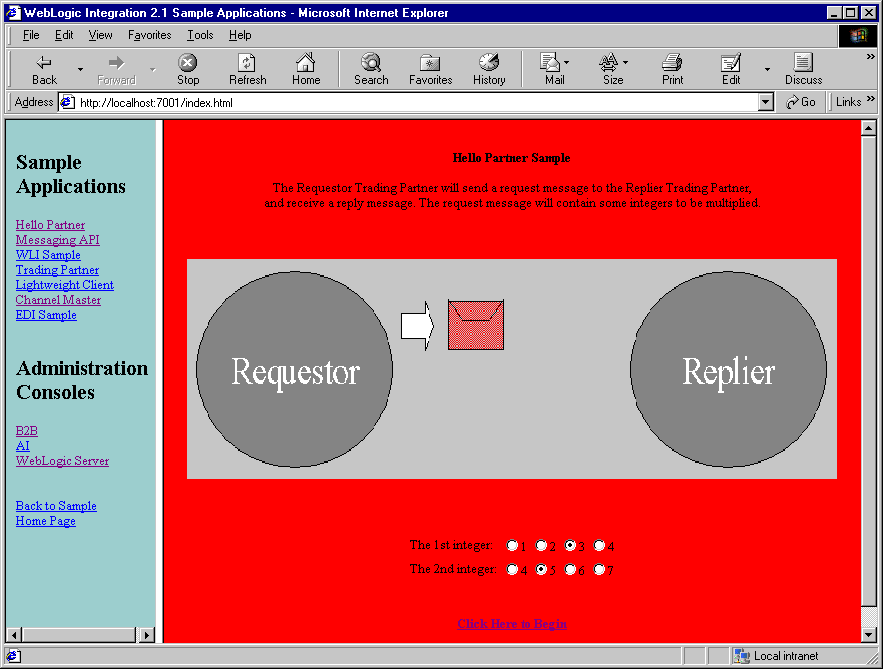
If you do not want to run more B2B samples at this time, exit from your browser and shut down the WebLogic Server by completing the procedure appropriate for your platform:
Choose Start
cd $WLI_HOME/config/samples/bin
stopWebLogic
How the Sample Works
A total of four workflows are used in this sample. Two public workflows manage the requestor's and replier's sides of the XOCP message exchange. One private workflow connects to the servlet and the requestor's public workflow; another creates the replier's reply data.
The following sections provide an overview of this process and describe each type of workflow in detail:
Documents Exchanged
The following XML documents are used in the Hello Partner sample:
The document type definitions (DTDs) for these documents are located in the %WLI_HOME%\config\samples directory for Window systems and the $WLI_HOME/config/samples directory for UNIX systems.
Request Message from Requestor Role
The following XML message is sent by the requestor. It includes the two numbers to be multiplied:
<multiply-request>
	<integer-one>5</integer-one>
	<integer-two>7</integer-two>
</multiply-request>
The message conforms to the multiply-request.dtd.
Reply Message from Replier Role
The following XML message, sent by the replier, contains the multiplication product, as well as a generated message:
<multiply-reply>
	<integer-product>35</integer-product>
	<note>Dear RequestorPartner: Here is the product of 7 and 5,
 from ReplierPartner to RequestorPartner.</note>
</multiply-reply>
The message conforms to the multiply-reply.dtd.
XML Message Over JMS from Servlet to Trigger Private Workflow
The following message is sent over JMS by the servlet. Its arrival triggers the requestor's private workflow:
<from-multiply-request-jsp-to-workflow light-weight="false">
	<integer-one>5</integer-one>
	<integer-two>7</integer-two>
</from-multiply-request-jsp-to-workflow>
The message conforms to the from-multiply-request-jsp-to-workflow.dtd.
XML Message Over JMS from Private Workflow to Servlet with Result
The following message is sent, over JMS, from the requestor's private workflow to the servlet. It contains the product of the multiplication, as well as a text message:
<from-workflow-to-multiply-request-jsp>
	<integer-product>35</integer-product>
	<note>Dear RequestorPartner: Here is the product of 7 and 5
 from ReplierPartner to RequestorPartner.</note>
</from-workflow-to-multiply-request-jsp>
The message conforms to the from-workflow-to-multiply-request-jsp.dtd.
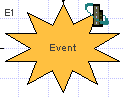
XML Event from Replier Public Workflow to Replier Private Workflow
The following XML event contains the request input message with four parameters (the two multiplication inputs, the name of the requestor, and the name of the replier):
<multiply-inputs>
	<integer-one>5</integer-one>
	<integer-two>7</integer-two>
	<requestor-name>PartnerRequestor</requestor-name>
	<replier-name>PartnerReplier</replier-name>
</multiply-inputs>
The message conforms to the multiply-inputs.dtd.
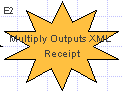
XML Event from Replier Private Workflows to Replier Public Workflows
The following XML event contains the reply output of the private workflow:
<multiply-outputs>
	<integer-product>35</integer-product>
	<note>Dear RequestorPartner: Here is the product of 7 and 5
 from ReplierPartner to RequestorPartner.</note>
</multiply-outputs>
The message conforms to the multiply-outputs.dtd.
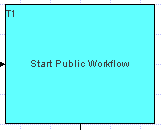
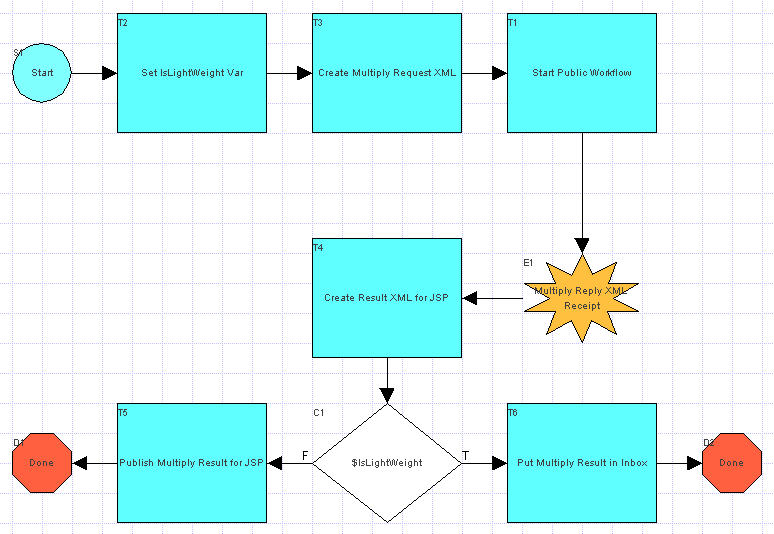
Requestor Private Workflow
The requestor private workflow receives the initial request from the servlet, creates a message of the appropriate type, and sends it to the public workflow for transmission. When it receives the reply, it processes the reply message, and sends the results to the servlet. This process is illustrated by the workflow shown in the following figure.
Figure 2-5 Requestor Private Workflow
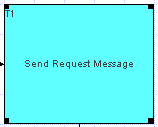
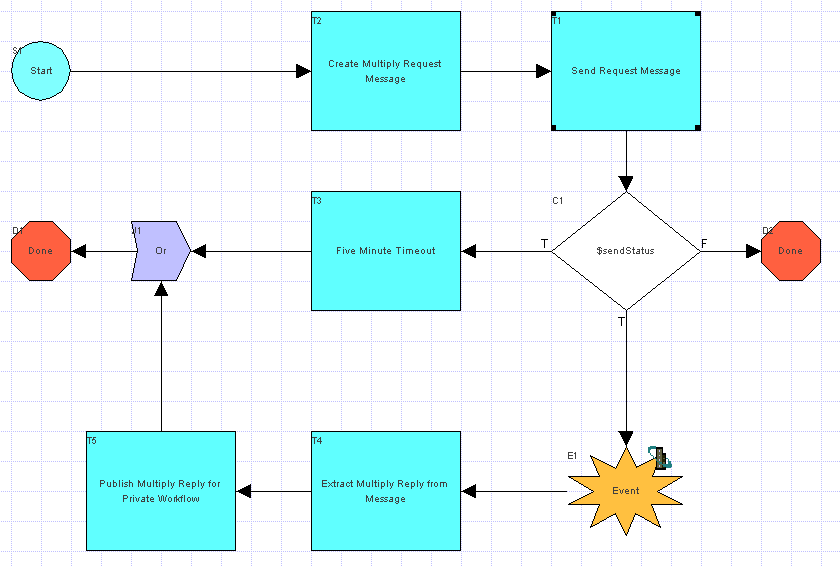
Requestor Public Workflow
The Requestor public workflow is initiated by the XML event from the private workflow. It creates a message with the request XML, sends the message to the Replier, waits for a response, extracts the response XML from the response message, and then passes the response to the private workflow for processing. The workflow shown in the following figure illustrates this process.
Figure 2-6 Requestor Public Workflow
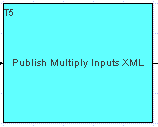
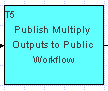
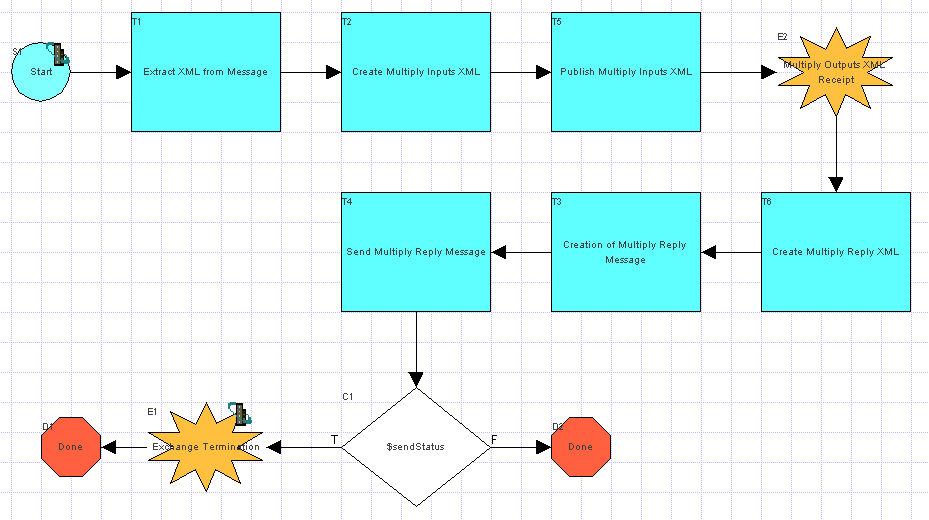
Replier Public Workflow
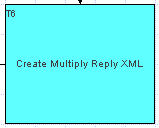
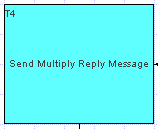
The replier public workflow is initiated upon receipt of the requestor's message. It receives the message, extracts the request XML from the message, publishes an XML event containing the request XML to trigger the replier private workflow, receives an XML event back from the replier private workflow, and sends a message containing the response XML back to the requestor as a reply. This process is illustrated by the workflow shown in the following figure.
Figure 2-7 Replier Public Workflow
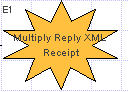
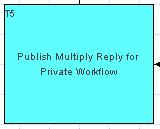
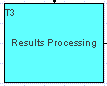
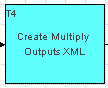
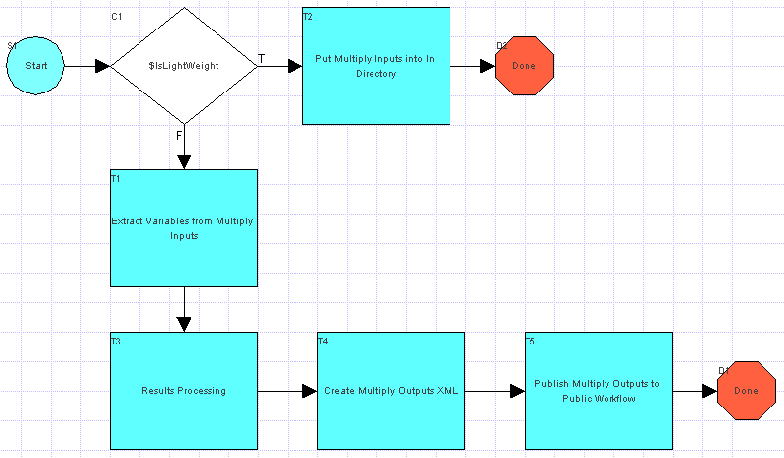
Replier Private Workflow
The replier private workflow is initiated upon receipt of the XML Event containing the request XML from the replier public workflow. It receives the request, processes the data, generates a reply in an XML document, and sends the reply XML back to the replier public workflow using an XML Event.
Figure 2-8 Replier Private Workflow

|

|

|
|
|
|
Copyright © 2001 BEA Systems, Inc. All rights reserved.
|