


|

|
|
|
|
Visitor Options
Portal visitors can use browser-based tools to personalize the makeup and appearance of their portal. This topic details the portal features that are available to registered visitors. Step-by-step instructions tell you how to register a new user, change the look-and-feel of the portal, change which pages you can see, change the layout of each page, change which portlets are visible, and use and edit portlet controls. It includes the following sections:
The Home Page
The default Stock Portal Home page is shown in Figure 2-1.
Figure 2-1 Stock Portal Home Page—Default
Notice that the default Home Page contains four portlets, three page tabs, and a login button. After visitors log in, they can change the appearance and layout of the Home and other tabs. 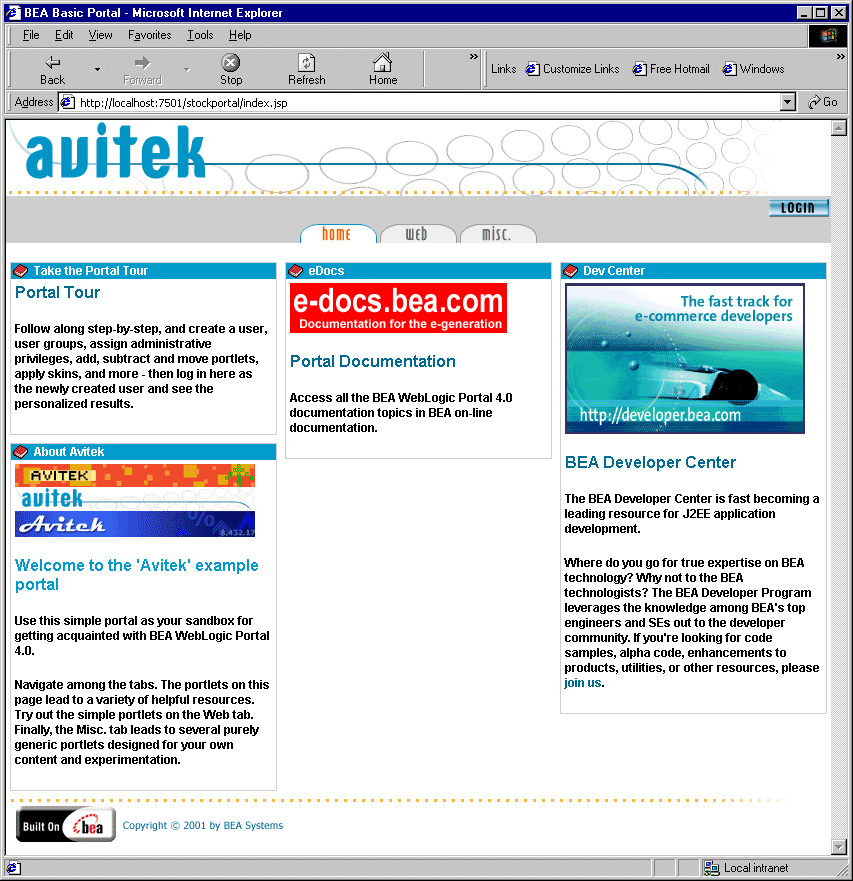
Registering a New User
Access of a visitor to a portal and that visitor's primary view of the portal is determined by the visitor's group membership. To demonstrate some of the features of the Stock Portal, you'll register as a new user.
To register as a new user, complete the following steps:
Figure 2-2 Stock Portal—Login Page
Figure 2-3 Stock Portal—New User Registration Page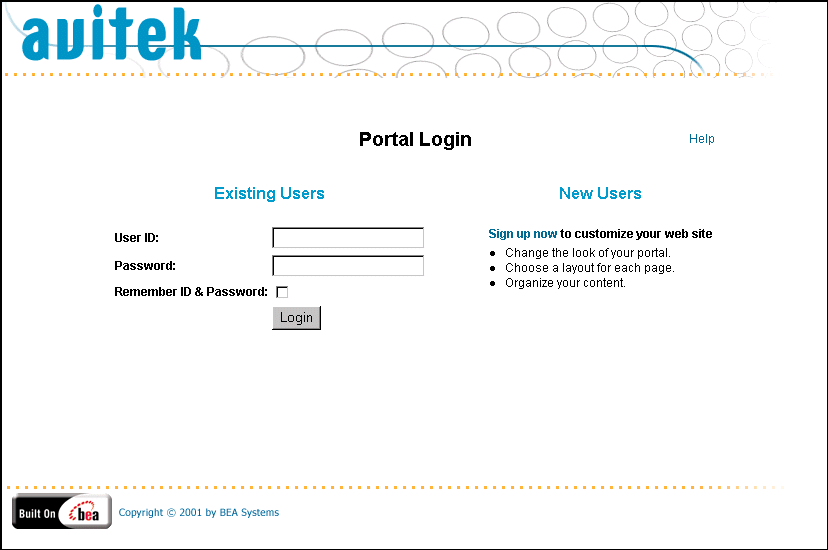
Figure 2-4 Stock Portal Home Page—User Logged In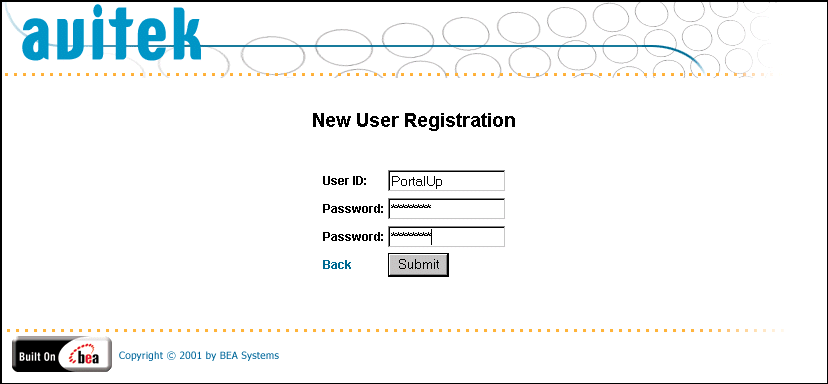
Notice that the page now contains a Customize My Portal button and a Change Password button. Also notice that the Login button has changed to a Logout button. Now, we'll begin customizing the portal.
Changing the Color Theme of Your Portal
Changing the color theme of a portal means changing the skin. A skin changes the look-and-feel of the portal and controls such elements of the portal presentation as the portal logo, portlet control images (such as the minimize or edit icons), default font face and size, and color attributes. Skins consist of Cascading Style Sheet (CSS) files and directories of images. Five pre-built skins are provided; an HTML developer can create new skins by modifying the CSS files and creating new images.
To change the default skin, complete the following steps:
Figure 2-5 Customize Your View of the Portal Page
Figure 2-6 Select Skins Page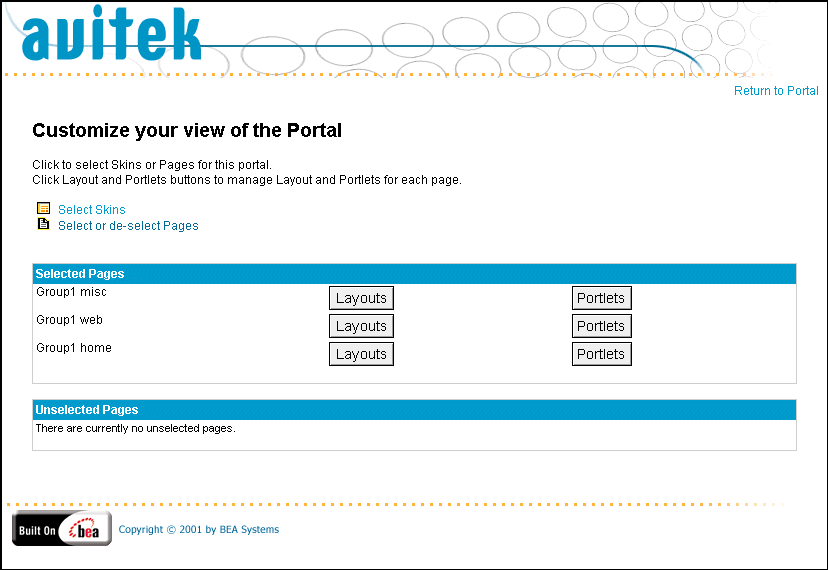
Note: The asterisk in the Available Selections list designates the current default.
Figure 2-7 Select Skins Page—Skin Preview
Figure 2-8 Customize Your View of the Portal—New Skin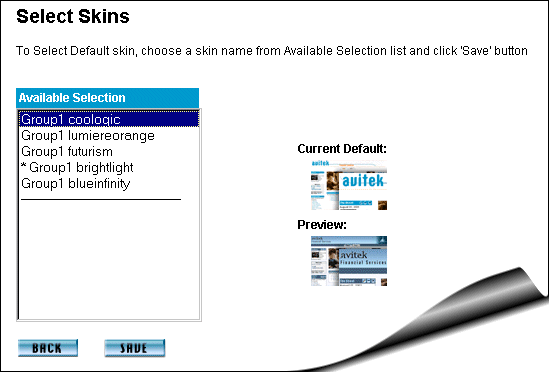
Customizing the Portal Layout
Registered visitors can tailor the layout of a portal to suit their needs and preferences. They can determine which pages are visible, which page is the Home page, which portlets they can see, and how the portlets are arranged on each page.
Changing Which Pages Are Visible
The main content area of the home page may contain one or more pages that are stacked on top of each other. A tabbed navigation bar allows visitors to quickly switch between pages. In this section, you will change which page tabs are visible on the Home page. The default Stock Portal displays three page tabs: Home, Web, and Misc.
To change which page tabs you see, complete the following steps:
Figure 2-9 Select Pages
Figure 2-10 Stock Portal Home Page—Two Visible Tabs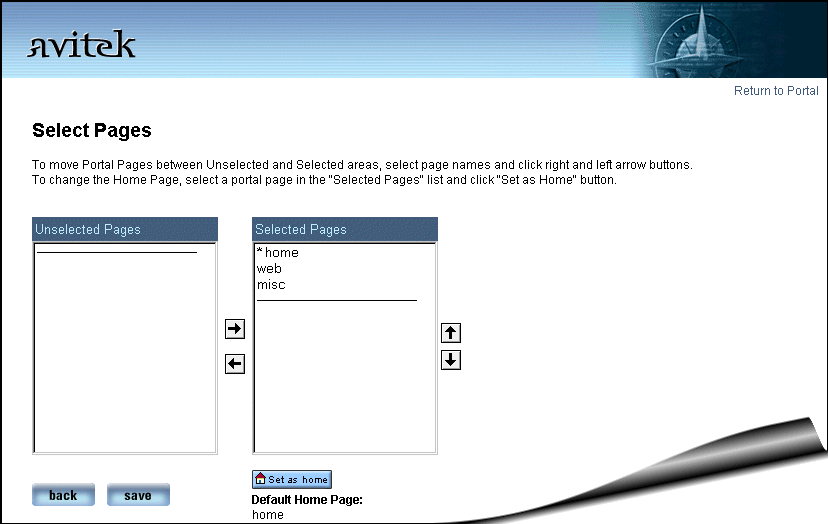
Changing the Layout of a Page
The layout of a page defines how portlets are arranged on a page. Essentially, a layout is a wireframe that uses an HTML table containing certain JSP tags. WebLogic Portal provides five pre-built layouts. This structure provides for a wide range of possible layouts so HTML developers can easily create new layouts.
In this part of the tour, you will change the layout of a page.
To change a page's layout, complete the following steps:
Figure 2-11 Select Current Layout Page
Figure 2-12 Stock Portal Home Page—New Layout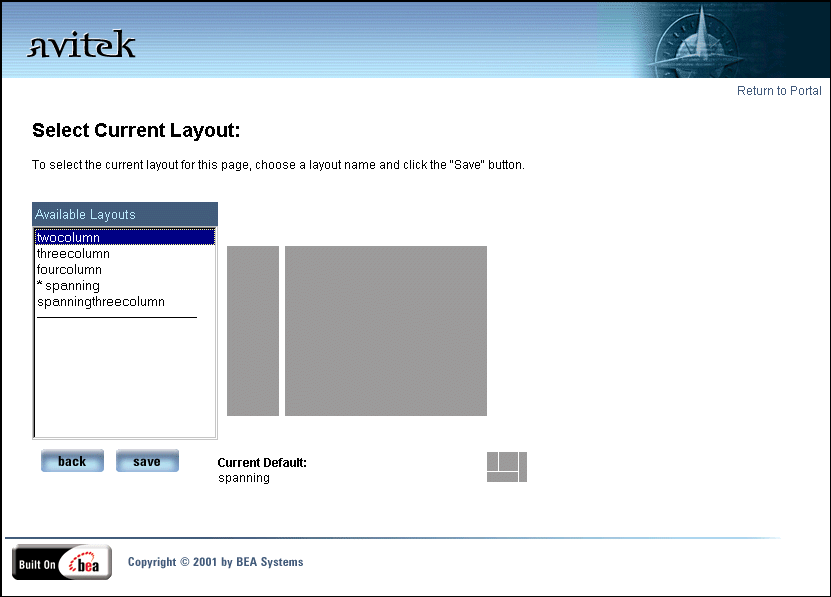
Changing Which Portlets You Can See
Beside changing the layout of a page, you can also change which portlets are visible, which column they are in, and their position with a column.
To change the visible portlets, complete the following steps:
Figure 2-13 Select and Order Portlets for this Page: home
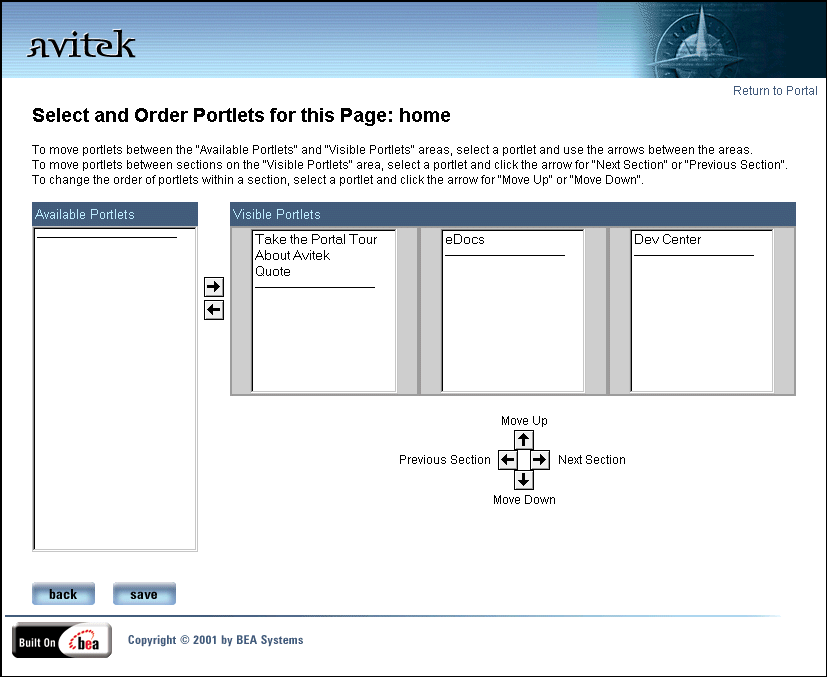
Figure 2-14 Stock Portal Home Tab—New Portlet Arrangement
Portlets
A portlet is a specialized content area that occupies a small window on a portal page. Portlets can be stand-alone, web-based applications or display legacy or third-party applications. They may have more than one view. For example, a portlet may be maximized, minimized, or detached from the portal. Portlet views are implemented using JavaServer Pages (JSP). They range in complexity from containing simple static HTML content, to employing JSP tag libraries or JSP scriptlets that access EJB components or other application functionality within the application server. The appearance of portlets can change based on the selected skin.
The controls for portlets in the Stock Portal are listed in Table 2-1.
Portlet Editing
This section describes how to configure the World News portlet. This portlet links to various news agencies on the internet and displays the new stories they publish.
To edit the World News portlet, complete the following steps:
Note: If you do not see the controls in the title bar of the World News portlet, you must login.
Figure 2-15 World News Portlet—Not Configured
Figure 2-16 World News Portlet—Editable
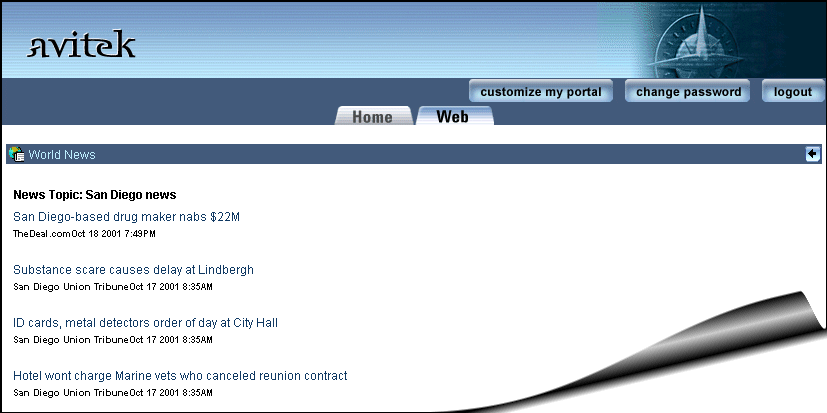
Figure 2-17 World News Portlet—Configured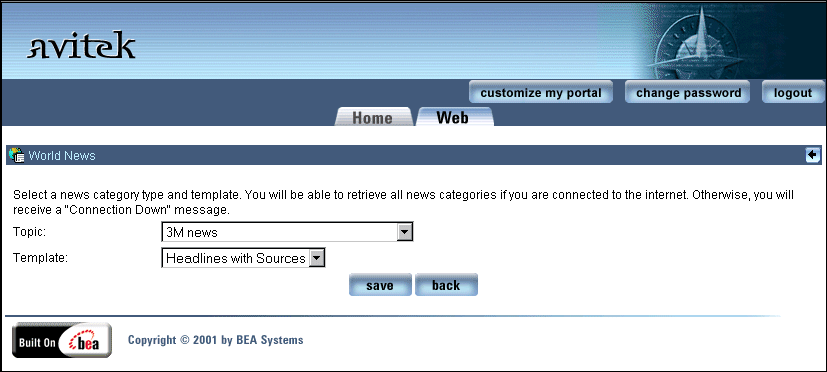
This concludes the Visitor part of the Stock Portal tour.

|

|

|
|
|
|
Copyright © 2002 BEA Systems, Inc. All rights reserved.
|