BEA Logo BEA WebLogic Portal Release 4.0

  BEA Home  |  Events  |  Solutions  |  Partners  |  Products  |  Services  |  Download  |  Developer Center  |  WebSUPPORT


   WebLogic Portal Documentation   |   Integration Example   |   Previous Topic   |   Next Topic   |   Contents   |   Index

WebLogic Integration Interoperability Sample


Before setting up WebLogic Integration, you should have already configured the WebLogic Portal sample as described in WebLogic Portal Interoperability Sample. This document provides the following information:


Description of the WebLogic Integration Part of the Example

The WebLogic Integration part of the WebLogic Portal and WebLogic Integration Example is a JMS asynchronous application designed to show how the business process management (BPM) component of WebLogic Integration can be used with WebLogic Portal. For more information see Learning to Use BPM with WebLogic Integration.


Prerequisites For Running the Example


Configuring and Verifying the WebLogic Integration Sample

This section contains step-by-step instructions for configuring and verifying the WebLogic Integration part of the Example. The following list contains the major steps needed to complete this task:

Step 1: Install the WebLogic Integration Example Files

Before you can run the two-part Example, you must set up your environment for WebLogic Integration. To install the files for WebLogic Integration sample, complete the following steps:

  1. Create a directory called JAI in WLI_HOME\config\samples, where WLI_HOME is directory in which you installed WebLogic Integration.

  2. Place the jai_sample1.jar into the new directory.

  3. Open a command/shell window and go to the newly created directory.

  4. Extract all the files from jai_sample1.jar into your current folder by entering the following command: jar -xvf jai_sample1.jar. This creates the following three directories:

Step 2: Create the Sample Tables

  1. Navigate to the WLI_HOME\config\samples\JAI\schema directory.

  2. To create the necessary sample tables, execute create_jai_cloudscape.bat/sh or jai_<db>.sql file, where db is oracle or mssql. Make sure of the following:

Step 3: Import the WebLogic Integration Example Components

  1. Start the WebLogic Integration server for the Interoperability Sample from the command window:

    WLI_HOME\config\samples\startweblogic.cmd/sh

  2. After WebLogic Integration is running, start the WebLogic Integration Studio, as follows:

    Windows: Start Menu -> Programs -> BEA WebLogic E-Business Platform -> WebLogic Integration 2.1 -> Studio

    UNIX: Go to the WLI_HOME/bin directory and execute the studio.sh script by entering the following command:

    sh studio.sh

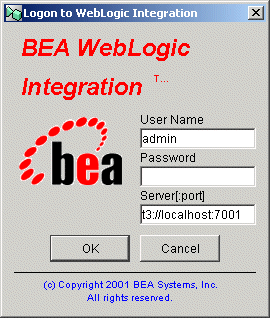
    WebLogic Integration Studio starts and the Logon dialog box appears, as shown in Figure 3-1.

    Note: For more information about starting WebLogic Integration, see "Starting and Logging On to the Studio" in Using the WebLogic Integration Studio.

    Figure 3-1 WebLogic Integration Logon Dialog Box


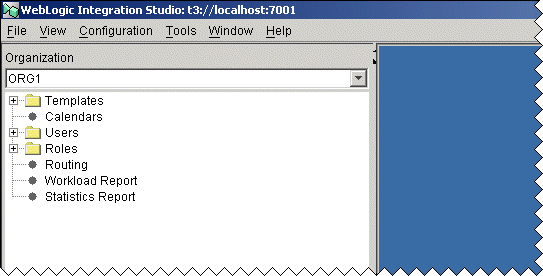
  3. Log on to the WebLogic Integration Studio using "security" as the password. The Studio opens as shown in Figure 3-2.

    Figure 3-2 WebLogic Integration Studio


  4. Import the OrderWorkflow.jar file as follows:

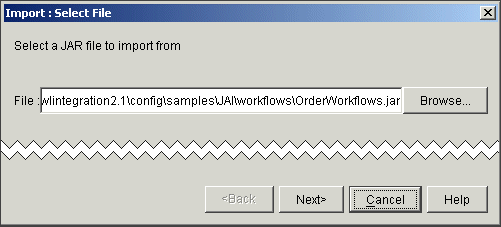
    1. Tools -> Import Package. The Import: Select File dialog box is displayed.

    2. Click the Browse button and import the following file:
      WLI_HOME\config\samples\jai\workflows\OrderWorkflow.jar

    3. After the imported file appears in the File field (Figure 3-3), click the Next button.

      Figure 3-3 Import Select File Window


    4. In the Target Organization drop list, choose ORG1, select the Activate workflows after import check box, and then click the Import button (Figure 3-4).

      Figure 3-4 Select Components to Import Window


Note: If the workflows are not activated, the sample will not run.

The components are imported as shown in Figure 3-5.

Figure 3-5 Review Import Summary


  1. Click the Close button.

Step 4: Deploy the orderAppView Sample Application

  1. Open the Application View Console as follows:

    Windows: Start Menu -> Programs -> BEA WebLogic E-Business Platform -> WebLogic Integration 2.1 -> Application View Console.

    UNIX: Open a Web browser and to go the following URL:

    http://WLP-WLI_machine:7501/wlcs

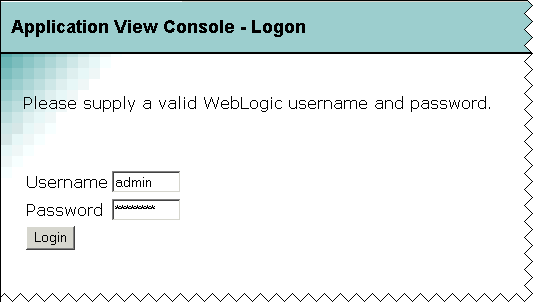
    The Application View Console - Logon opens as shown in Figure 3-6.

    Figure 3-6 Application View Console - Logon


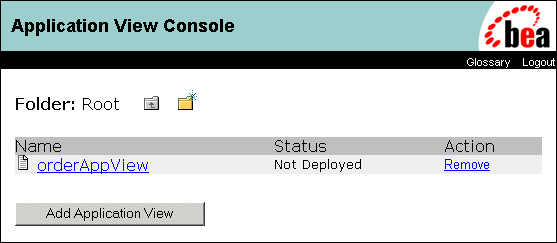
  2. Enter "admin" and "security" as the Username and Password, and then click the Login button. The window changes to show the console, as shown in Figure 3-7.

    Figure 3-7 Application View Console


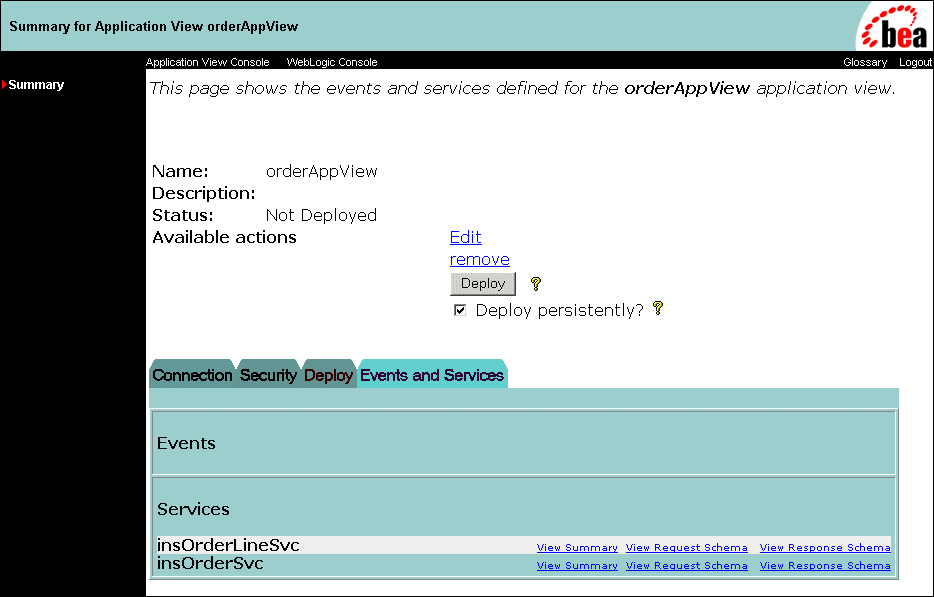
  3. Select the Application View named orderAppView. A summary of the selected application view is displayed, as shown in Figure 3-8.

    Figure 3-8 Summary for Application View orderAppView


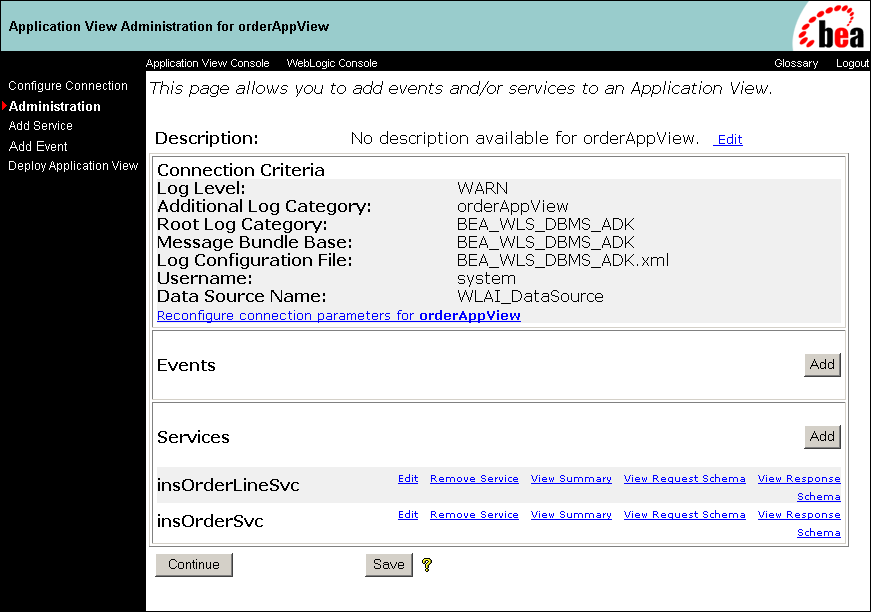
  4. On the Summary page, click the Edit link. An Administration page is displayed as shown in Figure 3-9.

    Figure 3-9 Application View Administration for orderAppView


  5. Click Reconfigure connection parameters for orderAppView. The Configuration Connection Parameters page is displayed, as shown in Figure 3-10.

    Figure 3-10 Configure Connection Parameters


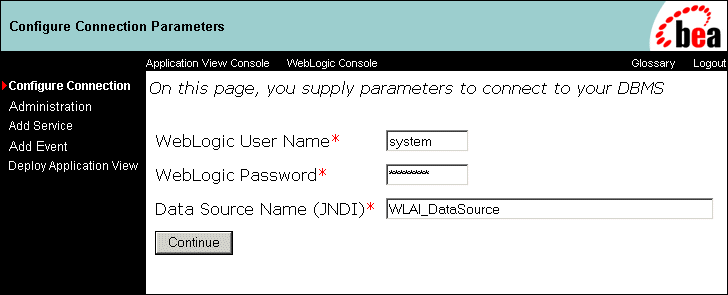
  6. Enter "system" and "security" in the WebLogic User Name and Password fields, and then click the Continue button. The Administration page is displayed, as shown in Figure 3-11.

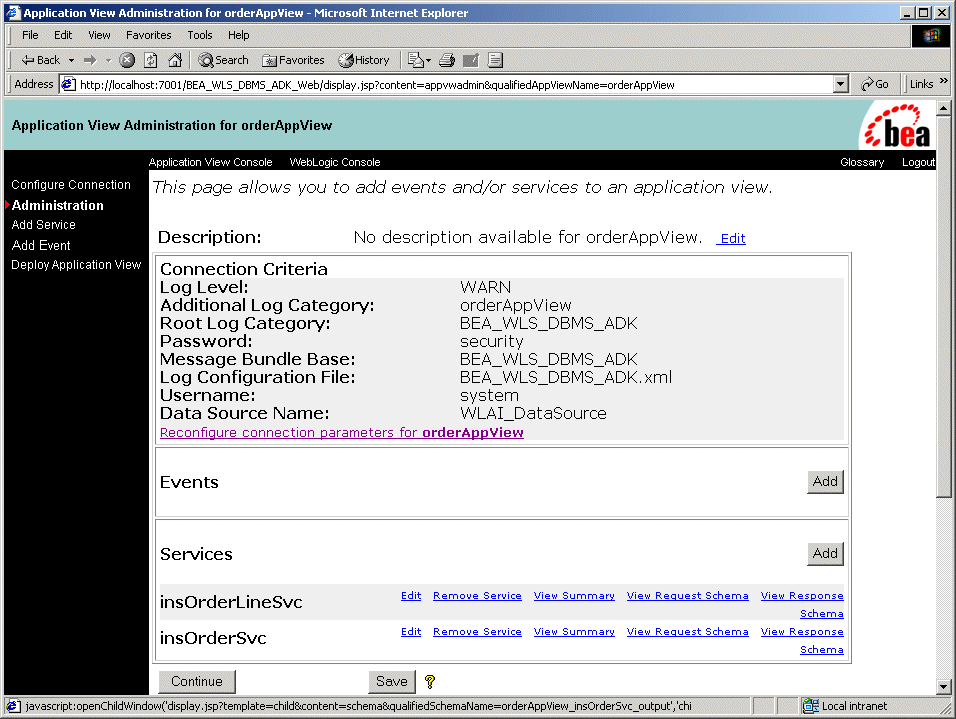
    Figure 3-11 Application View Administration for orderAppView—Parameters Set


  7. To deploy the specified application, click the Continue button. The Deploy Application View window is displayed, as shown in Figure 3-12.

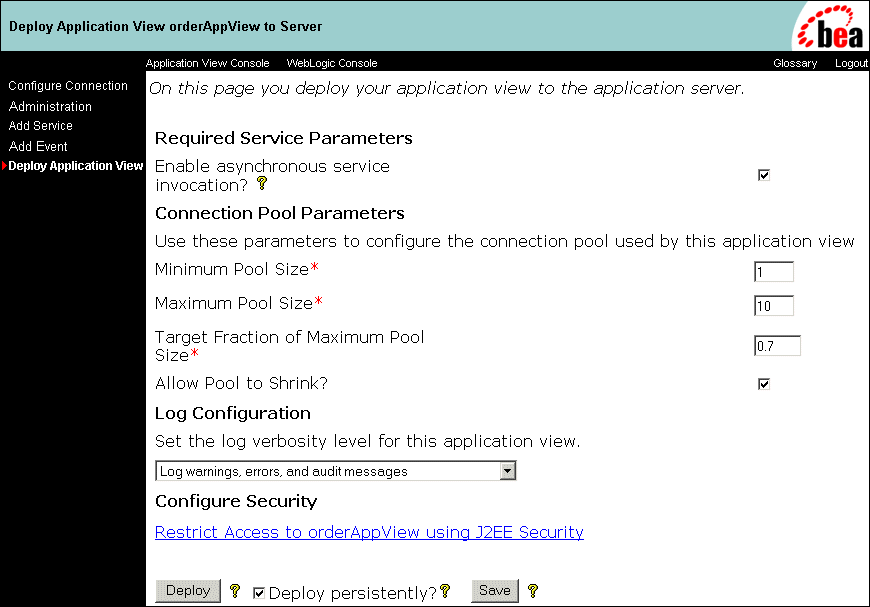
    Figure 3-12 Deploy Application View orderAppView to Server


  8. Click the Deploy button. The application is deployed as shown in Figure 3-13.

    Figure 3-13 Summary for Application View orderAppView


This completes setting up the WebLogic Integration part of the Example. Before continuing you must have configured and synchronized the WebLogic Portal part of the Example as described in WebLogic Portal Interoperability Sample.

Step 5: Make a Purchase in WebLogic Portal

To place an order on the WebLogic Integration JMS eventQueue, you must first make a purchase in WebLogic Portal. Purchase of one or more items creates an order that is placed in the queue.

  1. Make sure that the servers for both WebLogic Portal and WebLogic Integration are started.

  2. Launch the WebLogic Portal Commerce Templates using the following URL:

    http://WLP-WLI_machine:7501/wlcs

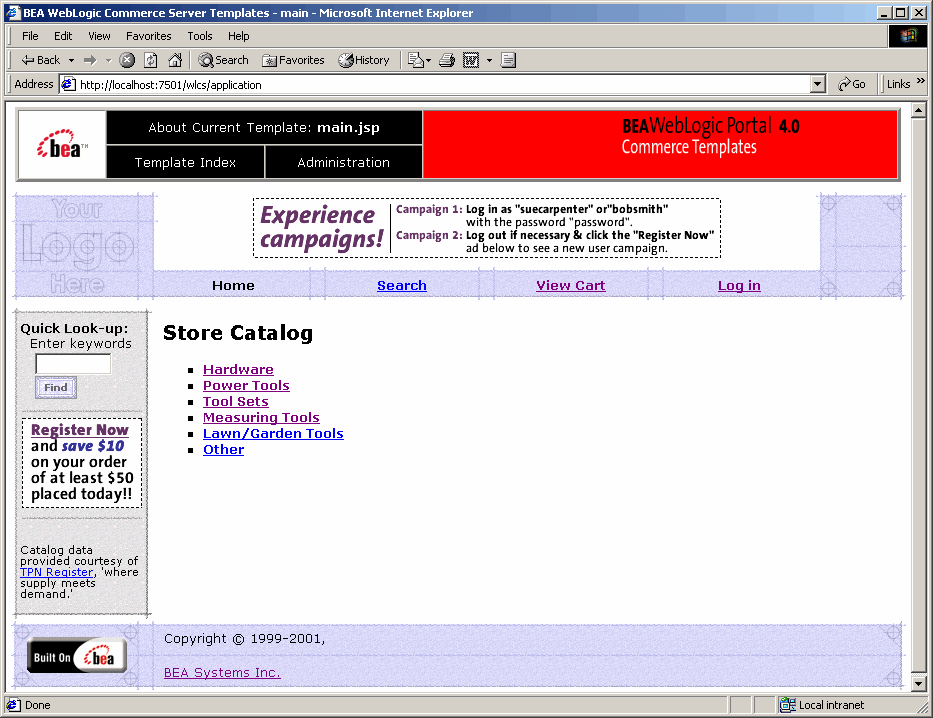
    Figure 3-14 shows the starting page for the Commerce Template, which simulates a shopping Web site.

    Figure 3-14 Commerce Templates Home Page


  3. Following the instructions displayed on the screen, purchase one or more items from the site. For more information, see the tour of the JSP Commerce and Campaign Tour.

    After the order is completed, WebLogic Portal converts the order into an XML representation and then places the order representation on a Java Message Service (JMS) queue in WebLogic Integration.
Step 6: How to Verify Successful Execution

To verify that the Example has executed successfully, completing the following steps:

  1. Go to WebLogic Integration Studio.

  2. In the left pane, right click the 10/5/10 12:38PM folder again, and then select Instances.

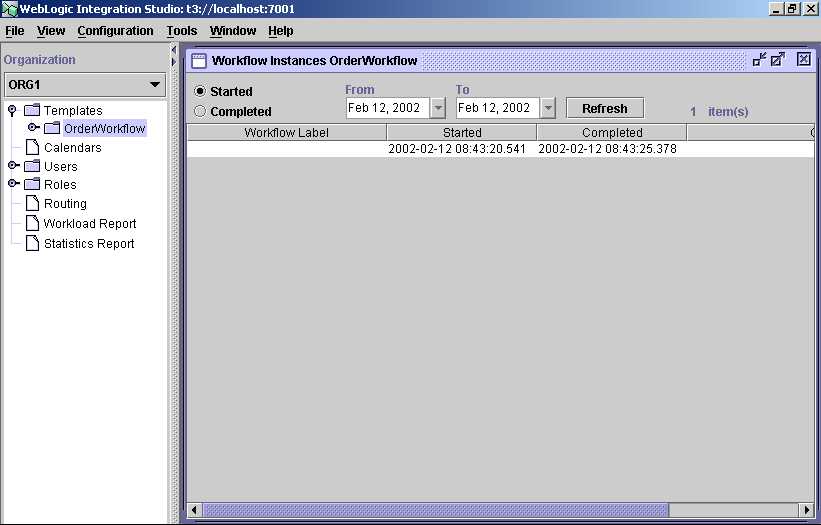
  3. The Workflow Instances OrderWorkflow opens and shows the purchase instance, as shown in Figure 3-15.

    Figure 3-15 Workflow Instances OrderWorkflow Window


  4. To verify that the values being used for the variables match the details of your order, take the following steps:

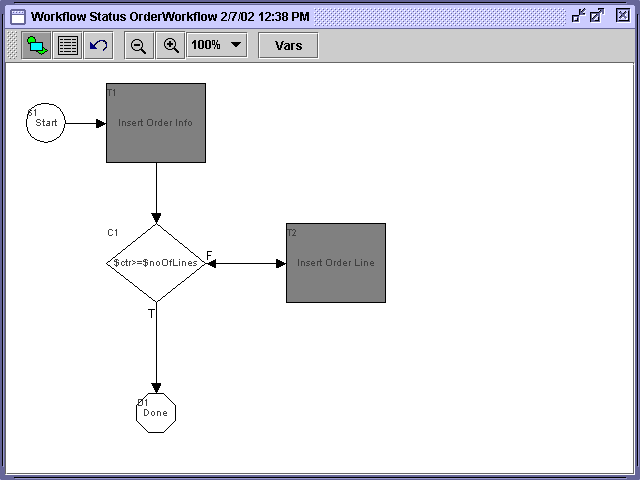
    1. In the Workflow Instances window, double click the order. The Window status screen appears, as shown in Figure 3-16.

      Figure 3-16 Workflow Status OrderWorkflow Window


    2. Click the Vars (Variables) button. The Workflow Variables window opens and shows the purchase information, as shown in Figure 3-17.

      Figure 3-17 Workflow Variables Window


This completes verifying the WebLogic Portal and WebLogic Integration Example.


back to top previous page