
| Download Docs | Site Map | Glossary | |
|
|
|||
| bea.com | products | dev2dev | support | askBEA |
 |
 |
|
|||||||
| e-docs > WebLogic Platform > WebLogic Portal > Administration Guide > Tutorial - Creating Administrative Users |
|
Administration Guide
|
Tutorial - Creating Administrative Users
In this tutorial, you will create an administrative user—a portal administrator—who has administrative rights for an entire portal, but who has fewer overall administrative rights than a WebLogic Portal system administrator. When you finish, you will be able to log in to the WebLogic Portal Administration Tools as the new portal administrator and see only the features you can administer.
This tutorial includes the following steps:
Step 1: Add a User
This step shows you how to add a user to WebLogic Portal. You will log in as an existing WebLogic Portal system administrator with full administrative rights.
Note: You can skip the first two steps if your domain and Portal Administration Tools are still running.
On Windows, you can launch the domain server from the Start menu (BEA WebLogic Platform 7.0 > User Projects > yournewdomain > Start Portal Server).
You also can use the domain start scripts which are, by default, in the <BEA_HOME>\user_projects\<your_new_domain> folder.
When prompted to log in, use the appropriate username and password. The default username and password is weblogic and weblogic.
http://<hostname>:<port>/portalAppTools
Figure 2-1 Portal Administration Tools Home
Figure 2-2 Click Create on the Users Bar
Step 2: Make the User Eligible to Manage Portals
After you add the new user, you must make the user eligible to be an administrator. The WebLogic Portal system administrator performs this task.
Figure 2-4 Accessing Groups
Figure 2-5 Click AdminEligible
Figure 2-6 Click AdminEligible
Figure 2-7 Adding Users to the AdminEligible Group
Step 3: Grant Portal Administration Rights to the User
After users are added to the AdminEligible group, you can make them portal administrators. This step shows you how to set specific portal administration rights.
Figure 2-8 Click Edit Portal Administrators
Figure 2-9 Click Create New Administrator
Figure 2-10 Selecting an AdminEligible User to Set Portal Administration Rights
Step 4: Log in as the New Portal Administrator
Test your new user's administration rights by closing your browser, launching it again, going to the WebLogic Portal Administration Tools URL (such as http://localhost:7501/portalAppTools), and logging in with the following username and password.
Username: portaladmin
Password: password
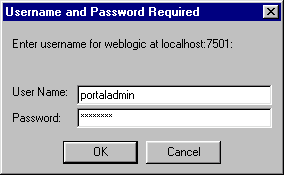
The login window is shown in Figure 2-12.
Figure 2-12 Log In Using the New Portal Administrator Username and Password
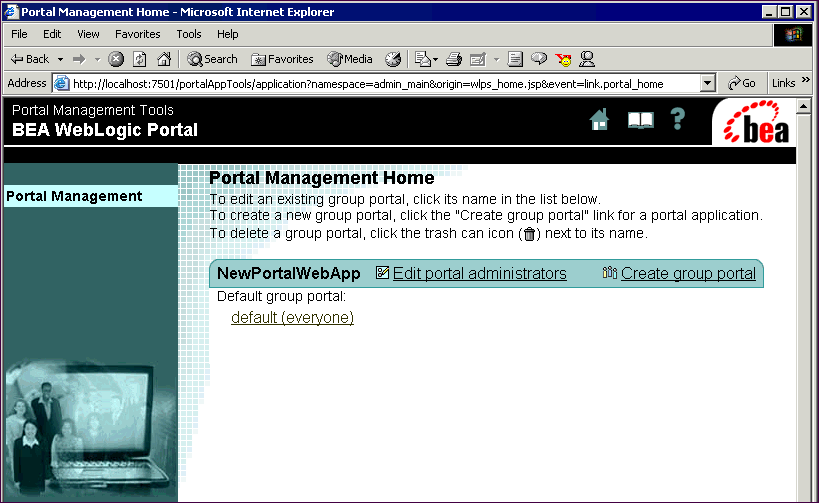
Because the new portal administrator does not have full WebLogic Portal system administration rights, you are not taken to the WebLogic Portal Administration Tools Home page (Figure 2-1). Instead, you are taken to the Portal Management Home page, as shown in Figure 2-13. Figure 2-13 Portal Management Home Page
You have successfully created and logged in as a portal administrator. Note: You can also create administrators that are limited to working with group portals within a portal. For more information on setting up group portal administration, see Administering Users and Groups.

|

|

|