Establishing Interportlet Communications
|
|
A Simple Example of Establishing IPC
This section describes the process of setting up interportlet communications between two portlets by using the Event handler tool in BEA WebLogic Workshop. This is a simple example in which minimizing one portlet will change the text string in another portlet in the portal.
You should become familiar with the Event Handler tool before attempting to replicate this example. Please refer to How Do I: Establish Interportlet Communications with WebLogic Workshop? in the BEA WebLogic Workshop online help system for more information.
This exercise is comprised of three main steps:
Before You Begin
If you have not set up your development environment as described in Setting Up the Examples, please refer to that section and follow these steps:
- Step 1: Create the Domain
- Step 2: Create the Enterprise Application
- Step 3: Create the Portal Web Application (Project)
After completing these steps, you will have portal domain called ipcDomain and a portal application called ipcTest.
Step 1: Create the Portlets
In this step, you will create two JSP files and the JSP portlets that will surface these files. You will also create a backing file that will contain the instructions necessary to complete the communication between the two portlets (for more information on backing files, please refer to Understanding Backing Files) and add an event handler to one of the portlets. Once you have created the portlets and attached the backing file, you will test the application in your browser.
Note: Before continuing with this procedure, ensure that WebLogic Workshop is running and the ipcTest web application node is expanded.
Create the JSP FIles and Portlets
To create the JSP files the portlets will surface, do the following:
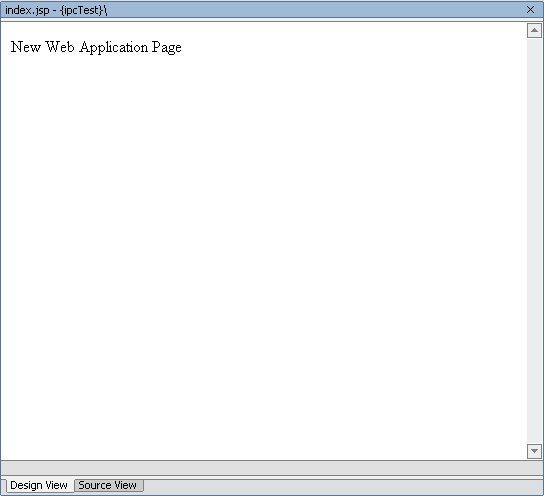
index.jspopens in Design View (Figure 3-1).Figure 3-1 index.jsp in Design View
A box will appear around the text and an inner text field will appear in the Property Editor, under General (Figure 3-2).
Figure 3-2 Properties Menu inner Text Field
- In the inner text field, click the ellipses button (...) to open the inner text dialog box and replace New Web Application Page with the phrase Minimize Me!!! Click OK.
The dialog box closes and Minimize Me!!! appears in the inner text field and in the Design View, as shown in Figure 3-3.
Figure 3-3 New Text Added to the JSP File
- Right click
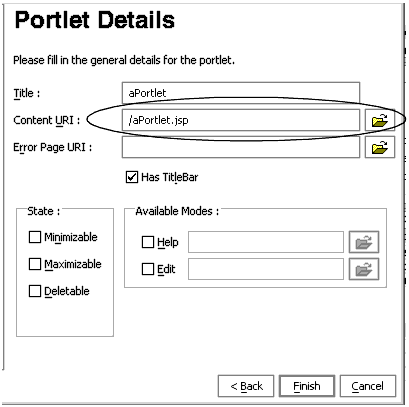
aPortlet.jspin the Application tree and select Generate Portlet... from the context menu. The Portal Details dialog box appears (Figure 3-4). Note that
aPortlet.jspappears in the Content URI field.Figure 3-4 Portal Details Dialog Box for a Portlet
- Copy the code from Listing 3-1 into the JSP, replacing everything from
<netui:html>through</netui:html>.
Listing 3-1 New JSP Code for bPortlet.jsp
<netui:html>
   <% String event = (String)request.getAttribute("minimizeEvent");%>
      <head>
         <title>
            Web Application Page
         </title>
      </head>
      <body>
         <p>
            Listening for portlet A minimize event:<%=event%>
         </p>
      </body>
</netui:html>
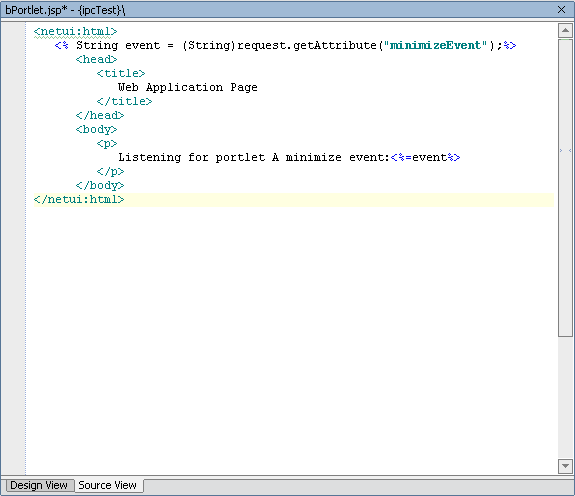
The source should look like example in Figure 3-5.
Create the Backing File
You now need to create the backing file that contains the instructions necessary to complete the communication between two portlets (for more information on backing files, please refer to Understanding Backing Files). To create the backing file, do the following:
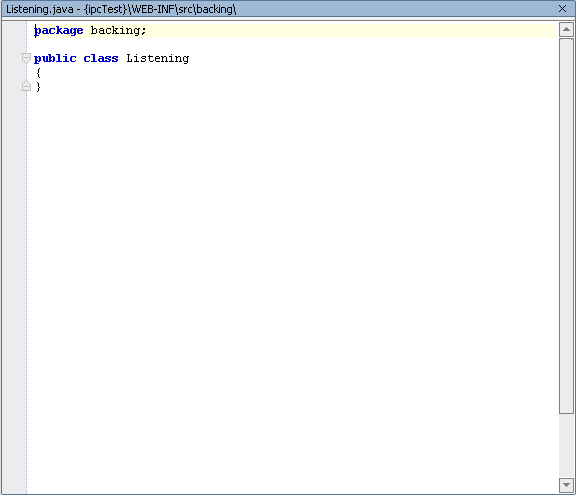
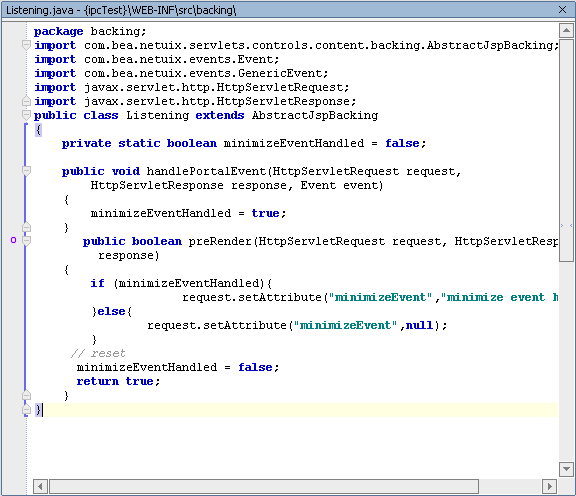
The Source View of the new Java class appears (Figure 3-6).
Figure 3-6 Listening.java Source File
- Copy the code from Listing 3-2 into
Listening.java.
Listing 3-2 Backing File Code for Listening.java
package backing;
import com.bea.netuix.servlets.controls.content.backing.AbstractJspBacking;
import com.bea.netuix.events.Event;
import com.bea.netuix.events.GenericEvent;
import javax.servlet.http.HttpServletRequest;
import javax.servlet.http.HttpServletResponse;
public class Listening extends AbstractJspBacking
{
    private static boolean minimizeEventHandled = false;

    public void handlePortalEvent(HttpServletRequest request,
        HttpServletResponse response, Event event)
    {
        minimizeEventHandled = true;
    }
       public boolean preRender(HttpServletRequest request, HttpServletResponse
         response)
    {
        if (minimizeEventHandled){
                     request.setAttribute("minimizeEvent","minimize event handled");
        }else{
                request.setAttribute("minimizeEvent",null);
        }
     // reset
      minimizeEventHandled = false;
      return true;
    }
}
- The source should now look like that shown in Figure 3-7.
Figure 3-7 listening.java with Updated Backing File Code
Attach the Backing File
Now you will attach the backing file created in Create the Backing File to bPortlet. Do the following:
- In the Property Editor, under Portlet Properties, type
backing.Listeninginto the Backing File field, as shown in Figure 3-8 and press Tab.
Figure 3-8 Attaching the Backing File in the Property Editor
Add the Event Handler to bPortlet
To add the event handler to bPortlet, do the following:
Note: bPortlet.portlet should be displayed in WebLogic Workshop. If it isn't, locate it under ipcTest in the application panel and double-click it.
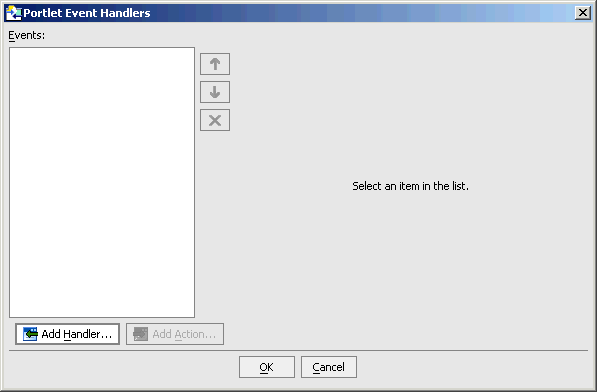
The Event Handler dialog box appears (Figure 3-9).
Figure 3-9 Event Handler Dialog Box
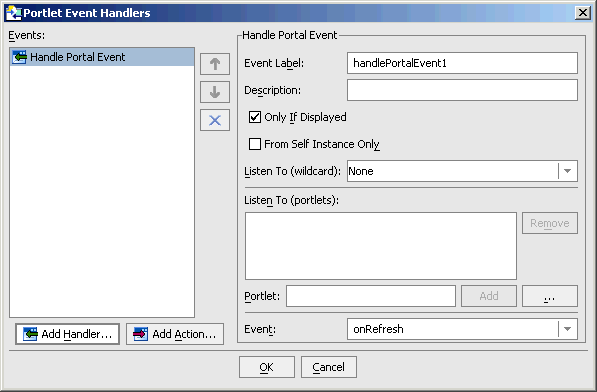
The Event Handler dialog box expands to allow entry of more details (Figure 3-10).
Figure 3-10 Event Handler Dialog Box Expanded
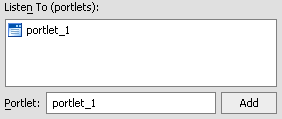
The Open dialog box closes and Portal_1 appears in the Listen to: list and the Portlet field (Figure 3-11). Portal_1 is the definition label of the portlet to which the event handler will listen.
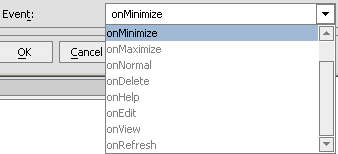
- Click the Event drop-down control to open the list of portal event that the handler can listen for and select onMinimize, as shown in Figure 3-12.
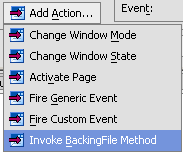
- Click Add Action... to open the action drop-down list and select Invoke BackingFile Method, as shown in Figure 3-13.
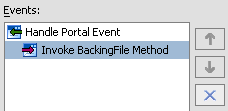
Invoke BackingFile Method appears on the Events list as a child to Handle Portal Event, as shown in Figure 3-14.
Figure 3-14 Event List with Action Added
- In Method, select pr enter
handlePortalEvent(Figure 3-15).
Figure 3-12 Event Drop-down List
Figure 3-13 Add Action Drop-down List
Figure 3-15 Adding the Backing File Method
Step 2: Test the Application
To test the application, do the following:
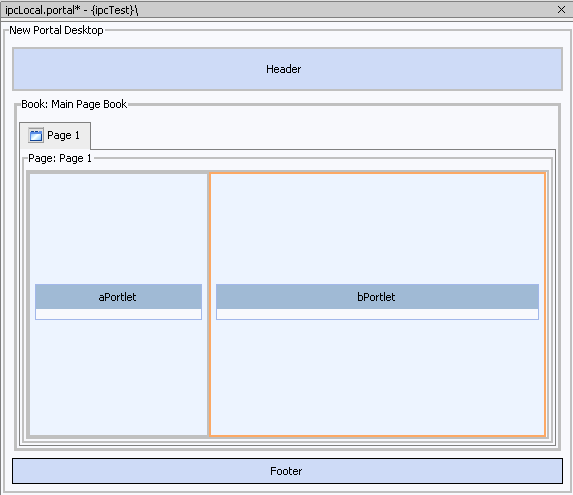
- Drag both aPortlet and bPortlet from the Data Palette onto the portal layout, as shown in Figure 3-16.
The portal will render in your browser (Figure 3-17).
Figure 3-17 ipcLocal Portal in Browser
Note the content change in bPortlet (Figure 3-18).
Figure 3-18 ipcLocal Portal with aPortlet Minimized
Figure 3-16 Portal Layout with Portlets Added
Summary
In this exercise, you added to the portal application components created in Setting Up the Examples two JSP portlets. One portlet, aPortlet, was fairly simple, while the second portlet, bPortlet, surfaced a more complex JSP file, leveraged a backing file, and contained a portal event handler. When you tested the application, you observed how the two portlets communicated when an event occurred on aPortlet. This is called local interportlet communications.
