

|
|
|
|
|
|
Administering Data within WebLogic Process Integrator
The following sections describe the data administration tasks within WebLogic Process Integrator:
Security
User, role, and organization information within WebLogic Process Integrator is maintained in BEA WebLogic Server(TM) security realms. Creating a new user, role, or organization within WebLogic Process Integrator means adding those entities to the WLS security realm. Therefore, the functions of creating and deleting users, roles, and organizations are accessible only if a manageable realm is used and detected by WebLogic Process Integrator.
When using a non-manageable security realm, such as the WebLogic properties file, only certain updates can be performed to the data kept within the WebLogic Process Integrator database. For example, the business calendar attached to a user, role, or organization can be changed. However, in order to add a new user, role, or organization, or to add a user to a role or an organization, the addition must be made directly within the security realm and not through use of the WebLogic Process Integrator user interface. WebLogic Process Integrator cannot persist information to the security realm.
In the sections that follow, the following functions can be performed only when using a manageable realm:
Maintaining Organizations
Use the Organization option to define organizations, which can represent different business entities, geographical locations, or any other distinction relevant to the particular business of the company.
The Organization drop-down list is located on the main menu of the WebLogic Process Integrator main window. Selecting an organization from the drop-down list displays information in the folder tree for that organization only.
Adding an Organization
The Add Organization facility adds a group, representing the organization, to the security realm and also adds the organization to the WebLogic Process Integrator database.
This facility is available from the WebLogic Process Integrator Studio application only if it is operating within a manageable security realm.
To add an organization:
Figure 2-1 Define Organizations Dialog Box
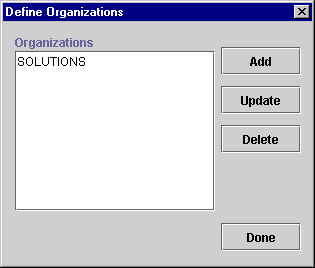
Figure 2-2 Organization Properties Dialog Box
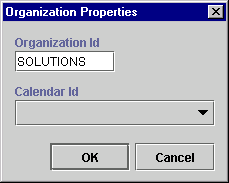
Updating an Organization
The Update Organization facility allows you to update the business calendar of an existing organization; it is accessible to you regardless of whether WebLogic Process Integrator Studio operating within a manageable realm.
To update an organization:
Figure 2-3 Organization Properties Dialog Box
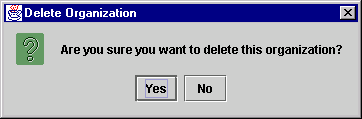
Deleting an Organization
The Delete Organization facility allows you to remove an organization from the security realm as well as from the WebLogic Process Integrator database. This facility is only available to you if WebLogic Process Integrator Studio is operating within a manageable realm.
To delete an organization:
Figure 2-4 Delete Organization Dialog Box
Maintaining Users
Create, update, and delete users with the Users feature. You can also add or remove users from organizations.
A user is an individual defined in WebLogic Process Integrator who has permissions to perform tasks. A role is an area of responsibility, ability, or authorization level that is shared by a particular group of individuals.
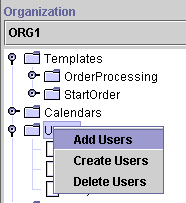
The User folder is located in the WebLogic Process Integrator folder tree. Expanding it displays a list of users who have already been defined for the current organization. Double-clicking on an existing user displays the properties for that user.
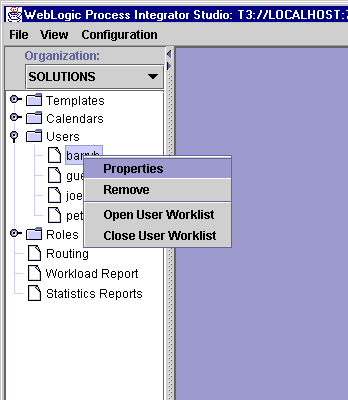
Right-clicking the User folder displays a menu with the following options:
Figure 2-5 User Folder Menu Options
Right-clicking a user within the User folder displays a menu with the following options:
Figure 2-6 Users Menu Options
Adding a User to the Current Organization
The Add User facility adds a user that is already defined in the WebLogic Server (WLS) security realm to the current WebLogic Process Integrator organization. This facility is accessible only if WebLogic Process Integrator Studio is operating within a manageable realm.
To add a user to the current WebLogic Process Integrator organization:
Figure 2-7 Add Users Dialog Box
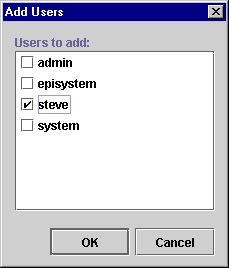
Figure 2-8 User Dialog Box
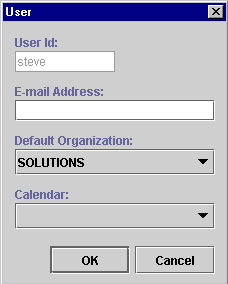
The User dialog box contains the following fields:
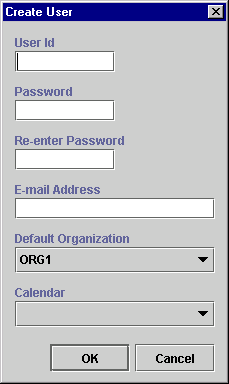
Creating a User
The Create User option is available only if the security realm is a manageable one. To create a new user in the security realm and WebLogic Process Integrator database:
Figure 2-9 Create User Dialog Box
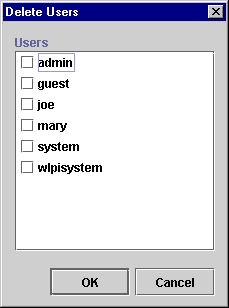
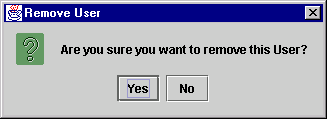
Deleting a User
To delete defined users from the WebLogic Server security realm and WebLogic Process Integrator database:
Figure 2-10 Delete Users Dialog Box
A confirmation dialog box prompts you to confirm your selection.
Updating User Properties
To update user properties:
Removing a User from the Current Organization
The Remove User facility removes a user that is already defined in the WebLogic Server (WLS) security realm from the current organization. It does not remove the user from the WLS security realm.
To remove a user from the current WebLogic Process Integrator organization:
Figure 2-11 Remove User Dialog Box
Maintaining Roles
Use the Roles feature to create, update, and delete roles. A role is a common area of responsibility, ability, or authorization level that is shared by a group of individuals. A single user can belong to one or more roles.
Roles are displayed within each organization. Selecting an organization from the Organizations drop-down list in the WebLogic Process Integrator main window and double-clicking the Roles folder displays the roles belonging to that particular organization. Double-clicking on an existing role displays the properties for that role.
Right-clicking a role displays a menu with the following options:
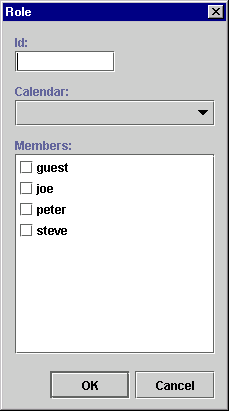
Creating a Role
The Create Role facility allows you to create a new role in the WebLogic Server (WLS) security realm and is accessible only if WebLogic Process Integrator Studio is operating with a manageable realm.
To add a new role:
Figure 2-12 Role Dialog Box
Updating a Role
To update an existing role:
Figure 2-13 Role Dialog Box
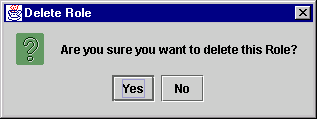
Deleting a Role
Use the Delete Role dialog box to delete a role from the WebLogic Server security realm and WebLogic Process Integrator database.
To delete a role:
Figure 2-14 Delete Role Dialog Box
Administering Task Routing
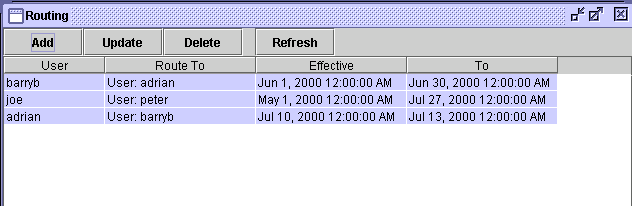
Use the Routing feature to reroute currently assigned tasks from one user to another user or role for a specified, albeit temporary, period of time.
Right-click Routing in the folder tree to display a menu containing two options: Open and Close. Choose Open to display the Routing dialog box. The Routing dialog box contains a list of defined routings, showing users whose tasks were rerouted and the users or roles to whom the tasks were rerouted. The Effective and To dates represent the time period for which the tasks are rerouted.
Figure 2-15 Routing Dialog Box
Adding a Task Routing Specification To reroute a task:
Figure 2-16 Reroute Tasks Dialog Box
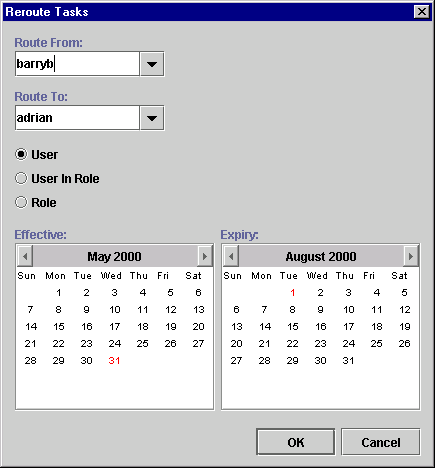
Note: When you assign to a User in Role, the system performs workload balancing by first reviewing the number of tasks assigned to all users in the role, selecting the user with the least number of assigned tasks, and assigning all of the rerouted tasks to this user.
Updating a Task Routing Specification
To update a task rerouting specification:
Deleting a Task Routing Specification
To delete a task rerouting specification:
Refreshing the Task List
Click Refresh on the Routing dialog box to refresh the rerouting task list and display any changes that have been made since you first invoked the Routing dialog box.
Administering Business Calendars
The WebLogic Process Integrator business calendar feature defines the operating hours for the current organization. Business calendars make possible business time-related calculations, such as "Set a task's due date to three business days from today."
Calendars can be associated with the following, as described in the sections indicated:
You can define and assign the same business calendar to organizations, users, roles, and actions. You can also assign different business calendars to users, roles, and actions within the same organization.
Calendar assignment within WebLogic Process Integrator is hierarchical in nature. The hierarchy places time-related actions at the lowest level, followed by roles and users, and finally, organizations at the highest level. If a time-related action is not assigned a calendar, it will, by default, be assigned the calendar of the user or role to which it is assigned. If a user or role is not assigned a calendar, it will, by default, be assigned the business calendar (organization level). In other words, calendar assignment is made at the most detailed component level.
Business calendars are rule-based. The calendar facility leads you through the definition of each rule, much as the WebLogic Process Integrator Expression Builder allows you to select from lists of functions, operators, variables, and so on in order to create an expression.
Creating a Calendar
To create a new calendar:
Figure 2-17 Calendar Properties Dialog Box
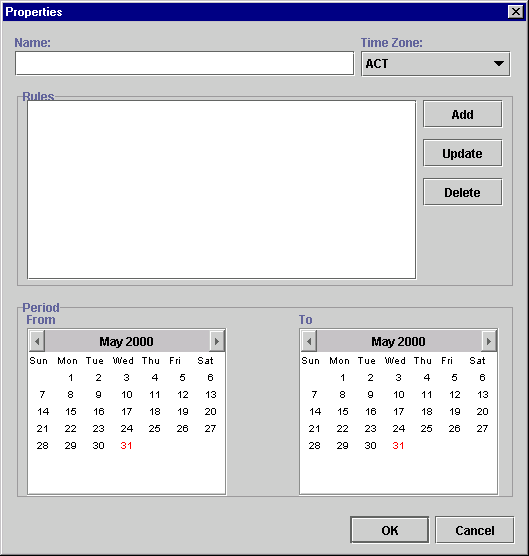
Figure 2-18 Rule Dialog Box
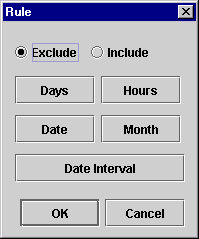
Figure 2-19 Days Dialog Box
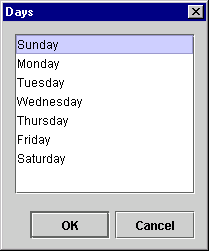
Figure 2-20 Hours Dialog Box
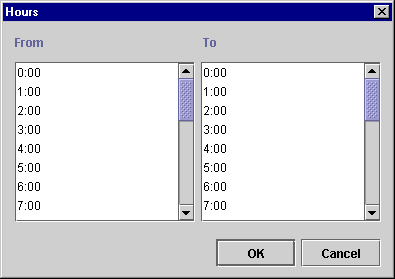
Figure 2-21 Date Dialog Box
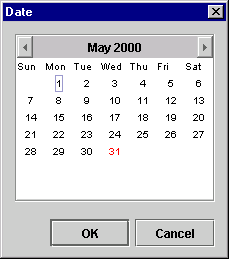
Figure 2-22 Month Dialog Box
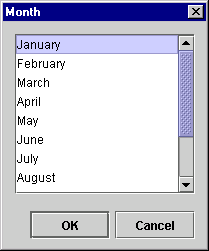
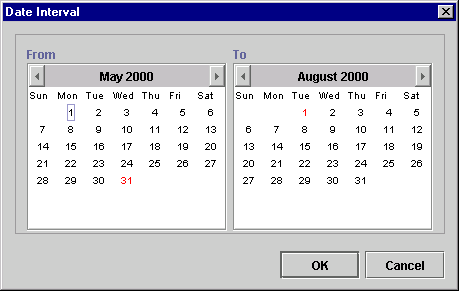
Figure 2-23 Date Interval Dialog Box
New calendar rules are displayed in the Rules area of the Calendar Rules dialog box. Figure 2-24 Calendar Rules
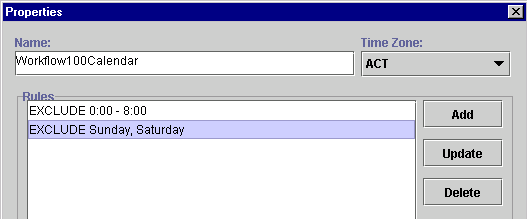
Updating a Calendar
To update an existing calendar:
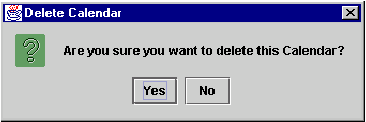
Deleting a Calendar
To delete an existing calendar:
Figure 2-25 Delete Calendar Dialog Box
Understanding Business Operations
The WebLogic Process Integrator Business Operations facility enables you to display all Enterprise JavaBeans (EJBs) or Java classes that are registered in WebLogic Sever and their remote methods and parameters. Using this Business Operations facility, you provide a descriptive name for EJB/Java class method and its parameters that you wish to deploy, hence providing non-technical users with an understanding of the business meaning behind the bean and its methods.
In WebLogic Process Integrator, a business operation represents a method call on an EJB or Java Class instance. This method call is added to a workflow in WebLogic Process Integrator through use of the Perform Business Operation action. The invocation results of this action can be assigned to the workflow variables.
EJBs represent a component architecture for developing and deploying object-oriented, distributed, enterprise-level applications. The Business Operations feature, in effect, allows for the creation of customized actions, which create the connection between WebLogic Process Integrator and end-user applications and components.
In WebLogic Process Integrator, workflows can instantiate serializable Java objects by invoking their constructors as business operations and can store the resulting object reference in a variable. Such serializable Java objects are persisted as part of a workflow instance. Additionally, calls to stateful session EJBs are supported; this requires support of non-persistent workflow variables. The content of such variable types are cleared at transaction boundaries. (See Understanding the WebLogic Process Integrator Transaction Model in Handling Workflow Exceptions.)
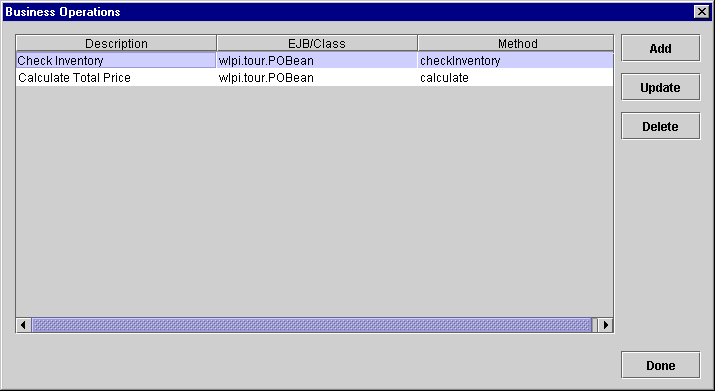
Using the Business Operations Dialog Box
In the WebLogic Process Integrator Studio main window, choose Business Operations from the Configuration menu. This displays the Business Operations dialog box.
Figure 2-26 Business Operations Dialog Box
Defining a Business Operation
To define a WebLogic Process Integrator business operation, proceed as follows:
Figure 2-27 Define Business Operation Dialog Box
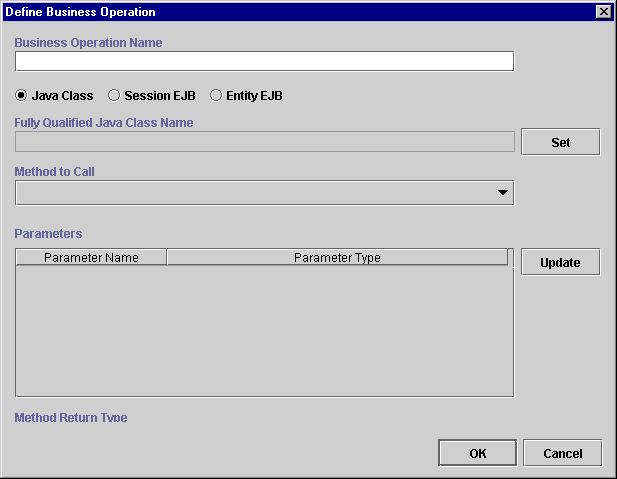
Next, you will select the type of business operation that you are defining. The choices are:
Defining Business Operations for Java Classes
To define a business operation for a Java class, proceed as follows:
Figure 2-28 Java Class Name Dialog Box
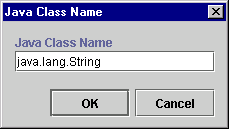
Figure 2-29 Method to Call Drop-down List
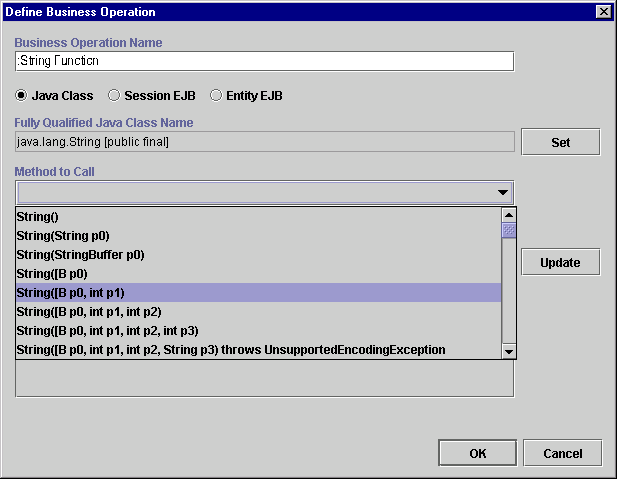
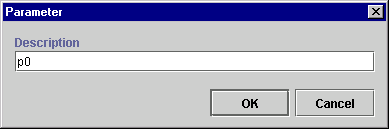
Figure 2-30 Parameter Dialog Box
Defining Business Operations for Session EJBs
To define a business operation for a Session EJB (Enterprise Java Bean), proceed as follows:
Figure 2-31 Define Business Operation: Session EJB
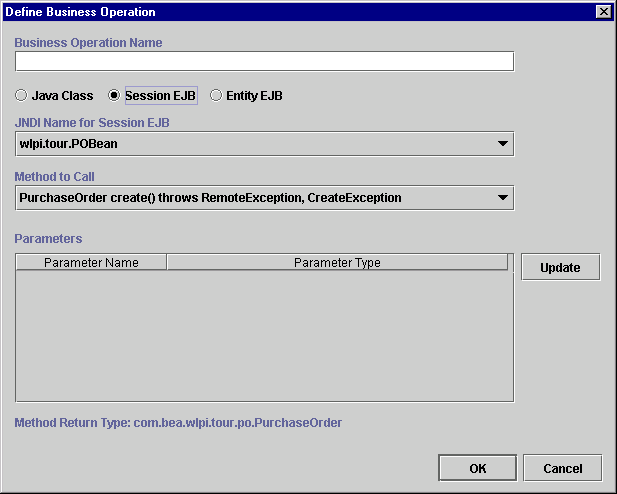
Figure 2-32 Parameter Dialog Box
Defining Business Operations for Entity EJBs
To define a business operation for an Entity EJB (Enterprise Java Bean), proceed as follows:
Figure 2-33 Define Business Operation: Entity EJB
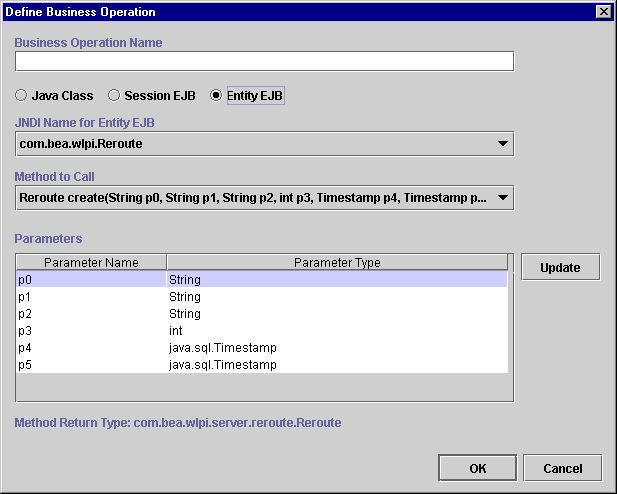
Figure 2-34 Parameter Dialog Box
Once you have defined all of your business operations, click OK on the Define Business Operations dialog box to confirm your changes. The business operations are added to the list of valid business operations in the Business Operation dialog box.
You use the Perform Business Operation action to invoke a defined business operation. For more information, see Perform Business Operation in Using Actions.

|

|

|
|
|
|
Copyright © 2001 BEA Systems, Inc. All rights reserved.
|