Web Application Development: Enabling Localization in the Web Page Editor
This document describes the following:
1. Enabling Localization in the Web Page Editor
You can localize your Web application as follows:- Register the application's resource bundle. For localization to take effect, you define multiple properties files (one for each language), such as
application_fr.propertiesorapplication_it.properties, for example, in your project'ssrs/resourcesdirectory, as Figure 1 shows.
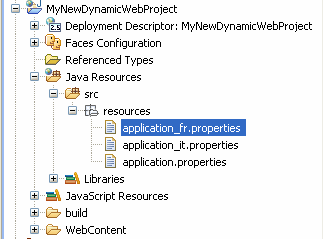
Figure 1. Project with Multiple Properties Files - Localize the JSP page by binding the attributes of tags that display text on the page, as follows:
- Select a tag in the JSP file and open a property sheet to display the tag's attributes in editable mode.
- Click Bind to a dynamic value button located to the right of the field that you are editing to open the Choose Binding dialog, and then open the Resources tab, as Figure 2 shows.
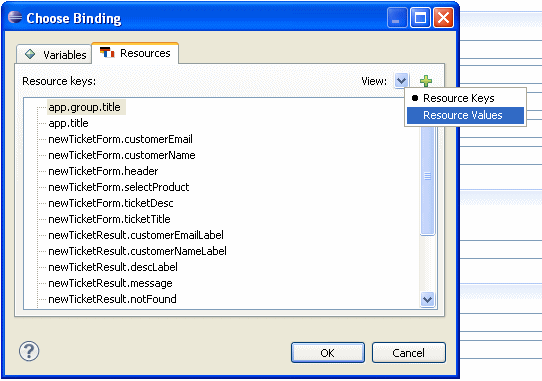
Figure 2. Choosing Binding - Resource Keys View
The Resources tab displays either the available resource keys or their corresponding values (you set the display mode by making selection in the View box), as Figure 3 shows.
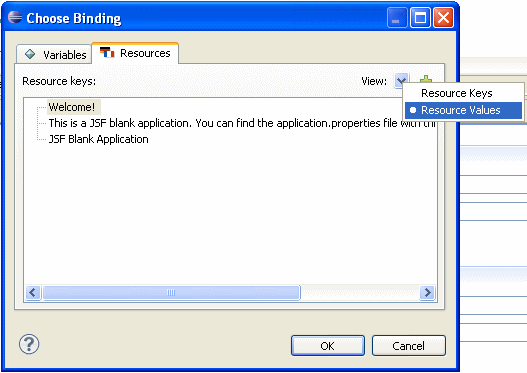
Figure 3. Choosing Binding - Resource Values View - Using this dialog, you can create a new resource key in the bundle by clicking New Resource Key button a dialog that allows you to define a key and value combination to be added to the resource bundle, as Figure 4 shows.
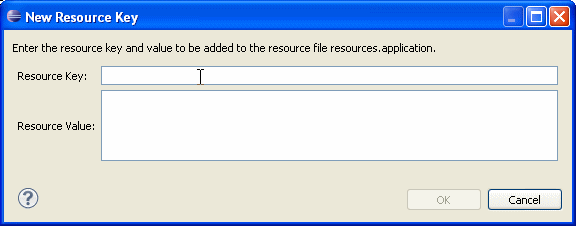
Figure 4. Creating New Resource Key
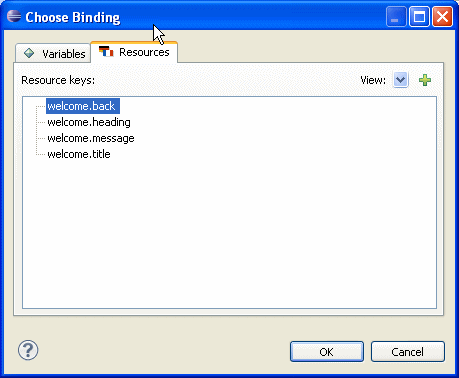
For example, if the entered key iswelcome.backwith the value "Please, come back", the newly created resource would be displayed in the Choose Binding dialog, as Figure 5 shows.
- You can visualize the resources in different locales in the Web Page Editor. To set the design-time locale for your project, use the Resource Locale dialog that you open by selecting a text in the Web Page Editor, and then selecting Text > Resource Locale from the top-level menu.

Figure 6. Resource Locale Dialog
Once you choose a new locale and define a new resource key, the new key will be saved in the locale-specific properties file, as Figure 7 shows.

Figure 7. Locale-Specific Properties File
Figure 8 shows changes to other relevant files in your project, as well as the Choose Binding > Resources > Resource Values dialog.

Figure 8. Locale-Related Changes
- JavaServer Faces Technology
- JavaServer Pages Technology
- Using the Web Page Editor
- Using the Web Page Editor Palette
- JSF Resource Bundles
- Editing Tags with Property Sheets
- Configuring JSF Projects
