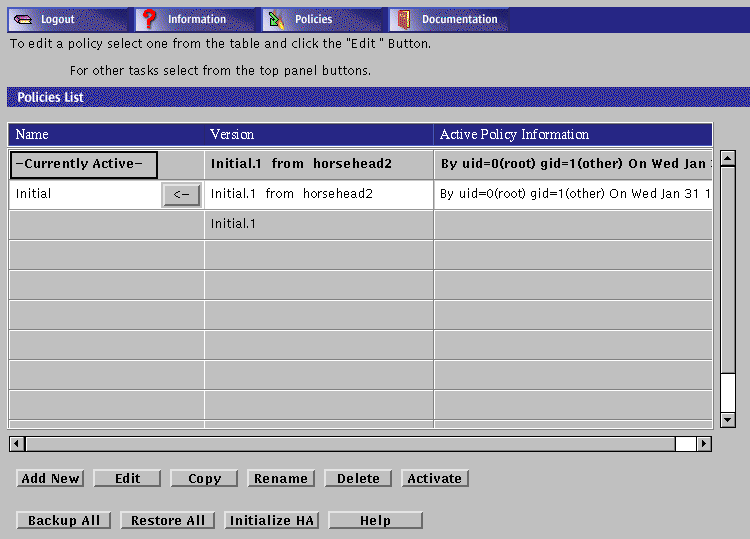
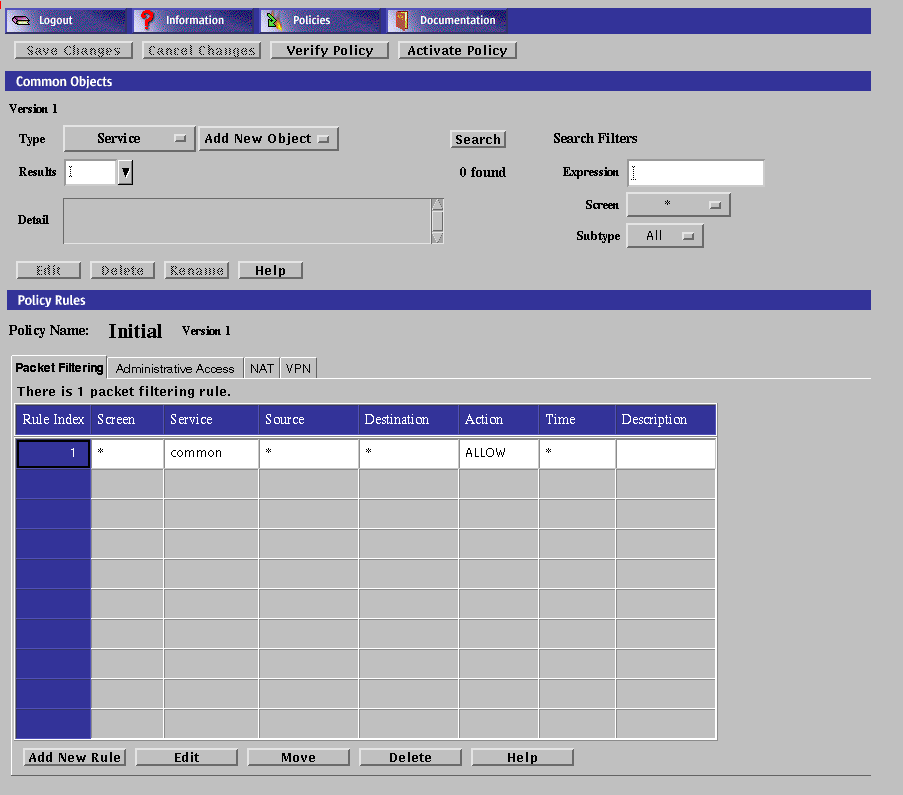
Setting Up Proxy Users
Proxy users are used in FTP, HTTP (if desired), and Telnet proxy rules. The proxy users database depends on information in the authorized users database. To take full advantage of the user authentication feature of the FTP, HTTP, and Telnet proxies, you must create entries for both authorized users and proxy users. Define a user as an Authorized User before defining that user as a Proxy user. See "Authentication" for the procedure for setting up an Authorized user and "Authentication" in SunScreen 3.2 Administrator's Overview for information on the proxy database and the authorized user database.
Note -
Define all necessary authorized users before attempting to define proxy users.
Note -
You can define authorized and proxy user objects with identical names. Choose a naming strategy for each set that reflects naming systems already in use. For example, you might choose to name authorized users by employee identities, such as surname or employee number, and proxy users by their login names.
The proxy user database contains the mapping information for users of SunScreen proxies. FTP, HTTP, and Telnet rules reference the proxy user entries. Additionally, a user connecting through either of these proxies will often be configured to require authentication by using an authorized user identity. Users logging in with a Telnet proxy are authenticated through the authorized user identity.
You can also use external authentication mechanisms, such as RADIUS or SecurID, to enable user authentication by using special proxy user entries, which create a translation.
By referencing these special mechanisms directly in rules, or by adding references to other proxy user groups, you can allow users authenticated by those mechanisms to behave as authenticated users in the referenced contexts.
Names of proxy users must not contain the following characters: !, @, #, $, %, ^, &, *, {, }, [, ], <, >, ", `, \, or ?, nor may they contain a NULL character.
To Set up Basic Proxy Users
To Add a Single Proxy User
-
Execute the steps in "To Set up Basic Proxy Users".
-
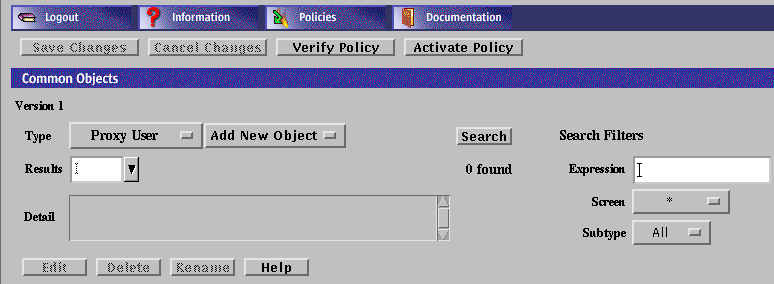
Select Proxy User from the Type list.
-
Select New Single from the Add New button.
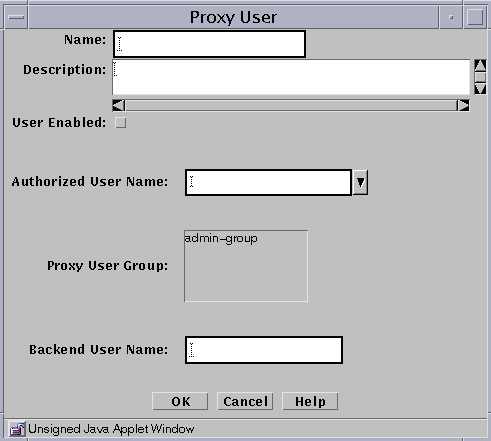
The Proxy User dialog box is displayed.
-
Type a name for this Proxy User in the Name field.
-
(Optional) Type a description in the Description field.
-
Select the User Enabled check box. The default is disabled,
If this box is not selected, the proxy user remains inactive and cannot use the proxies.
-
Select the name of the authorized user that you want to place in the Authorized User Name field.
-
(Optional) Select the name or names of the user group or groups with which you want to associate this proxy user.
-
Type the name that the proxy user should use when connecting to the target server (which is also known as the "backend" server) in the Backend User Name field.
This name will be the identity that the proxy user assumes on any target server connected through this proxy user.
Note -Only the FTP proxy sends the backend user name to the destination host. Telnet and HTTP do not send the backend user information.
-
Click the OK button.
-
Repeat the above steps until you have added all the proxy users.
All changes are saved immediately. Changes are only put into effect upon policy activation.
To Add a Proxy User Group
You can place proxy users in logical groups for convenience; then you can use a group name instead of single names in a policy rule.
-
Execute the steps in "To Set up Basic Proxy Users".
-
Select Proxy User from the Type list.

-
Select New Group from the Add New list.
The Proxy User dialog box appears.

-
Type the name for this group of proxy users in the Name field.
-
(Optional) Type a short description of this definition in the Description field.
-
Select the User Enabled check box to enable the user group.
-
Use the Add or Remove buttons to move selected proxy users or groups of proxy users into or out of the list of Member Users.
-
Add all the proxy users and groups of proxy users that you wish to include in your definition.
-
Click the OK button.
-
Repeat the above steps until you have defined all the groups of users required.
To Add Spam Domains
You can define the domains from which you think that you receive spam mail.
Note -
For more information on spam control, see "SMTP Proxy" in SunScreen 3.2 Administrator's Overview.
-
Execute the steps in "To Set up Basic Proxy Users".
-
Select Screen from the Type list.

-
Select New from the Add New list.
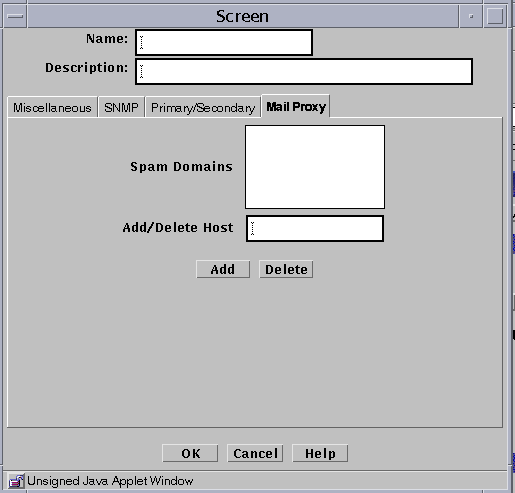
The Screen dialog box appears.

-
Type a name in the Name field.
-
(Optional) Type a brief description in the Description field.
-
The Spam Domain list appears.
-
Type the name you want to add to the Spam Domain list into the Add/Delete Host field.
-
Click the Add button.
-
Click the OK button.
-
Repeat these steps until you have added all the domains from which you receive Spam mail.
-
Click the Save Changes button
To Delete Spam Domains
Note -
For more information on spam control, see "SMTP Proxy" in SunScreen 3.2 Administrator's Overview.
-
Execute the steps in "To Set up Basic Proxy Users".
-
Select Screen from the Type list.

-
Click the Search button.
-
Select the Spam domain from the Results field.
-
Click the Edit button.
The Screen dialog box appears.

-
The Mail Proxy Screen appears

-
Select the Spam domain to be deleted in the Spam Domains field.
-
Click the Delete button.
-
Click the OK button.
-
Click the Save Changes button.
- © 2010, Oracle Corporation and/or its affiliates

